Hello, Cello

What're You Doing?
Dan Bombliss
Posts: 219
Joined: Wed Jan 30, 2008 11:36 pm

Re: Hello, Cello

Post by Dan Bombliss »

So I've been continuing work on the cello although have been slacking on updating pictures. I've got a few new ones uploaded that I'll post but it's not caught up to my progress. I've been graduating the inside of the plates, where as how these pictures go up to the finished outside arch.

Here's my setup in my living room just for doing arching with my fingerplane. I've got my paper next to it with the arches I had traced off of the other cello shown previously. So as I shape I'm using the contouring tool to see the shape of my cello, and lay it over the papers arches. Once it's roughed arch it's litterally all about the fingerplane and time, as you can see, you can do it in your living room. I liked it there because it was convenient, could work on it for a few minutes and go on to something else, and when I had time go back to it. Helped make it not feel so monotonous.

Image

Here's the cello plate scraped out to the final shape. No sand paper used at this point, I did go over the recurve by the purfling in spots with sandpaper where the scraper couldn't do that great of a job, but all and all, no sand paper needed.

Image

Image

Image

Image

-Dan
Kevin Sjostrand
Posts: 3945
Joined: Sat Feb 09, 2008 8:06 pm
Location: Visalia, CA

Re: Hello, Cello

Post by Kevin Sjostrand »

You got to love it Dan.
Lots of work, looking good.

Kevin
JVan
Posts: 148
Joined: Wed Jan 18, 2012 7:03 pm
Location: White Pigeon, MI

Re: Hello, Cello

Post by JVan »

That looks really good Dan! Looking at the photos I came to the realization that guitars are all I will build! Keep it up!
Dan Bombliss
Posts: 219
Joined: Wed Jan 30, 2008 11:36 pm

Re: Hello, Cello

Post by Dan Bombliss »

Hey all,

Been a while since I've updated anything on here so here's some pictures from my end. I've got both top and back graduated for the first time, and drilled the holes for the final graduation of the inside of the plates. Here's some pictures and captions so feel free to ask questions!

Image
This is the jig for doing the graduations. The drill press stop gets set to a starting thickness (for final graduations I started at 8.5mm for the back) and then each revolution of the cylinder up or down is 1mm. 1 revolution up, closes the gap between the stop and the top of the jig, making for a deeper hole, and a thinner plate. So for final graduations every area of the plate is marked out (Look at pictures further down) and the jig on the bottom will be adjusted by .1mm at a time.

Image
Here's my tops first graduation. It has all been drilled to an even 7mm everywhere. This hogs out some material and gives a feel for the flex of the top to see how much more needs to be taken. My top is EXTREMELY light and responsive, it's also a bit floppy, so I added .5mm to the all of the final thickness (graduations)

Image

Image
Top has first graduation holes drilled and the back (even though it's hard to tell) has been graduated the first time. So it's spooned out to a 12mm thickness right now (Generally would probably go 11mm for first graduation for poplar, but I had gone 12 for this back to be safe because I wasn't sure if I was happy with the final outside arch)

Image
Back graduated to 12mm

Image
Imagev
Image
Top graduated to 7mm

Image
Top with final graduation measurements drawn in.

Image
Back with final graduation measurements drawn in.
Dan Bombliss
Posts: 219
Joined: Wed Jan 30, 2008 11:36 pm

Re: Hello, Cello

Post by Dan Bombliss »

Cont'd

Image
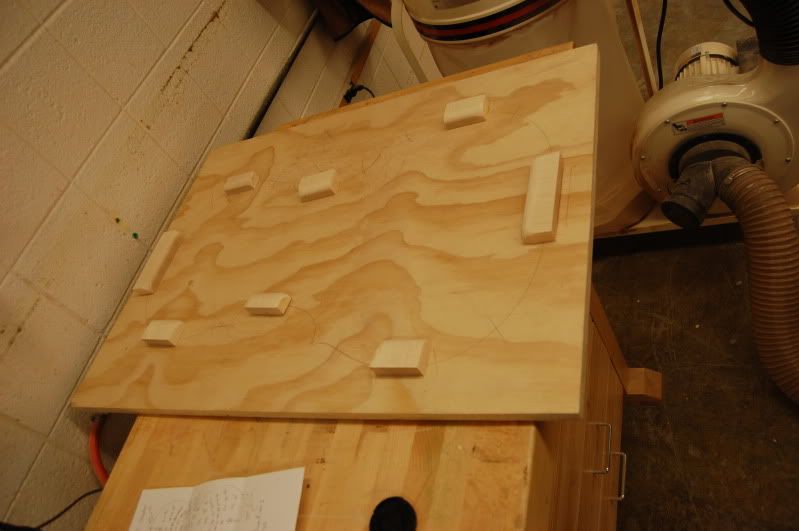
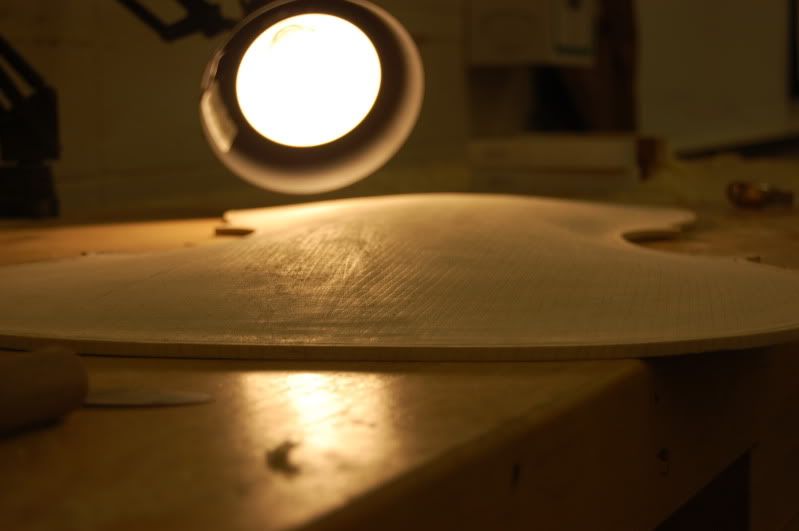
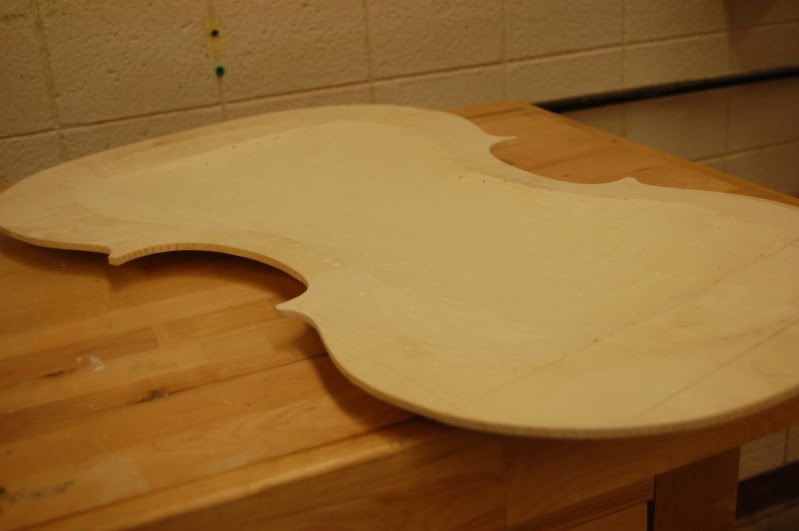
My very simply cello cradle. A cradle was going to take some time and alot of space and materials (well more than I wanted to give up right now) So I mean an impermanent cradle simply just with spacer blocks to shim up the edges so the plywood can support the center seam and the center arch.

Image
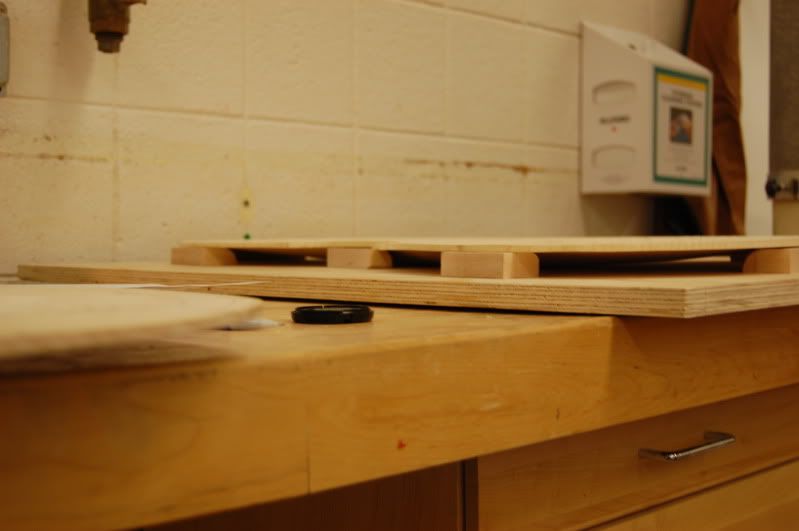
The arch just barely touch the plywood and the weight is taken off of the center seam so the chances of splitting your plate while pushing on the inside is limited. It also keeps the plate secured and balanced, or else it rolls all over the place.

Image
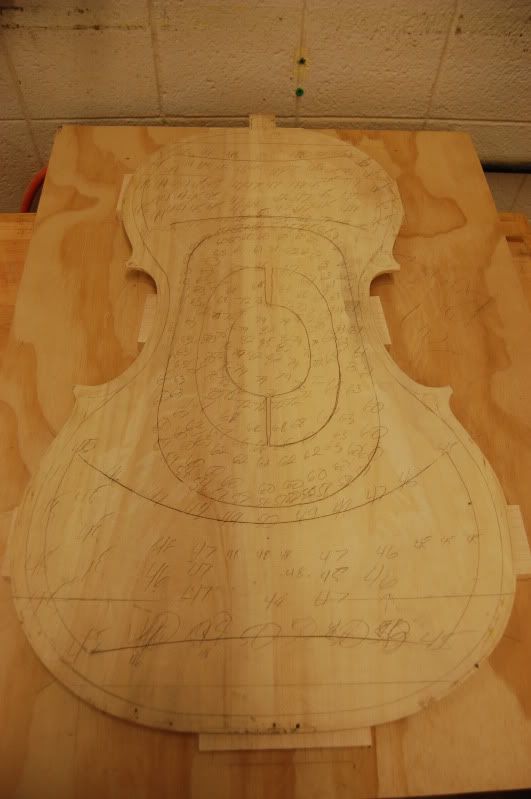
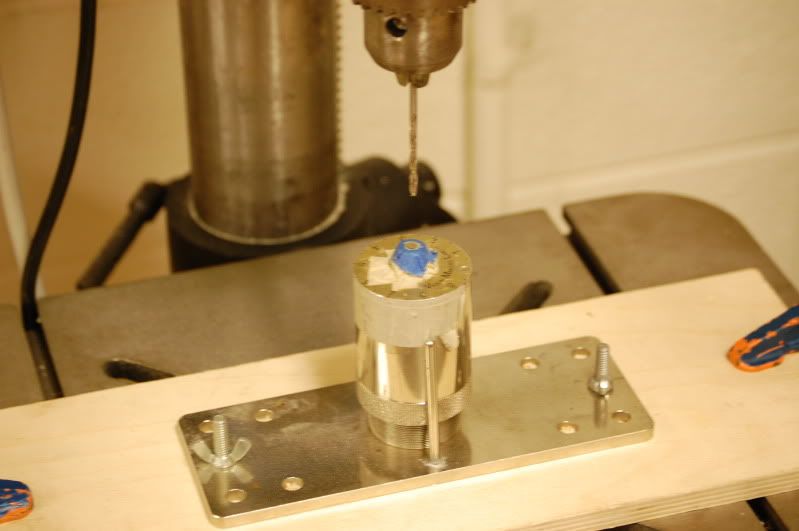
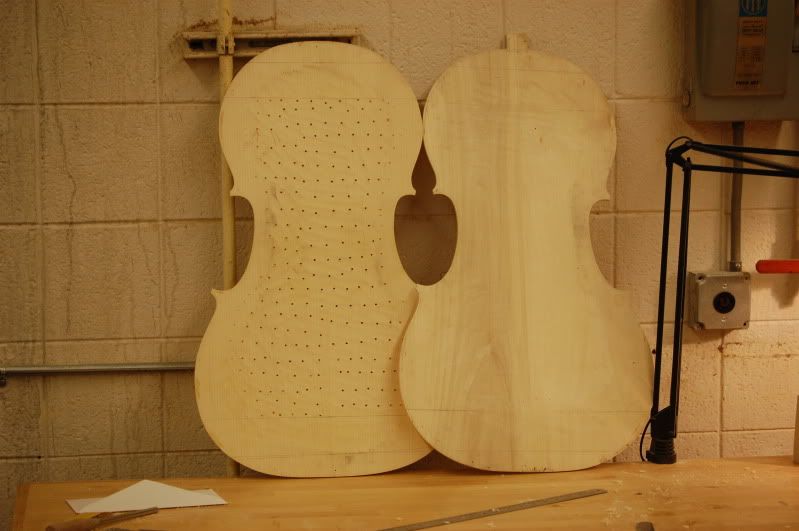
Here's shot of the plates once the depth measurements intermix with each other. After a certain point the depth you're drilling on the back will then be the same depth you need to drill on the top, and it's at this point that you start bouncing back and fourth, and it starts to feel a bit tedious to track down all the numbers and not miss any needing to be drilled for that setting. Also notice that the thickest spot of the back is the center, and the thickest spot of the top is the sound post area.

Image
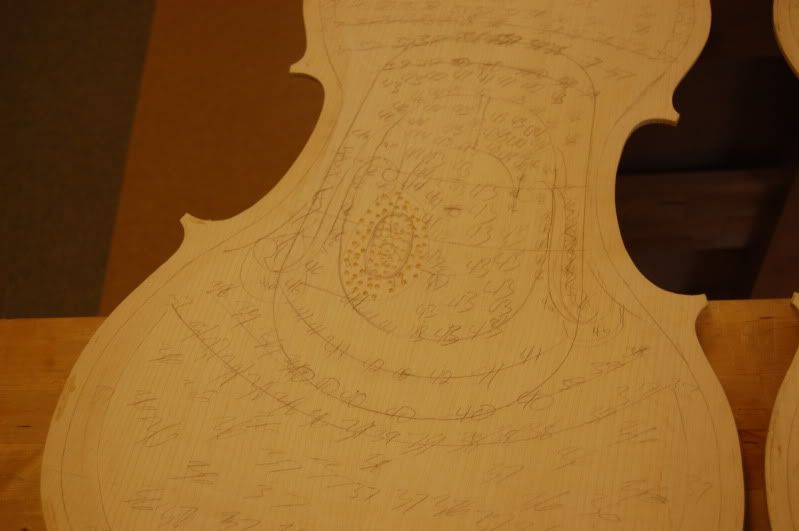
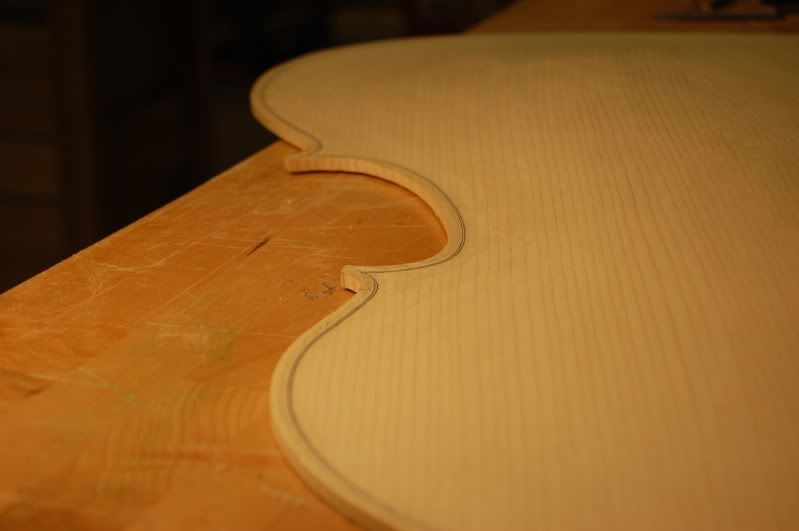
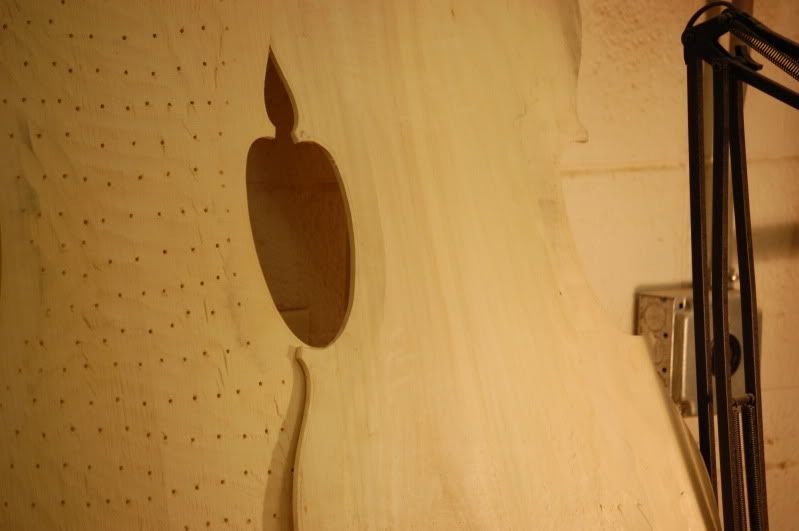
The F-holes have to be drawn into the top to mark thicknesses. As around the F-holes it's left a little thicker, as on this top it's 4.6 (5.1 because I added +.5mm) where as outside of the F hole area is 4.4 and lower. I also have to know where the F holes are going to be on the inside for when starting to cut them out. I don't want to drill all the way through the top to start the hole because of tear out, so I meet half way from each side of the plate.

Image
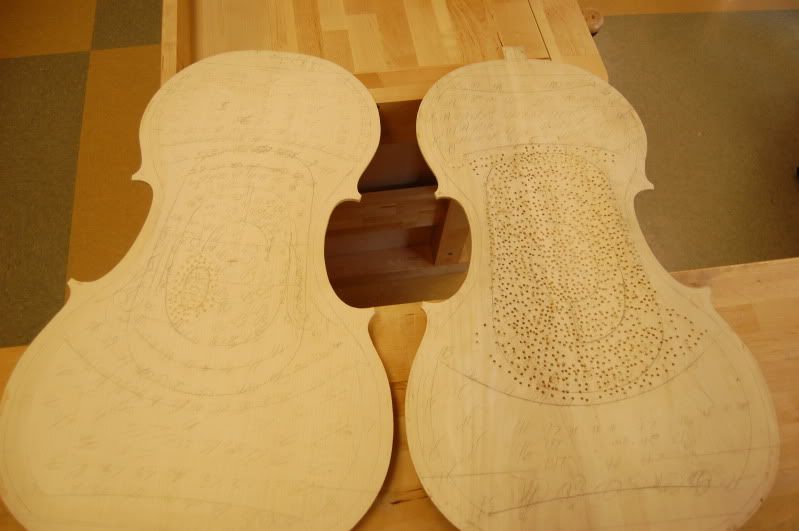
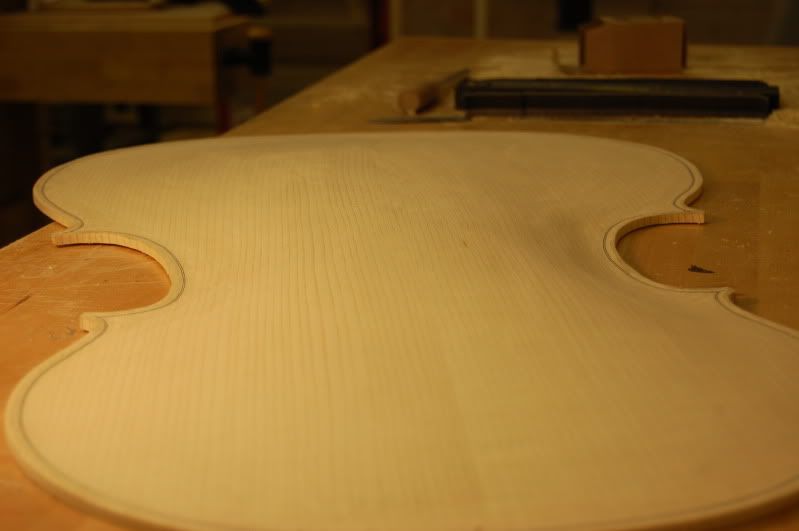
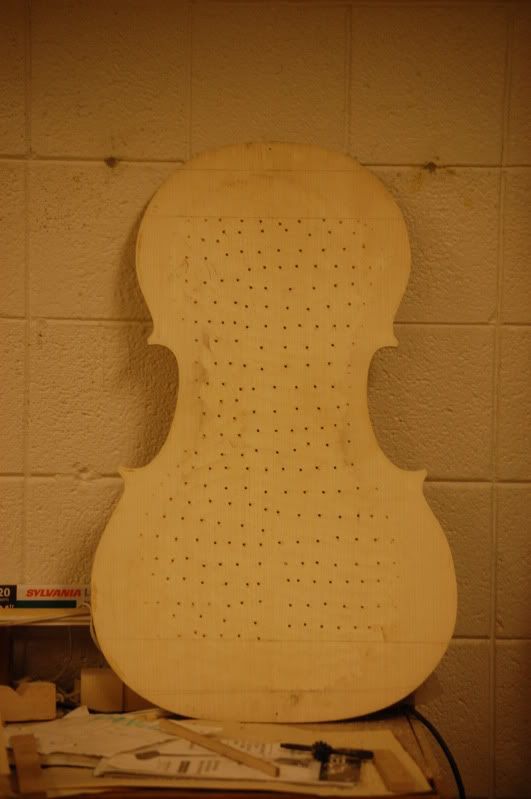
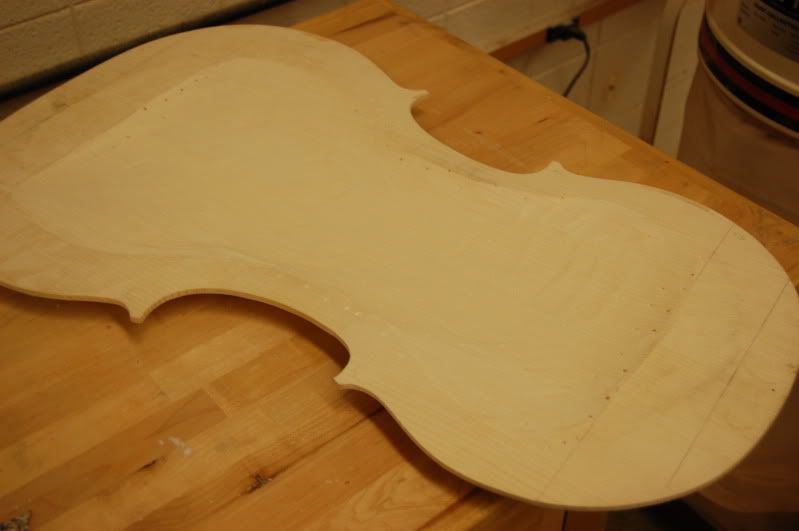
Here's the progress of the back, up to the point to where the depths intermix with the tops dimensions.

Image
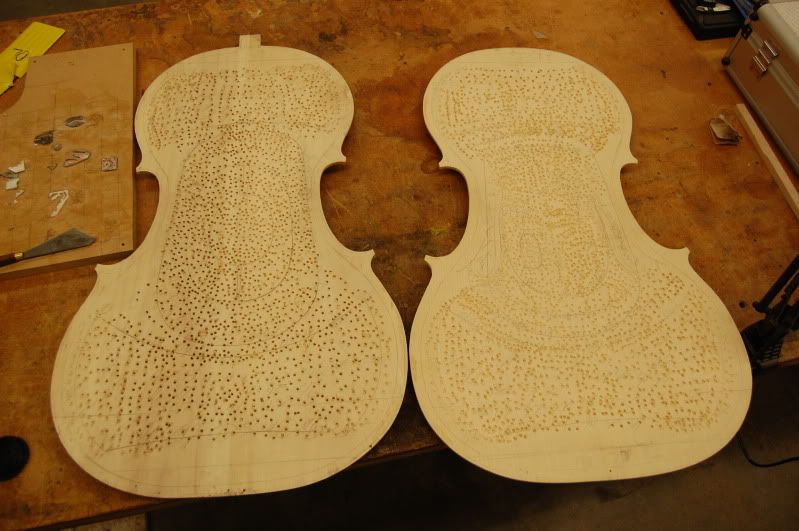
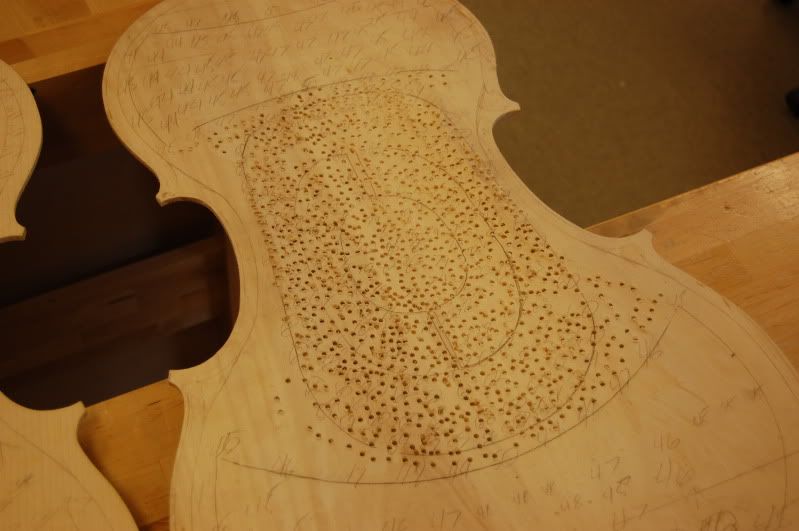
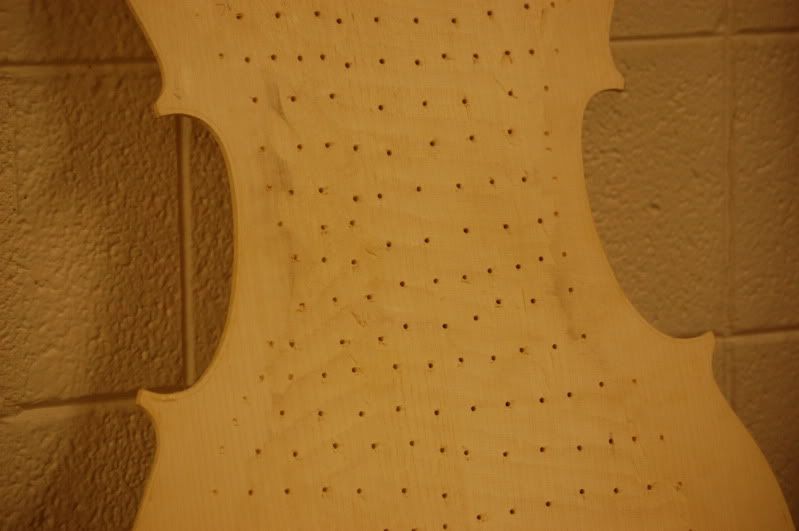
After about 1.5hrs or so standing in front of the drill press, an achy back, and some sore feet, here's the plates fully finished and drilled. You may notice some spots that could have been drilled, but I decided I'd just keep checking those with calipers. The more holes you drill in each area the more accurate your thicknesses will be, when it comes to planing the material off.

So at this point in the build, I need to potentially go back to an arching gouge and hog out a little bit of material to shallow out those holes, and then spend time with a larger finger plane until I get to the very tips of the bottoms of the holes. And at the point, it's time to scrap and check frequently and religiously with calipers to see where I'm at.

Until next time,
-Dan
tippie53
Posts: 7127
Joined: Fri Mar 03, 2006 7:09 pm
Location: Hegins, Pa
Contact:

Re: Hello, Cello

Post by tippie53 »

that is a lot of hard work. Nice job and thanks for posting
John Hall
Blues Creek Guitars Inc
Authorized CF Martin Repair Center
president of Association of Stringed Instrument Artisans
http://www.bluescreekguitars.com
JVan
Posts: 148
Joined: Wed Jan 18, 2012 7:03 pm
Location: White Pigeon, MI

Re: Hello, Cello

Post by JVan »

That is incredible! Nice work Dan, that kind of art is under appreciated since the CNC machine came along huh! Nice to see that good ole' hand craftsmanship. Take a bow Sir!
johnnparchem
Posts: 2354
Joined: Sat Apr 10, 2010 10:50 pm
Location: Seattle
Contact:

Re: Hello, Cello

Post by johnnparchem »

Are You just using chisels at this point to dis out the wood?
Dan Bombliss
Posts: 219
Joined: Wed Jan 30, 2008 11:36 pm

Re: Hello, Cello

Post by Dan Bombliss »

There's a spoon gouge/arching gouge that international violin sells at about 90 bucks which is perfect for scooping out that wood. Although I only shallow out the holes some and don't push it. Most of the time is spend with fingerplanes an patience, and once I can see the very bottoms of the dots, I scrap and measure religiously.

Thanks JVan, although next year I do plan on building one with the mix of a CNC and hand built. At that time I'll be doing a hand built one along side of a CNC.

The with CNC this step would still all be done by hand, as far as the graduations go, I would just get the outside arch finalized with in a couple hours, and tack on a few more hours and I could have the purfling channel cut out at the same time. But the final graduations no one should ever CNC out. It's a feel thing.

-Dan
Ken Hundley
Posts: 608
Joined: Mon Mar 13, 2006 12:34 am
Location: Wilmette, IL

Re: Hello, Cello

Post by Ken Hundley »

Lookin good, Dan! Keep up the good work. I can't wait to see the final product!
Ken Hundley
Nocturnal Guitars
http://www.nocturnalguitars.com

So, my big brother was playing guitar and I figured I'd try it too.
- Stevie Ray Vaughan
Post Reply