
Looks like the router does a nice clean job of it. I have a slim acrylic template I made that would not be thick enough, but I could make one of wood from it, and do the same thing. I might try that.
Kevin
Jim's Dreadnought Build
-
Kevin Sjostrand
- Posts: 4121
- Joined: Sat Feb 09, 2008 8:06 pm
- Location: Visalia, CA
-
Jim_H
- Posts: 506
- Joined: Tue Sep 06, 2011 2:51 pm
- Location: Bothell, WA USA
Re: Crazy Cocobolo!
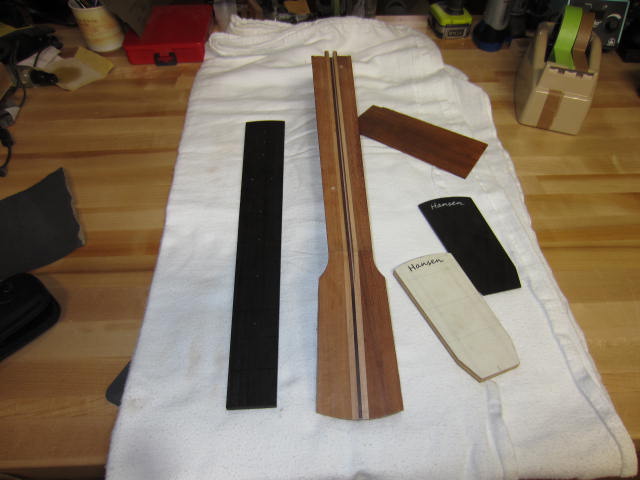
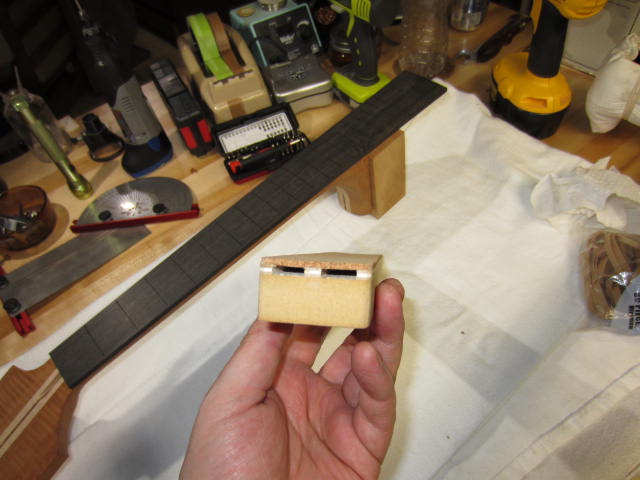
One more picture showing the ebony fretboard sitting next to the template, and the neck with the 1/8" dowels in the registration holes.
And here is the fretboard in place
And here is the fretboard in place
You do not have the required permissions to view the files attached to this post.
My poorly maintained "Blog"
-
Jim_H
- Posts: 506
- Joined: Tue Sep 06, 2011 2:51 pm
- Location: Bothell, WA USA
Re: Crazy Cocobolo!
A few more pics.
I've got the neck components all complete (at least complete enough to start glue ups).
Here are some pictures
All of the bits and pieces, including my headstock template, all layed out.
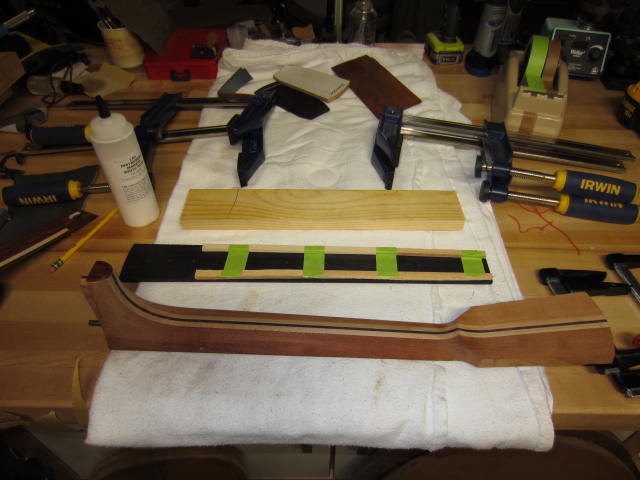
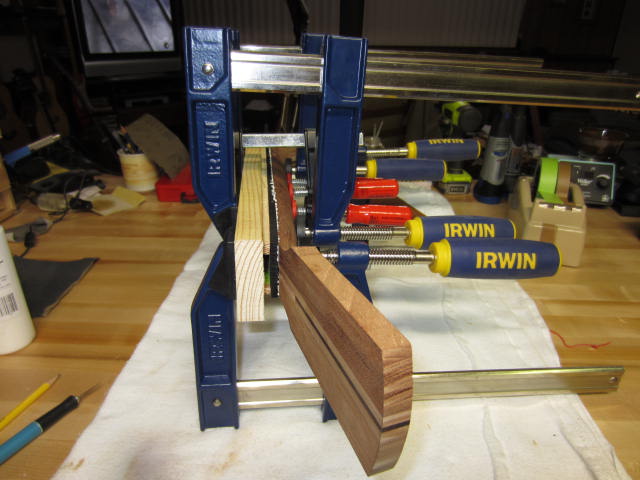
I use a couple of strips of scrap pine and a long caul to clamp the fretboard. You can see the strips taped to the fret side of the fretboard.
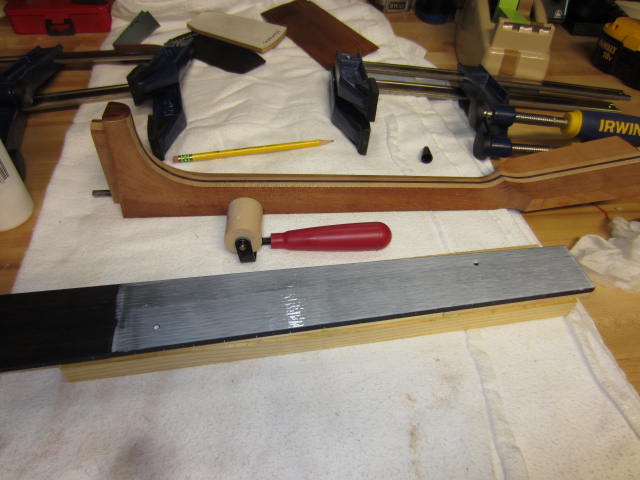
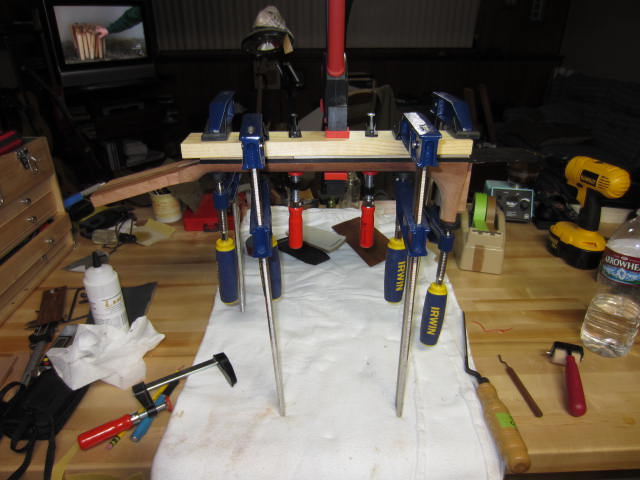
Clamps ready to go, and glue spread with a roller. I used a tad too much glue here, but squeeze out isn't a problem here, as it's easily accessible without loosening the clamps.
All clamped up and no where to go
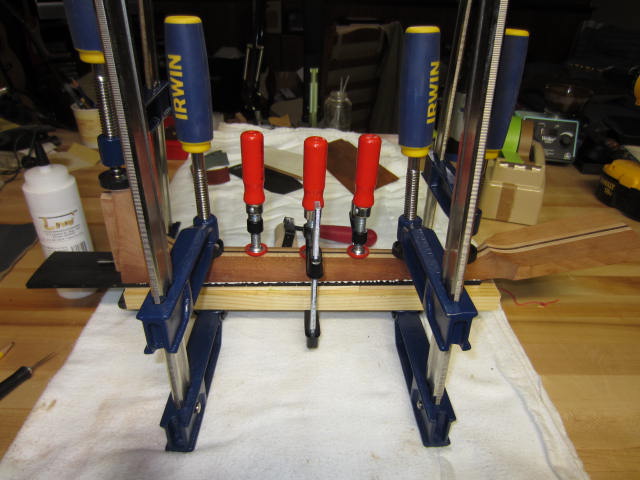
You can see the strips clamping down the edge of the fretboard. This makes clamping much easier (nice flat surface) and more effective, and also makes for a for a nearly undetectable glue line.
After about 20 minutes, I cleaned up the glue squeeze with a long offset chisel.
I've got the neck components all complete (at least complete enough to start glue ups).
Here are some pictures
All of the bits and pieces, including my headstock template, all layed out.
I use a couple of strips of scrap pine and a long caul to clamp the fretboard. You can see the strips taped to the fret side of the fretboard.
Clamps ready to go, and glue spread with a roller. I used a tad too much glue here, but squeeze out isn't a problem here, as it's easily accessible without loosening the clamps.
All clamped up and no where to go
You can see the strips clamping down the edge of the fretboard. This makes clamping much easier (nice flat surface) and more effective, and also makes for a for a nearly undetectable glue line.
After about 20 minutes, I cleaned up the glue squeeze with a long offset chisel.
My poorly maintained "Blog"
-
Jim_H
- Posts: 506
- Joined: Tue Sep 06, 2011 2:51 pm
- Location: Bothell, WA USA
Re: Jim's Dreadnought Build
Not sure who takes care of moving threads, but would someone mind moving this to the Blog subforum for me?
I started out ranting about 'crazy cocobolo', but it's turned into a build thread.
Thanks
I started out ranting about 'crazy cocobolo', but it's turned into a build thread.
Thanks
My poorly maintained "Blog"
-
johnnparchem
- Posts: 2354
- Joined: Sat Apr 10, 2010 10:50 pm
- Location: Seattle
- Contact:
Re: Jim's Dreadnought Build
I like the idea of the strips to apply pressure on the edges of the fretboard for the clean glue line. I have not used a router to shape the fretboard. I get it close on a band saw and use a block plane to get it right to some drawn lines. The template does provide consistancy that I do not have. Although I made each of my necks a slight different width based on the size of the players hand. Only a small difference at the first fret can really help out down the neck.
-
tippie53
- Posts: 7178
- Joined: Fri Mar 03, 2006 7:09 pm
- Location: Hegins, Pa
- Contact:
Re: Jim's Dreadnought Build
Anything that has to do with the neck is pretty critical for the feel of the end guitar. This is a similar cawl to what I use . I use a 16 radius and it has cork on it for a little compression on the edges
John Hall
Blues Creek Guitars Inc
Authorized CF Martin Repair Center
president of Association of Stringed Instrument Artisans
http://www.bluescreekguitars.com
Blues Creek Guitars Inc
Authorized CF Martin Repair Center
president of Association of Stringed Instrument Artisans
http://www.bluescreekguitars.com
-
Jim_H
- Posts: 506
- Joined: Tue Sep 06, 2011 2:51 pm
- Location: Bothell, WA USA
Re: Jim's Dreadnought Build
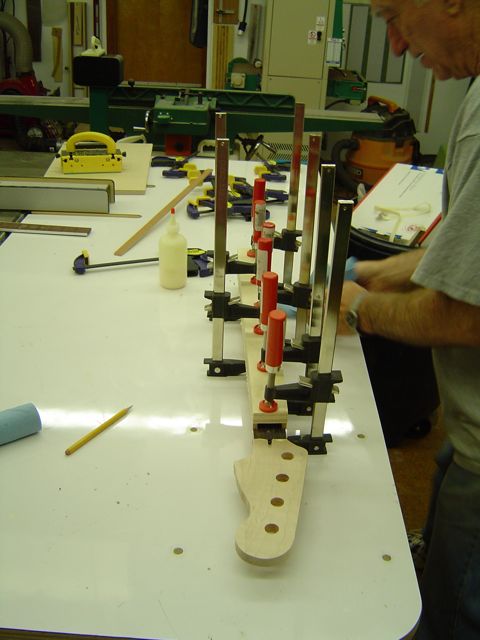
I had intended to build a caul that matched the exact dimensions of the fretboard, and had three strips permanently attached (one center, one on each edge) that were sanded to match the radius of the fretboard. Unfortunately, the noise rules in the house were in effect when it came time to make it, so I improvised.
I got the idea for this from Sylvan Wells site.
Edit:
This is the picture that gave me the idea. It came from thi article.
http://wellsguitars.com/In_The_Shop/Eas ... index.html
I got the idea for this from Sylvan Wells site.
Edit:
This is the picture that gave me the idea. It came from thi article.
http://wellsguitars.com/In_The_Shop/Eas ... index.html
My poorly maintained "Blog"
-
Jim_H
- Posts: 506
- Joined: Tue Sep 06, 2011 2:51 pm
- Location: Bothell, WA USA
Re: Jim's Dreadnought Build
I haven't updated this in a few days.
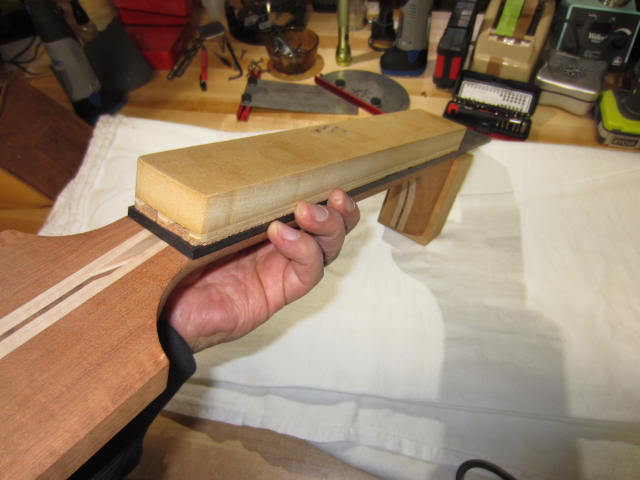
I ended up making a new caul for clamping the fretboard to the neck. It's a piece of 3/4" MDF cut to the profile of the fretboard with three strips of scrap wood glued down the face lengthwise. One down the center, and one down each edge. I used some course sandpaper and profiled these strips to match the radius I use (16') and then glued 1/8" cork to it and trimmed it flush.
I ended up making a new caul for clamping the fretboard to the neck. It's a piece of 3/4" MDF cut to the profile of the fretboard with three strips of scrap wood glued down the face lengthwise. One down the center, and one down each edge. I used some course sandpaper and profiled these strips to match the radius I use (16') and then glued 1/8" cork to it and trimmed it flush.
Last edited by Jim_H on Fri Dec 30, 2011 3:57 am, edited 1 time in total.
My poorly maintained "Blog"
-
Jim_H
- Posts: 506
- Joined: Tue Sep 06, 2011 2:51 pm
- Location: Bothell, WA USA
Re: Jim's Dreadnought Build
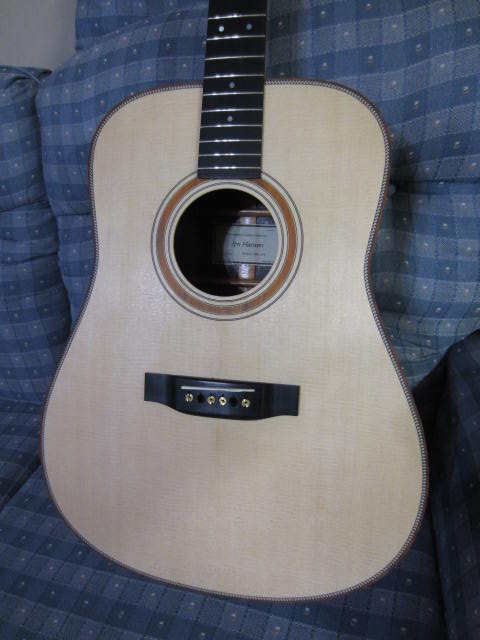
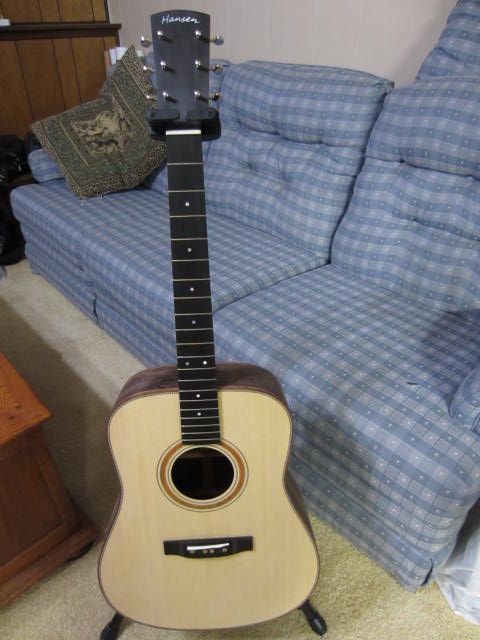
And here are some pictures of the current status as of this evening.
I've located and temporarily mounted the bridge (using stewmac bridge bolts), fit the nut and temporarily mounted the tuners (no bushings yet) so I can finalize the neck angle and set the action under string tension.
Once I finalize the neck angle, I'll start prepping for finish. Haven't decided if I'm going to try a tru-oil/french polish combo or if I'm going to hire someone to finish it. I heard that there is a guy in Olympia that sprays nitro for some of the local music stores. If that works out and I don't have to pay to ship it across the country I'll probably go that route. This is a prototype/spec guitar and I don't want to spend a fortune getting it finished.
Here are a few pics.
My poorly maintained "Blog"
-
johnnparchem
- Posts: 2354
- Joined: Sat Apr 10, 2010 10:50 pm
- Location: Seattle
- Contact:
Re: Jim's Dreadnought Build
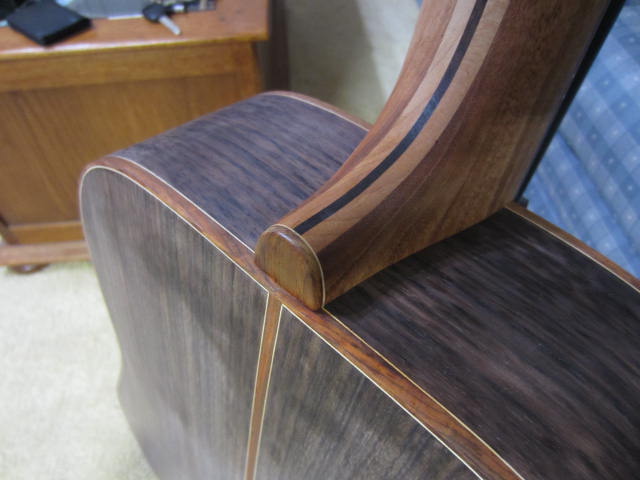
That is a nice looking guitar. I really like the look at the heelcap where the purfling lines run together.
If you ship it out, would you still have to do your own pore fill?
If you ship it out, would you still have to do your own pore fill?