Cont'd

My very simply cello cradle. A cradle was going to take some time and alot of space and materials (well more than I wanted to give up right now) So I mean an impermanent cradle simply just with spacer blocks to shim up the edges so the plywood can support the center seam and the center arch.
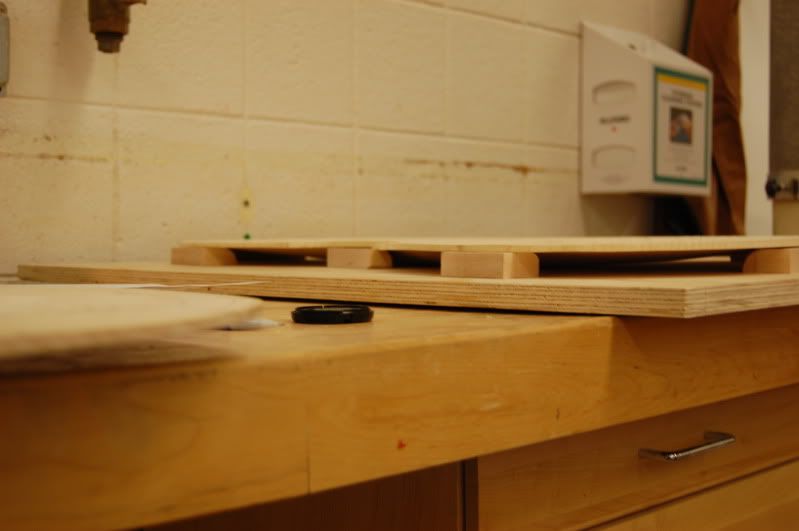
The arch just barely touch the plywood and the weight is taken off of the center seam so the chances of splitting your plate while pushing on the inside is limited. It also keeps the plate secured and balanced, or else it rolls all over the place.

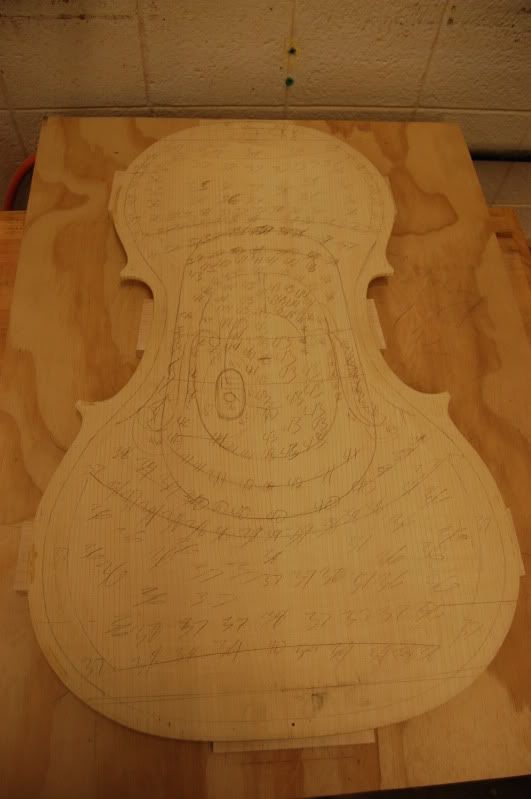
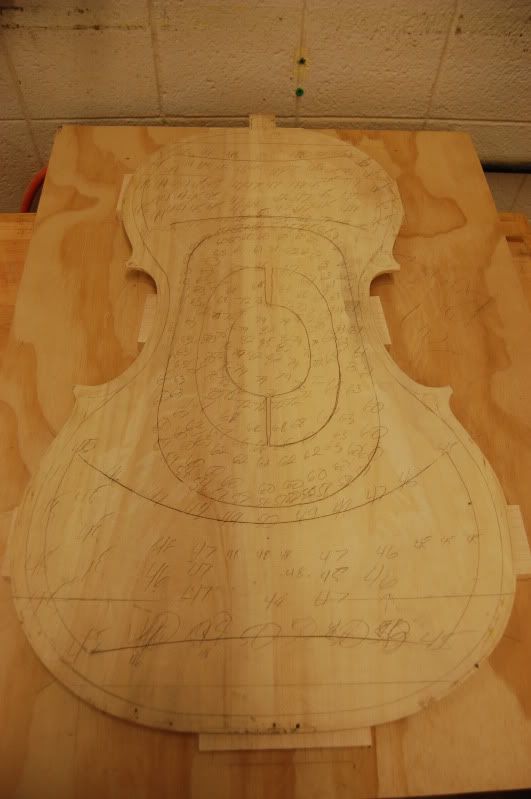
Here's shot of the plates once the depth measurements intermix with each other. After a certain point the depth you're drilling on the back will then be the same depth you need to drill on the top, and it's at this point that you start bouncing back and fourth, and it starts to feel a bit tedious to track down all the numbers and not miss any needing to be drilled for that setting. Also notice that the thickest spot of the back is the center, and the thickest spot of the top is the sound post area.
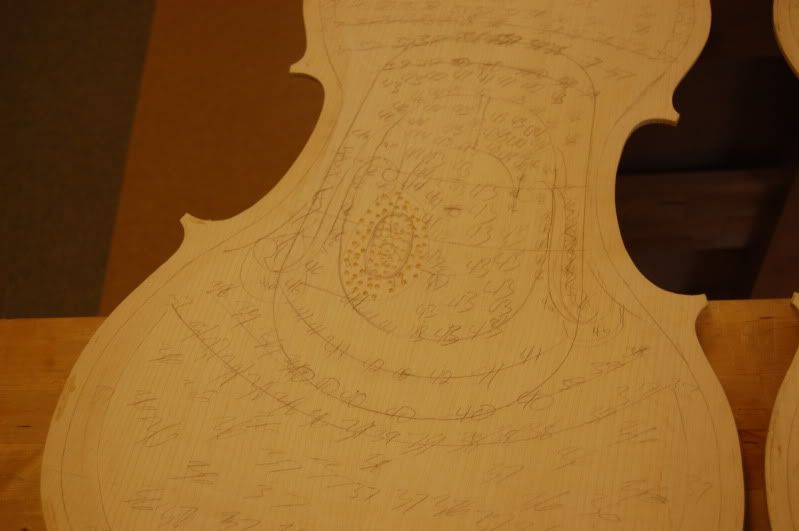
The F-holes have to be drawn into the top to mark thicknesses. As around the F-holes it's left a little thicker, as on this top it's 4.6 (5.1 because I added +.5mm) where as outside of the F hole area is 4.4 and lower. I also have to know where the F holes are going to be on the inside for when starting to cut them out. I don't want to drill all the way through the top to start the hole because of tear out, so I meet half way from each side of the plate.

Here's the progress of the back, up to the point to where the depths intermix with the tops dimensions.
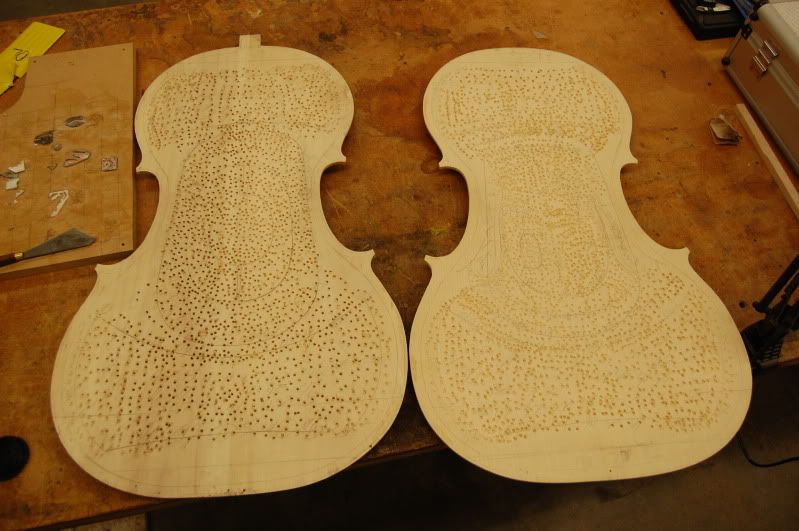
After about 1.5hrs or so standing in front of the drill press, an achy back, and some sore feet, here's the plates fully finished and drilled. You may notice some spots that could have been drilled, but I decided I'd just keep checking those with calipers. The more holes you drill in each area the more accurate your thicknesses will be, when it comes to planing the material off.
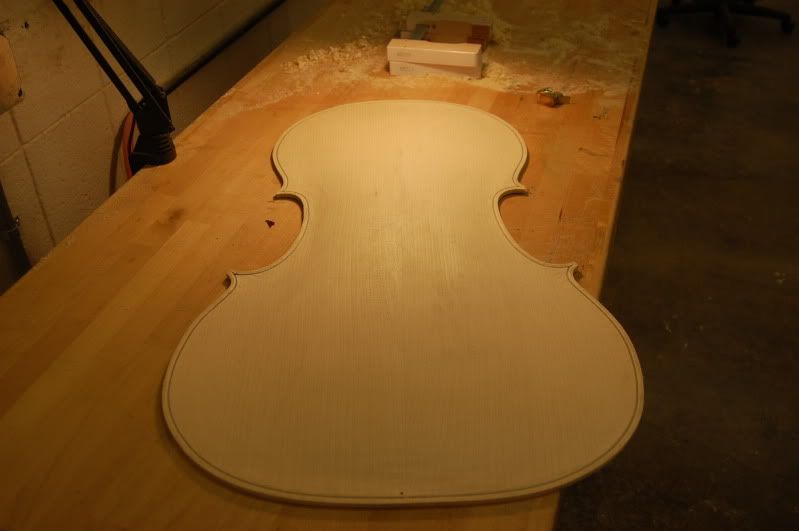
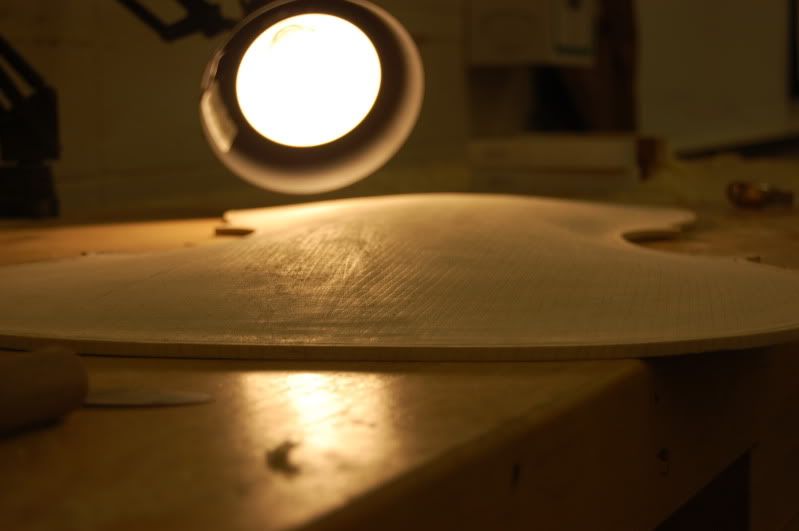
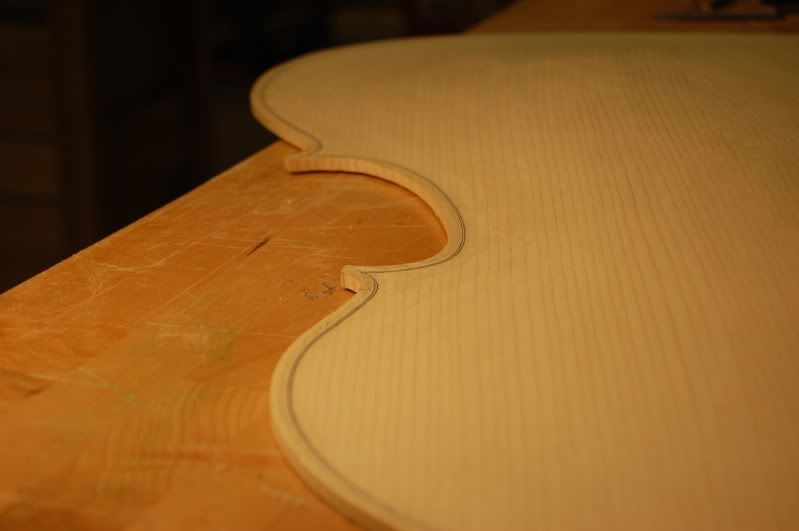
So at this point in the build, I need to potentially go back to an arching gouge and hog out a little bit of material to shallow out those holes, and then spend time with a larger finger plane until I get to the very tips of the bottoms of the holes. And at the point, it's time to scrap and check frequently and religiously with calipers to see where I'm at.
Until next time,
-Dan





 v
v
