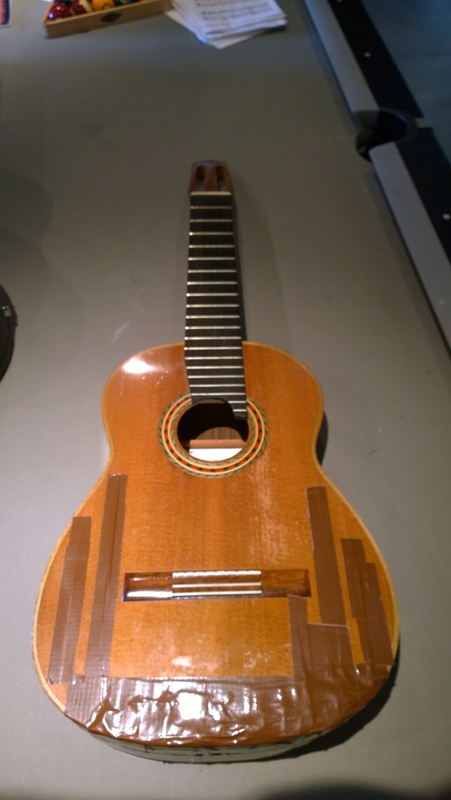
I pulled it apart, all and all it looks very nicely made and is in good condition other than the top. The WRC top was amazingly thin at 1.1 mm. It had a spruce lattice bracing. It probably sounded great but it was a little fragile as a gig guitar.
The top was a total loss. I thought about trying to keep the old bindings\purflings because the linings that support the top were wide enough. I ended up pulling them as my top was a mm thicker than the old. I would have needed to drop the new top in. I have matching koa bindings that I can use as a replacement.

The insides looks good. I got the fret board off cleanly so I will be able to reuse it. There were some cracks in the sides that were repaired, with the top off I cleaned up those repairs and make them more permanent. I also had to fix a few other side cracks.
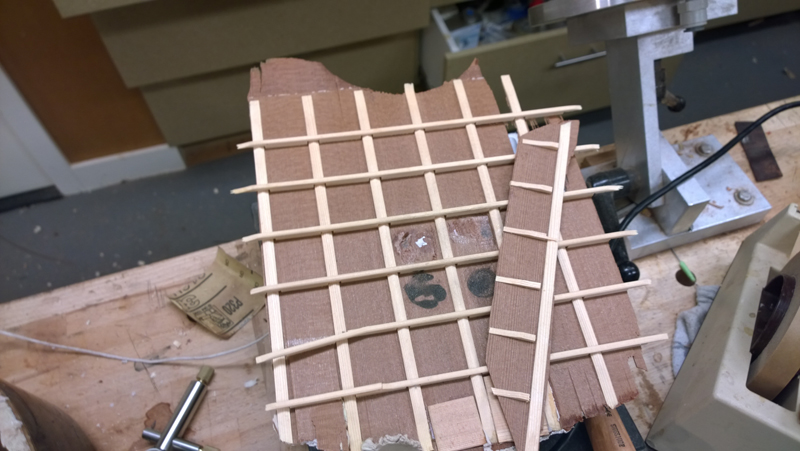
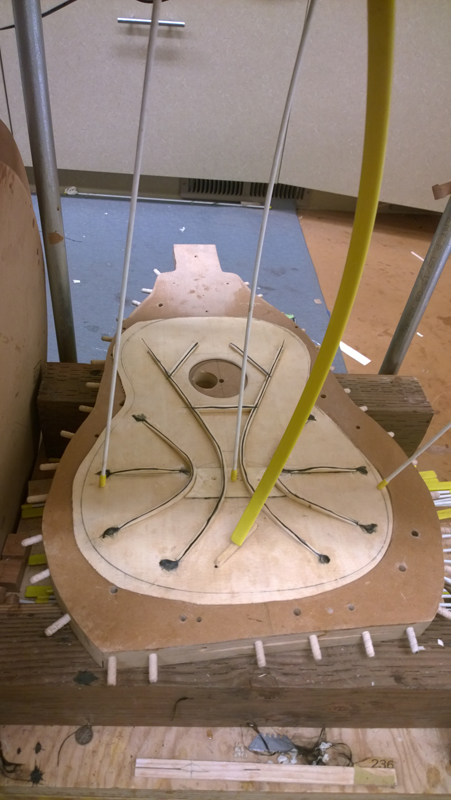
I currently have the instrument re-topped and I am in the process of french polishing the top. I did use a falcate pattern, the molds I have for my Hauser guitars worked fine. I also followed tomigv suggestion and used CF under a 1 mm bridge plate.
To add a bit more lateral stiffness I built A new BRW bridge with CF laminated in the block a mm below the top of the bridge.
To match the geometry of the original guitar I built the top in my solera that is dished out for a 25' radius.
Here a few pictures
Basic brace pattern with bridge plate. (a cut down version of the SS bridge plate form the book.
Used my solera in a gobar deck
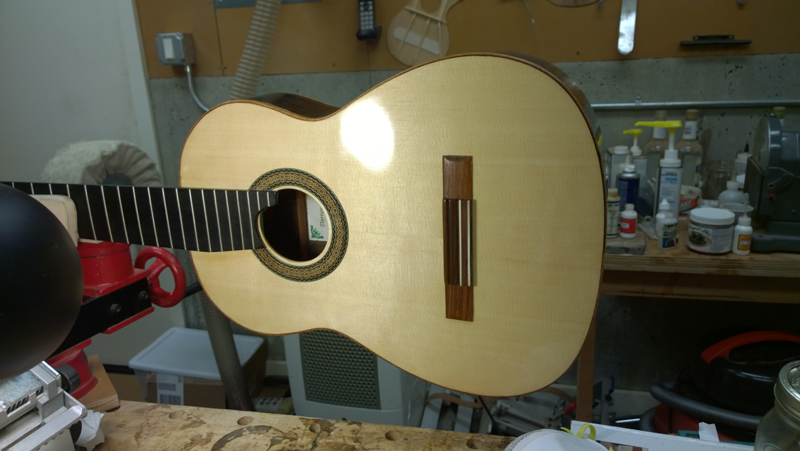
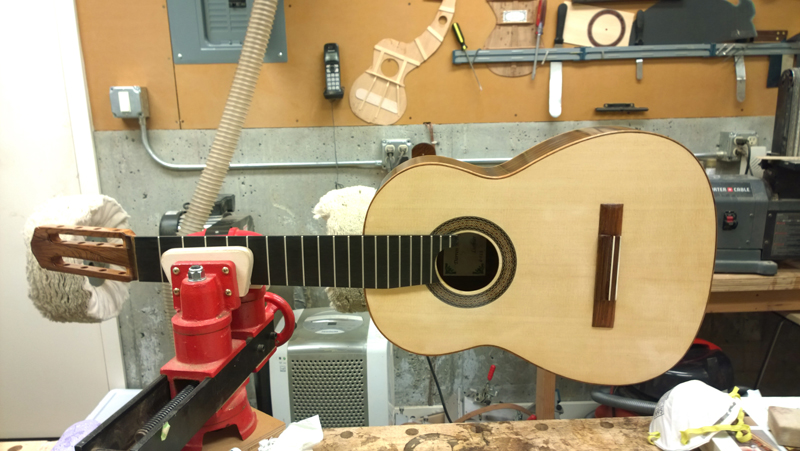
I was able to match the Koa bindings and BW purfling no problem

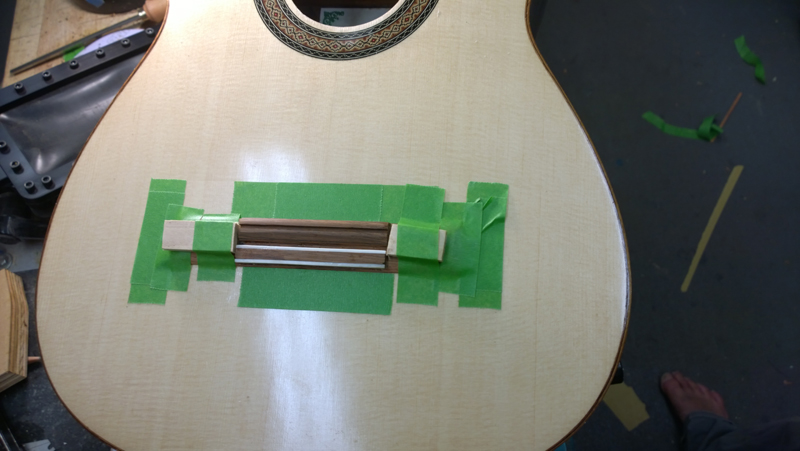
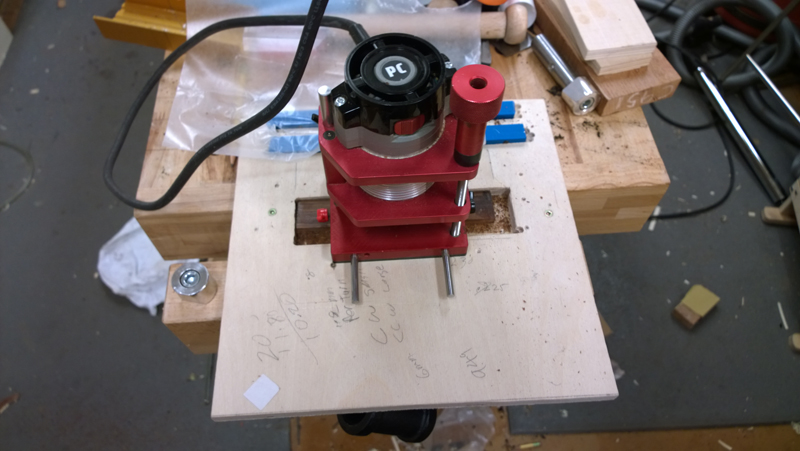
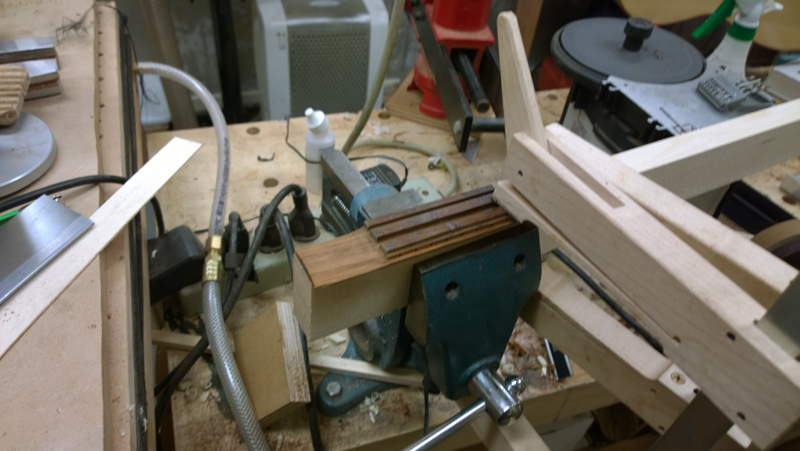
Built the bridge in my handy classical bridge making tool. A simplification of the jig in the book. I cut the wings with a razor saw and a band saw and then used a rasp to shape them.
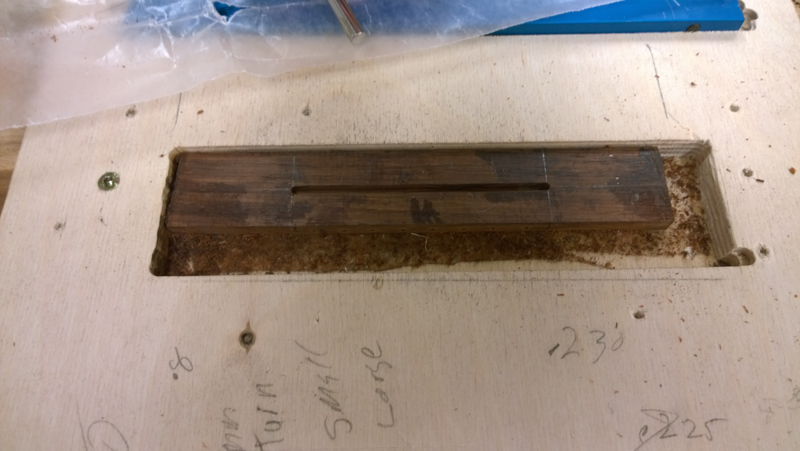
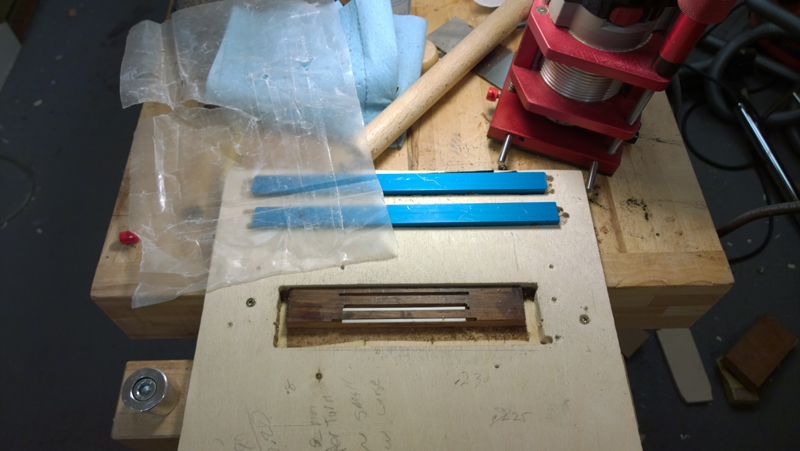
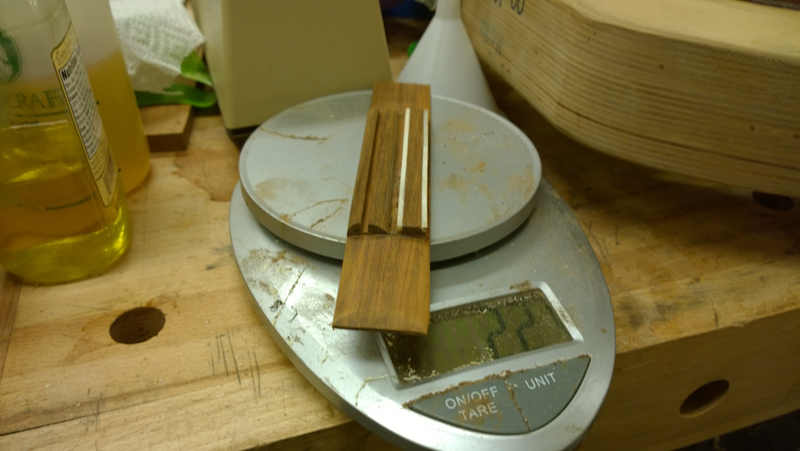
At the time of this picture still have about .6 mm to remove from the bottom of the bridge, ultimatly the bridge weighted 20 grams
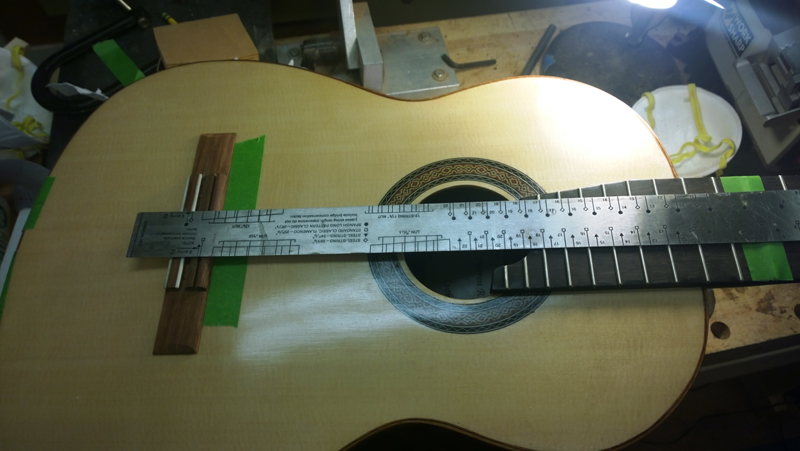
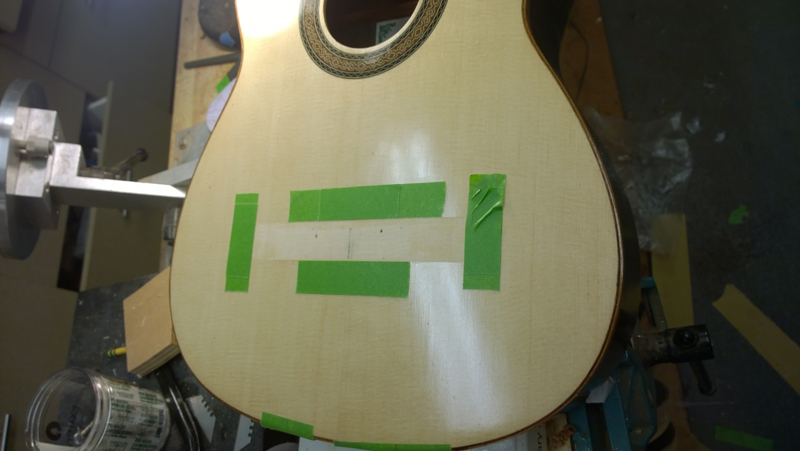
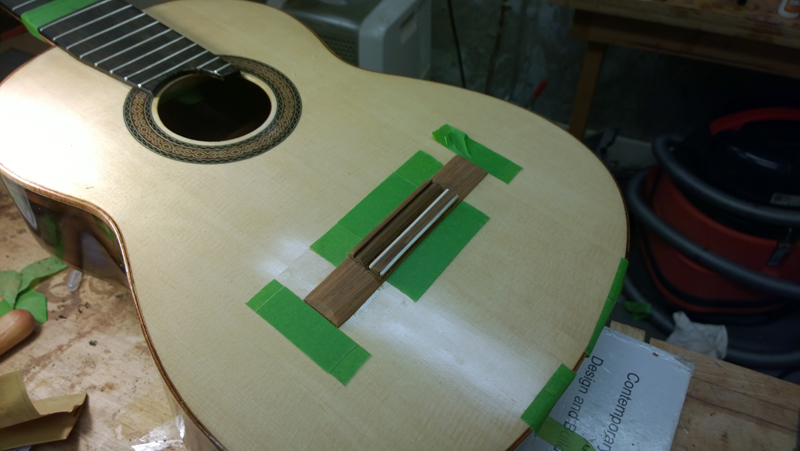
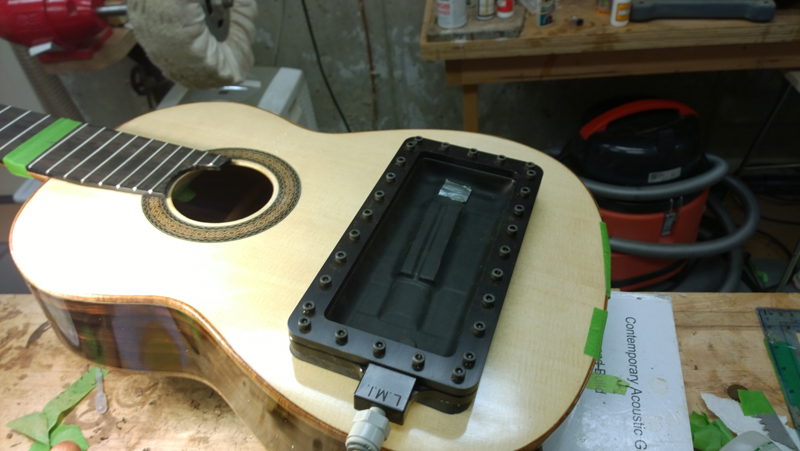
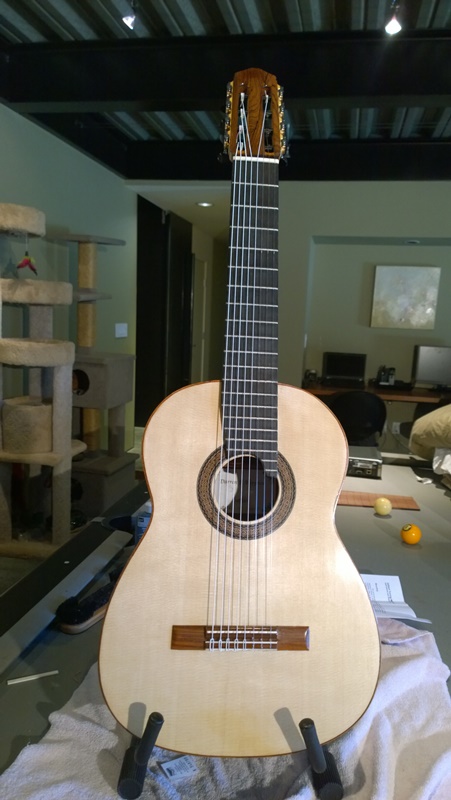
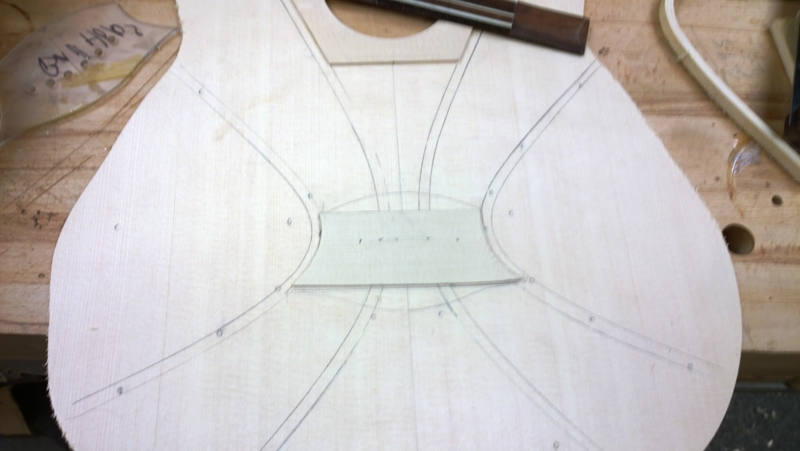
Today I glued on the fret board, sorry I did not take pictures and installed the bridge. I normally use locator pins but I glued some K&K pickups on the bridge plate, and did not want to drill through them with locator pins. So I set the bridge carefully, using scale and compensation measurements and boxed in the location with tape. With the bridge taped down. I traced the profile with a scalpel and cleared out the shellac from the bridge location. Here are some pictures.
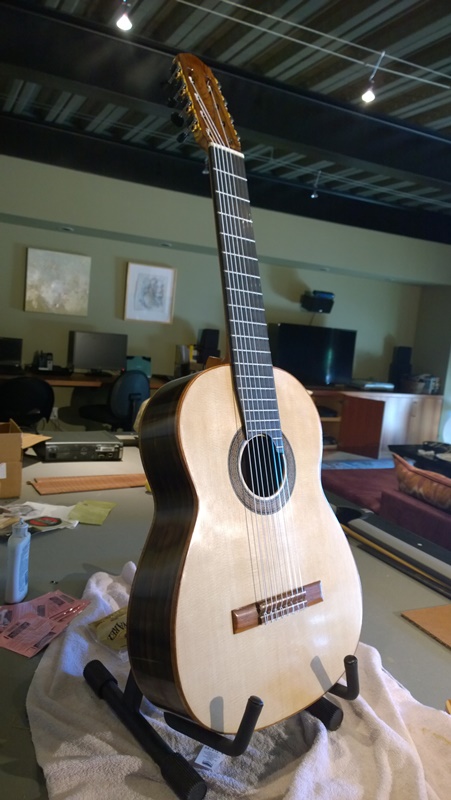
I still have finish touch up and surprise, none of my saddle blanks are long enough for an 8 string saddle. But it looks like the re top came out looking ok.