The fix for my headstock mistake... Not too bad.
Posted: Fri Apr 27, 2012 12:16 am
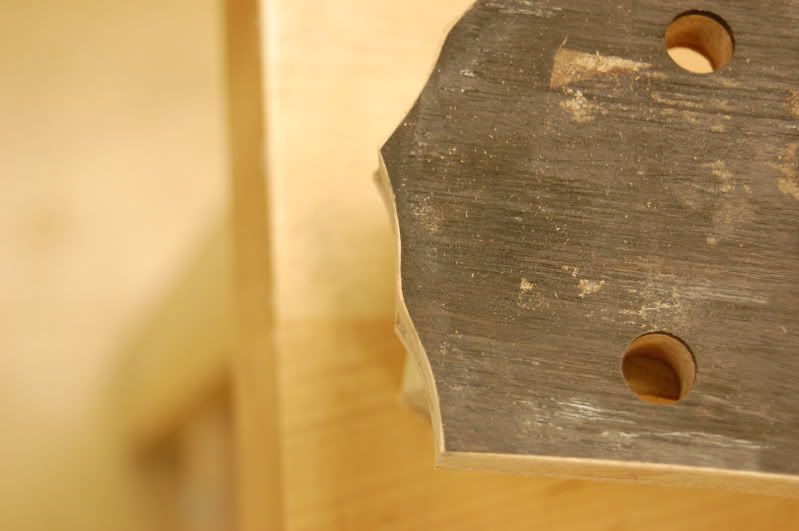
So, as I posted in another thread, the other night I tried to fit in alot of guitar work seeing as my schedules so jam packed right now, so I tried to make time by staying up. With that said I got to thinking (or not thinking) at about 1:15am that I'd save myself some time by flush trimming my maple bindings down to my headstock... Well that worked out terribly as I had forgotten that after I trimmed my shape in from my template in the first place, I had adjusted it by hand as it was the first guitar with this headstock.
With that said, the template was no longer the same shape, and there was no way to center it, but I was feeling lucky I guess.
Anyhow, it ate into my headstock a little bit, which would have been no big gig, but I had just spent a couple hours binding my headstock. Granted, that was precious time that I didn't have in the first place, and all tasks at home are a bit more difficult with out the proper tools at my disposal. Awful lighting, lack of tools, and tired. All equal terrible things.
I was lucky to scrap away with clean channels in the first place, followed by really clean binding and miters, as it's wooden binding on the headstock, and bends along the top took a little time. Up to that point it was all luck at that time of the night. But after that, the luck slipped away and I butchered it. The binding got paper thin in a couple spots, and was full thickness in the others.
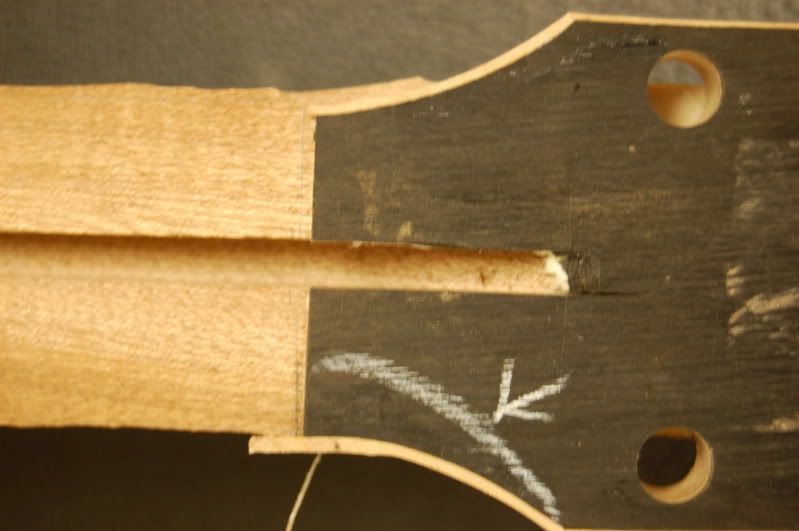
The only plus side is what I had over looked... The tapers from the headstock to the nut were off center on the treble side... Big time! I have a picture below of that. Once I realized this, I was completely ok with the fact that I ruined my binding as it was doomed to begin with. Lesson learned?? Don't work on guitars when your sleep deprived.
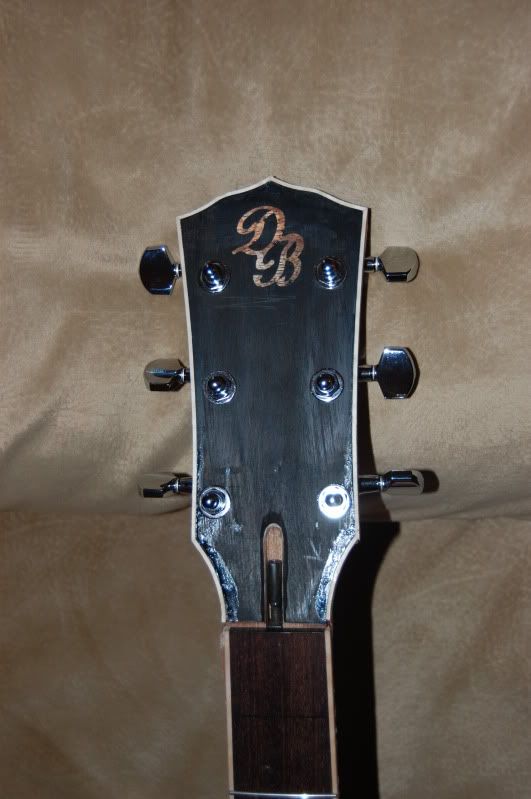
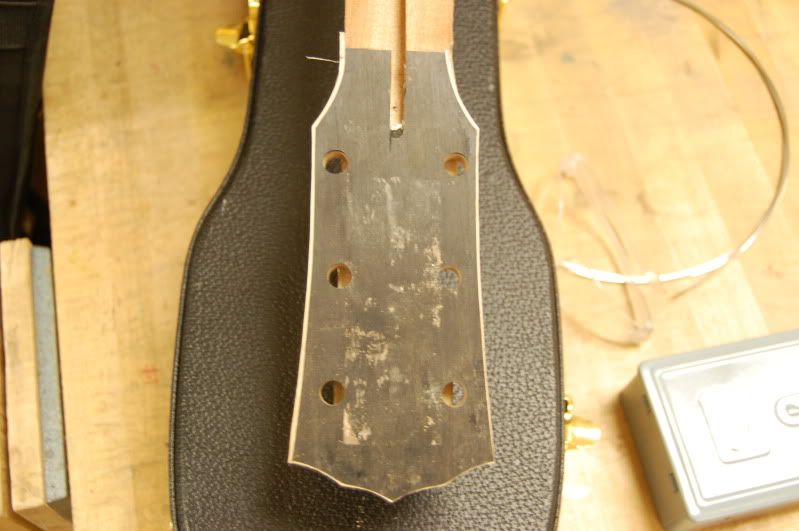
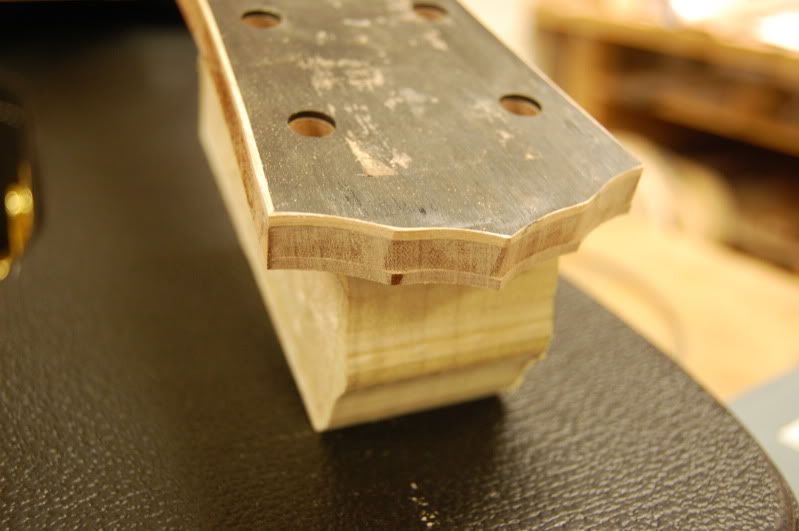
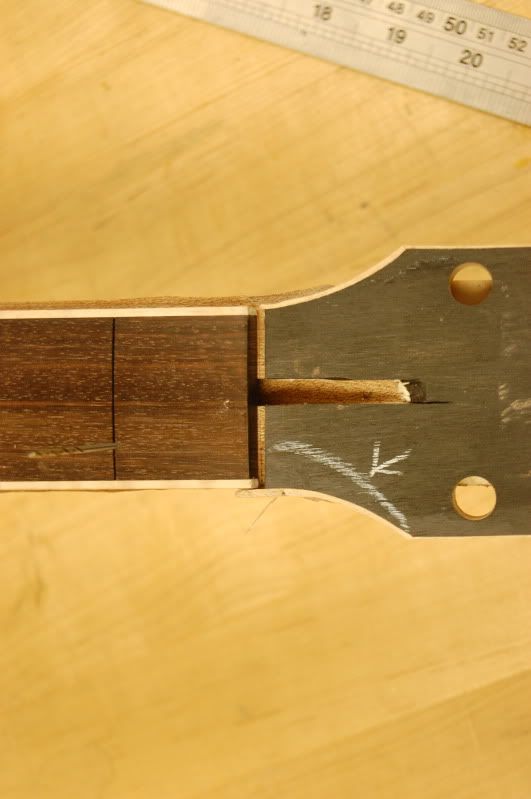
So the fix was to spindle sand a new even looking shape to the guitar, basically clean up the asymmetry, and try to keep the original shape. So once the headstock was cleaned up, I had to route new binding channel to eliminate the original flawed thickness binding. Didn't take too long the second time around. With the proper tools it was routed, and bound up with in an hour. Take a peak, and I'll upload more once the guitars actually cleaned up, but it's very sloppy looking right now as it has to be sanded out.
Here's pictures, plus a couple bonus.
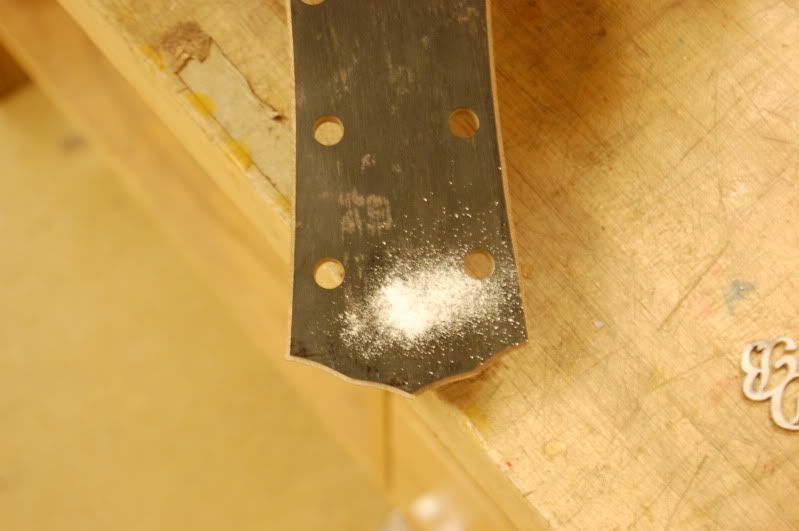
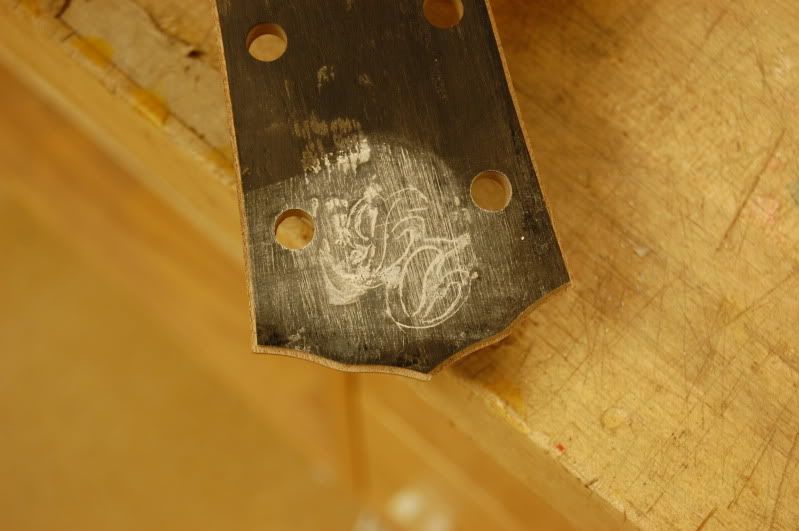
Before:
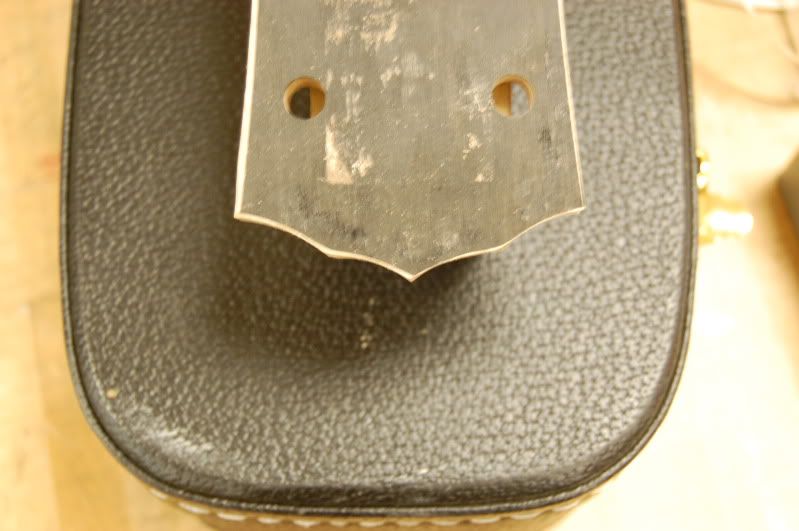
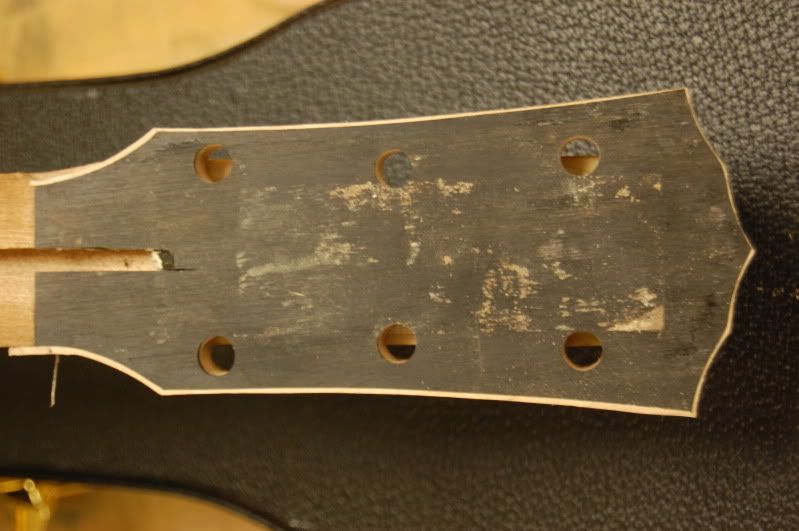
Notice how the treble side is far too wide, something I overlooked before routing it the first time. This was the realization that made the initial mistake feel alright, since this was bound to happen anyhow, haha.
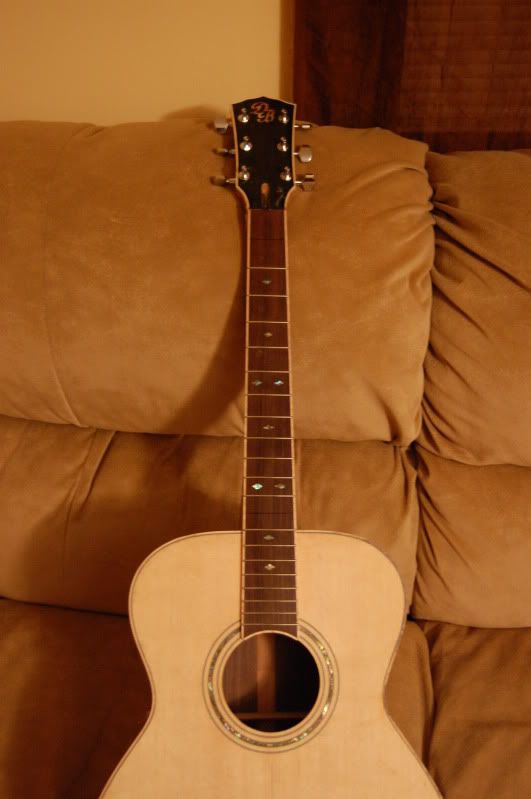
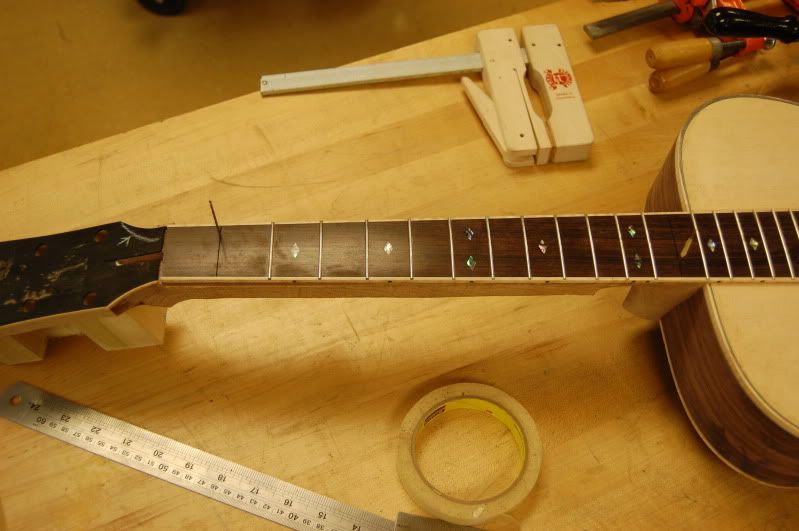
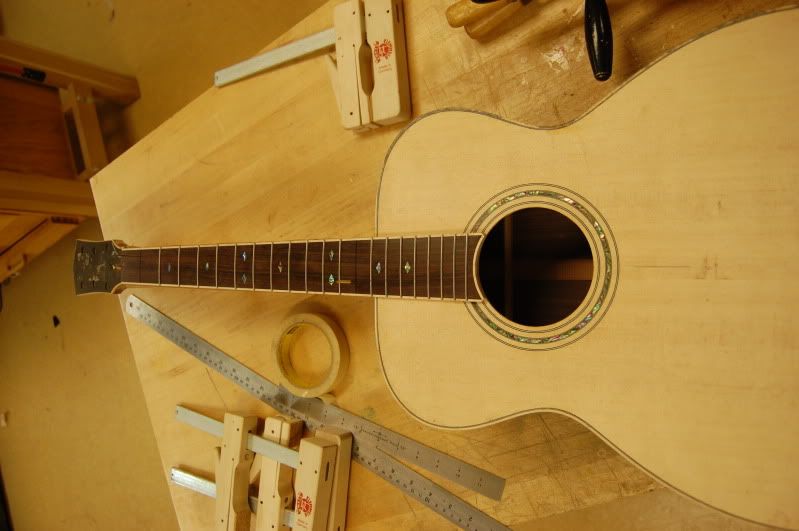
Here's a couple bonus pictures, about to dry clamp fingerboard gluing.
With that said, the template was no longer the same shape, and there was no way to center it, but I was feeling lucky I guess.
Anyhow, it ate into my headstock a little bit, which would have been no big gig, but I had just spent a couple hours binding my headstock. Granted, that was precious time that I didn't have in the first place, and all tasks at home are a bit more difficult with out the proper tools at my disposal. Awful lighting, lack of tools, and tired. All equal terrible things.
I was lucky to scrap away with clean channels in the first place, followed by really clean binding and miters, as it's wooden binding on the headstock, and bends along the top took a little time. Up to that point it was all luck at that time of the night. But after that, the luck slipped away and I butchered it. The binding got paper thin in a couple spots, and was full thickness in the others.
The only plus side is what I had over looked... The tapers from the headstock to the nut were off center on the treble side... Big time! I have a picture below of that. Once I realized this, I was completely ok with the fact that I ruined my binding as it was doomed to begin with. Lesson learned?? Don't work on guitars when your sleep deprived.
So the fix was to spindle sand a new even looking shape to the guitar, basically clean up the asymmetry, and try to keep the original shape. So once the headstock was cleaned up, I had to route new binding channel to eliminate the original flawed thickness binding. Didn't take too long the second time around. With the proper tools it was routed, and bound up with in an hour. Take a peak, and I'll upload more once the guitars actually cleaned up, but it's very sloppy looking right now as it has to be sanded out.
Here's pictures, plus a couple bonus.
Before:
Notice how the treble side is far too wide, something I overlooked before routing it the first time. This was the realization that made the initial mistake feel alright, since this was bound to happen anyhow, haha.
Here's a couple bonus pictures, about to dry clamp fingerboard gluing.