This will be a sort of long post as I have made a bunch of progress on my latest project. As you will read this project has changed as it progressed from my original top choice and I so like the falcate braced guitar I have just built that I decided to try the falcate braces on this guitar as well.
But back to the project.
I jointed both of the plates and installed a amboyna rosette in the top. Unfortunately while I was scraping the top a unsightly pitch pocket opened up. This top was so clean that it really was a bad looking flaw. Unfortunate it was an old growth red spruce top from NC. I decided to make a new top, but slightly bummed I moved on to the rims.
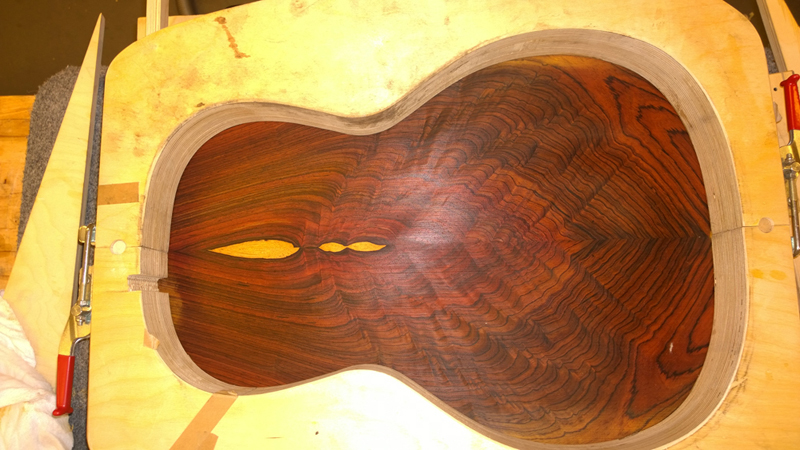
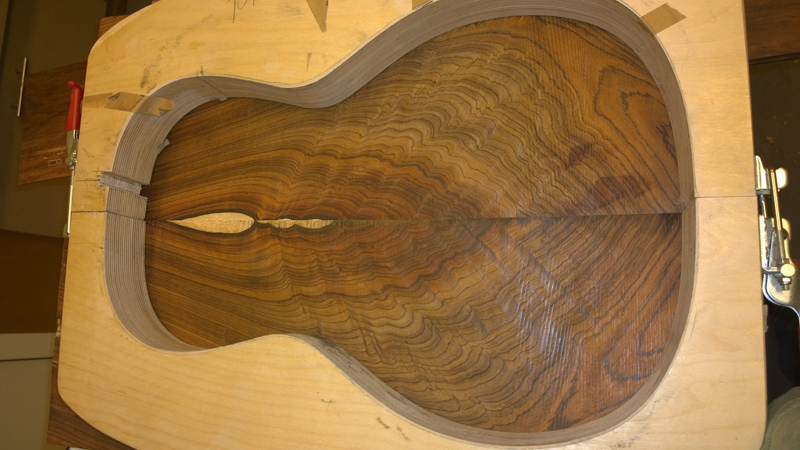
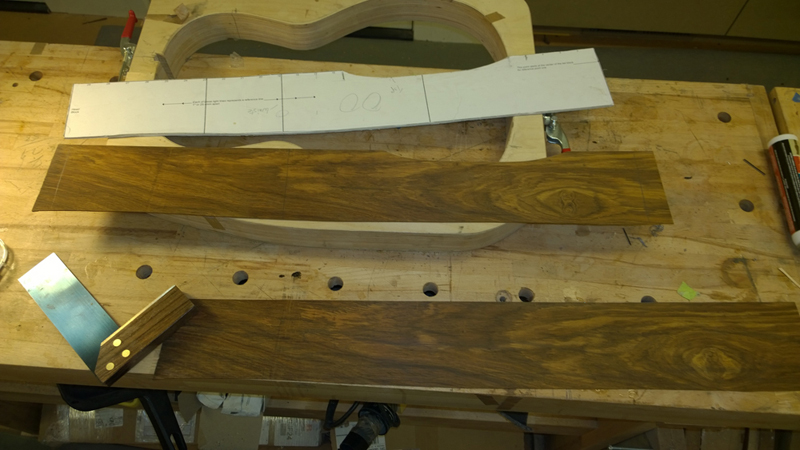
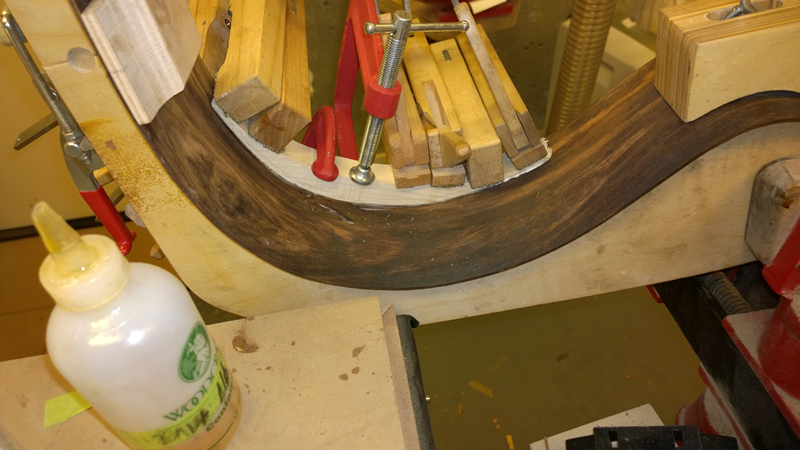
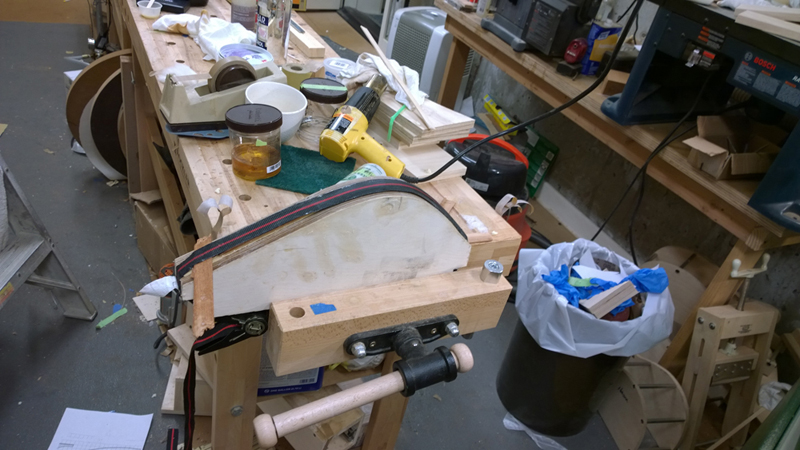
The Colobolo sides bend without any issues. I used a template from my previous 00 to mark and cut the shape for the arm bevel that this guitar will have. Based on the customer's input I have shifted the bevel toward the tail.
I used my luthiers friend to help make a plywood tail block, and I put together a head block that will be used to support a bolt on bolt off neck that I learned to make in my last guitar.
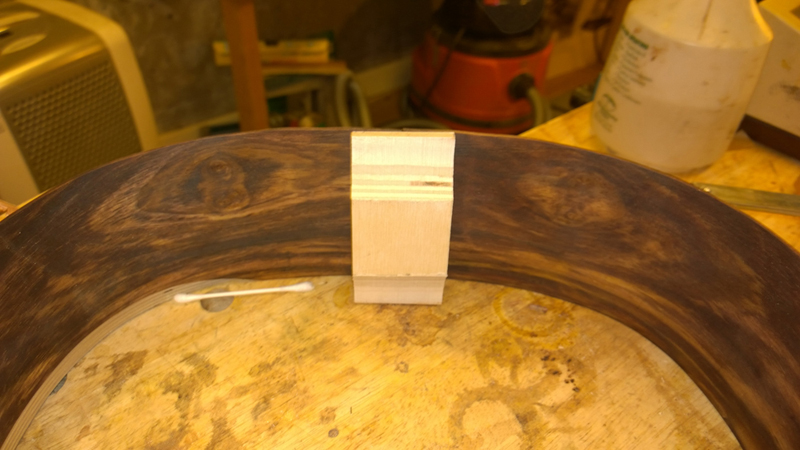

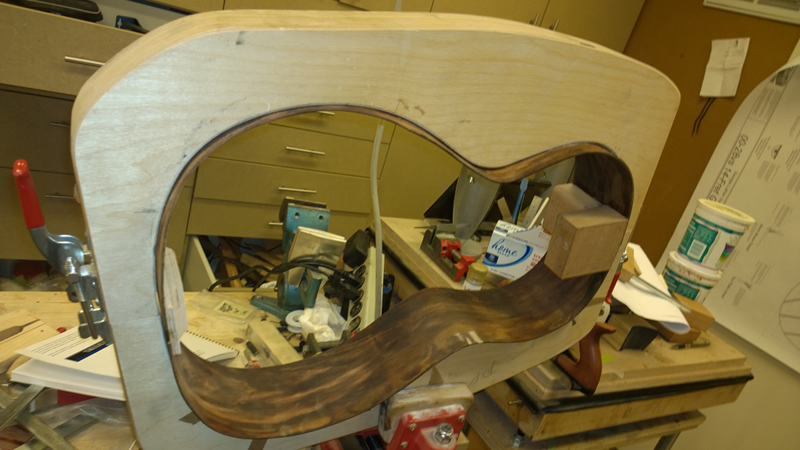
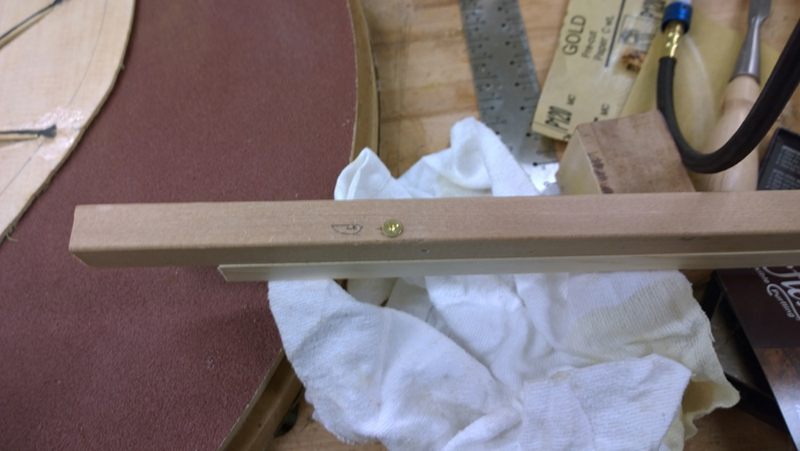
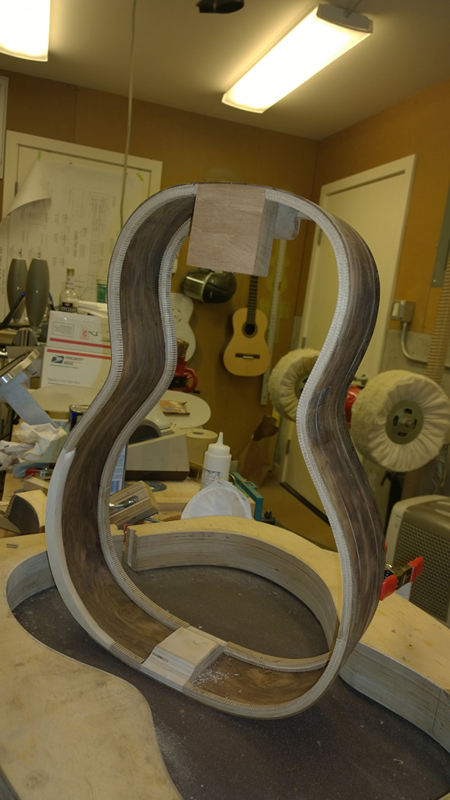
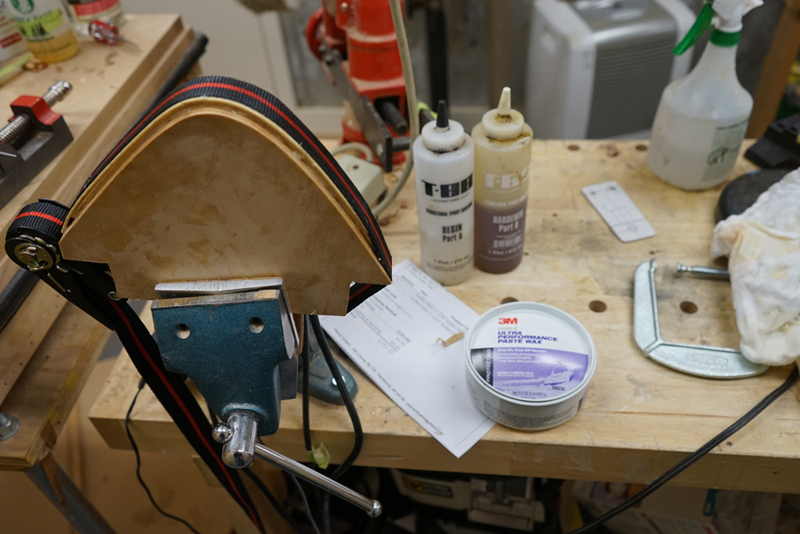
I glued in a basswood support that will form the substrate of a veneered arm bevel. I used a 32 foot (top) and a 15' back radius board to first profile the rims and then to profile my fancy Petro's Guitar purflex. All and all I have posted a bunch of projects showing this work but you can see where I left off.
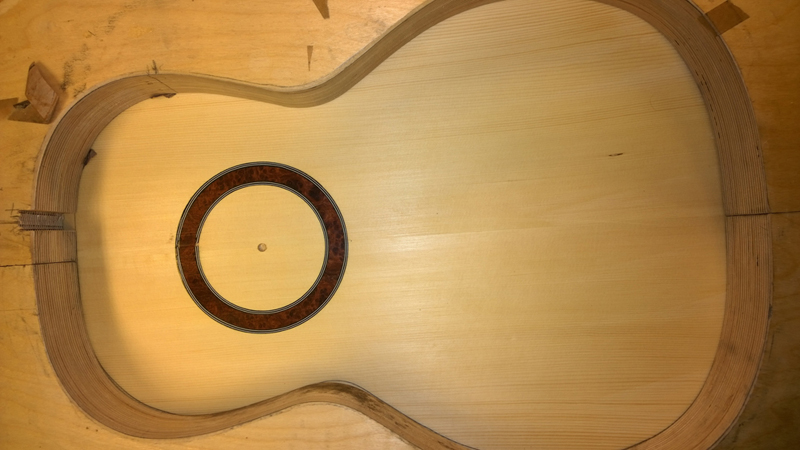
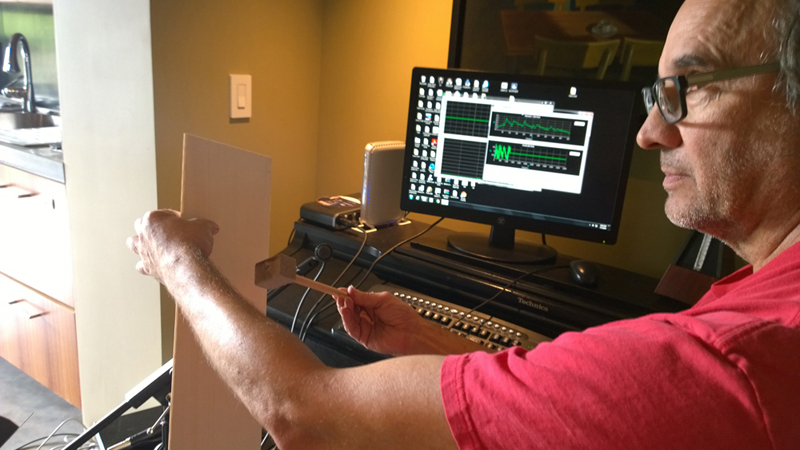
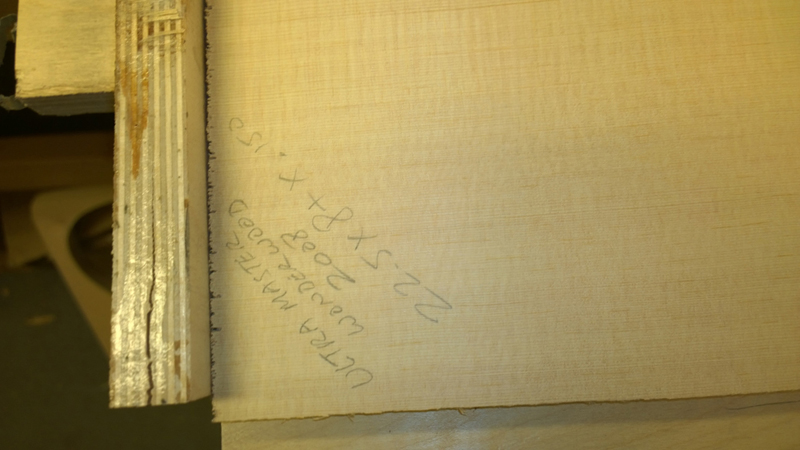
Back to the top, I had a couple of nice looking Wonder wood lutz tops that I bought from another luthier. I believe they originated from SpruceToneWood. So I used Visual Analyser to measure the tap tones of one of the plates and determined my target thickness for the top, jointed the top and prepared it for installing the rosette.
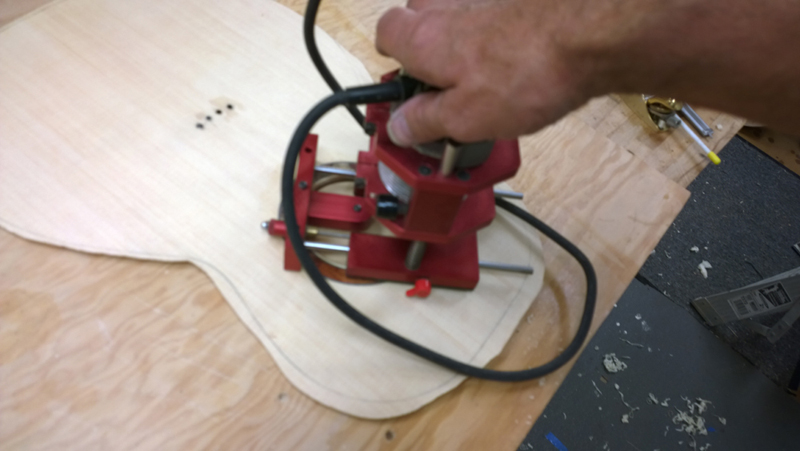
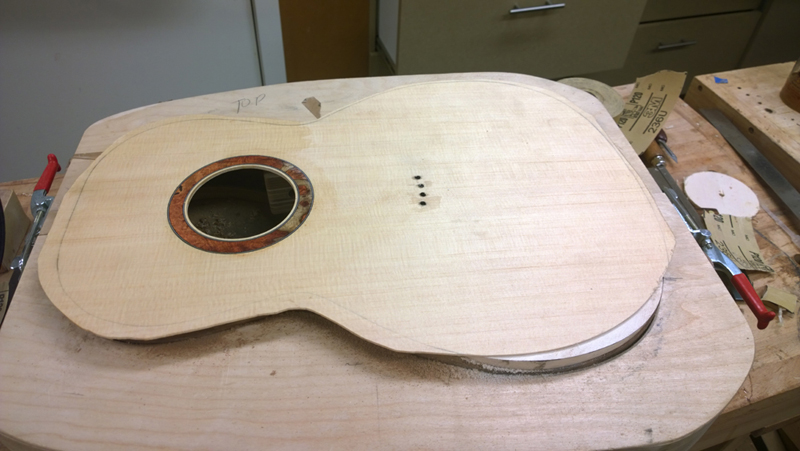
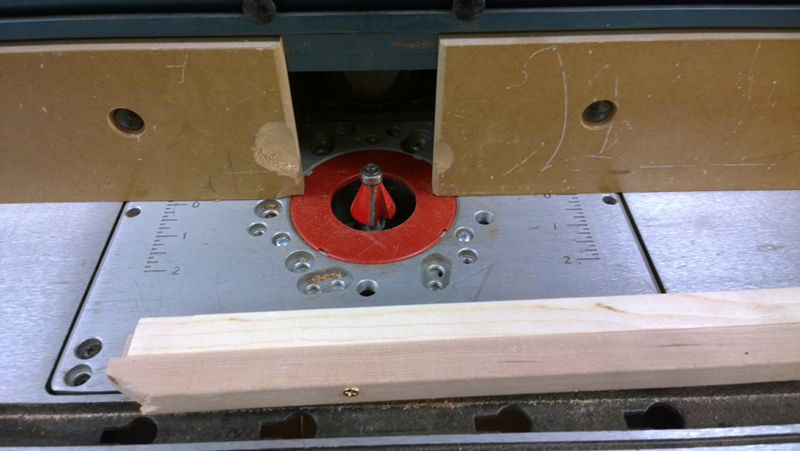
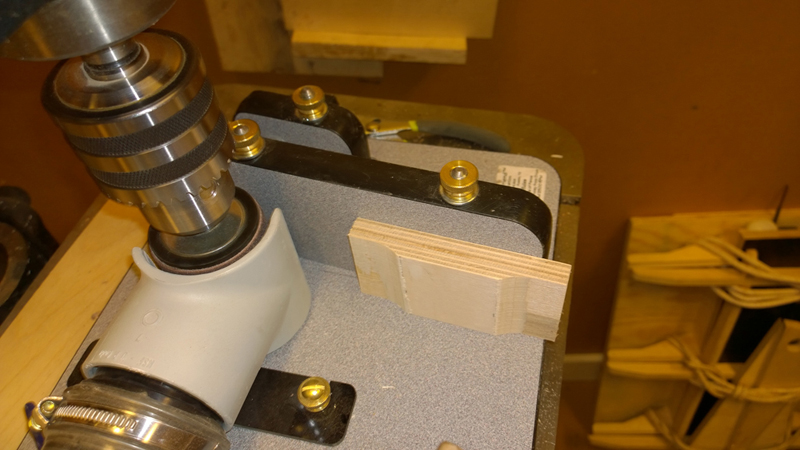
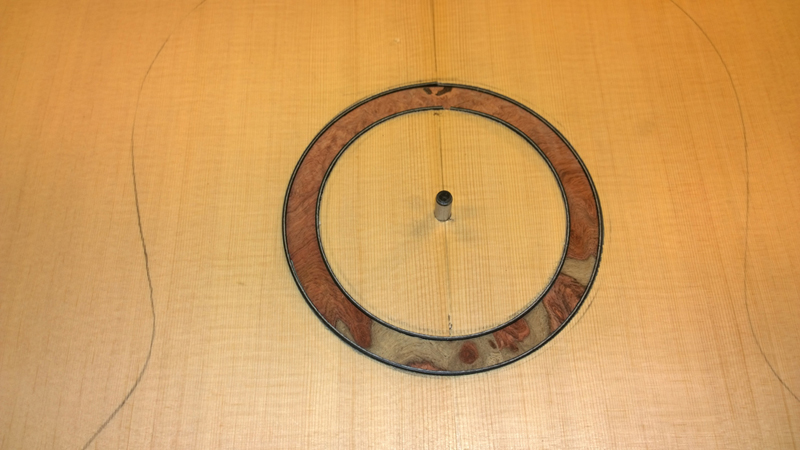
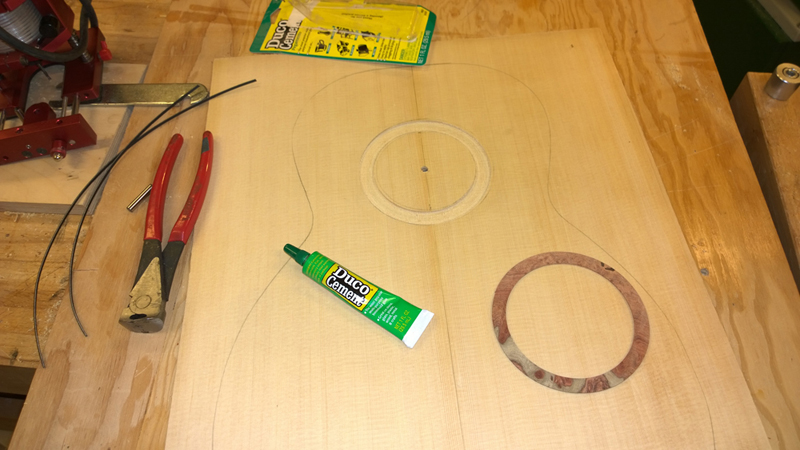
I jointed two book matched slices of amboyna, determined where I wanted to cut the ring and prepared the wood for routing. To install a rosette and a purfling for a perfect fit without careful measurements I use a router bit that is the perfect size for the purfling. I set the desired cut depth for the top and cut either the outside or inside of the rosette. I leave the router set exactly the same depth and radius and cut into the rosette blank. The rosette blank is thicker than the cut depth that I do not cut through. I cut the other ring on both the top and rosette blank so that I end up with a top with the outside edges of the rosette cut to size and the rosette blank with a cut to the desired rosette thickness (matches the top).
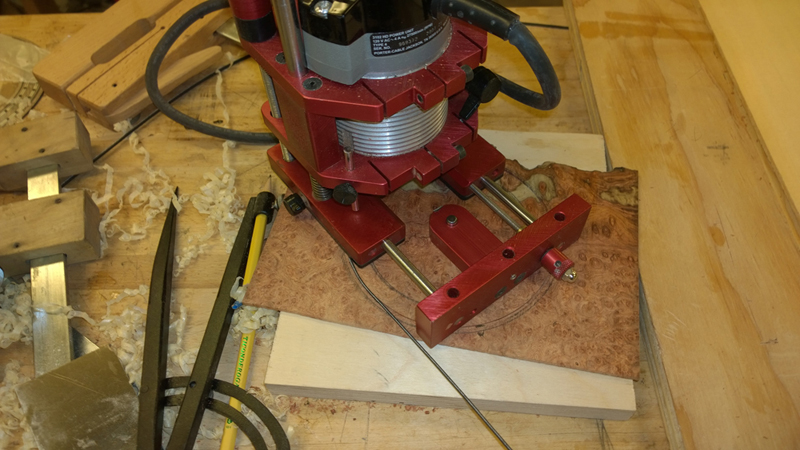
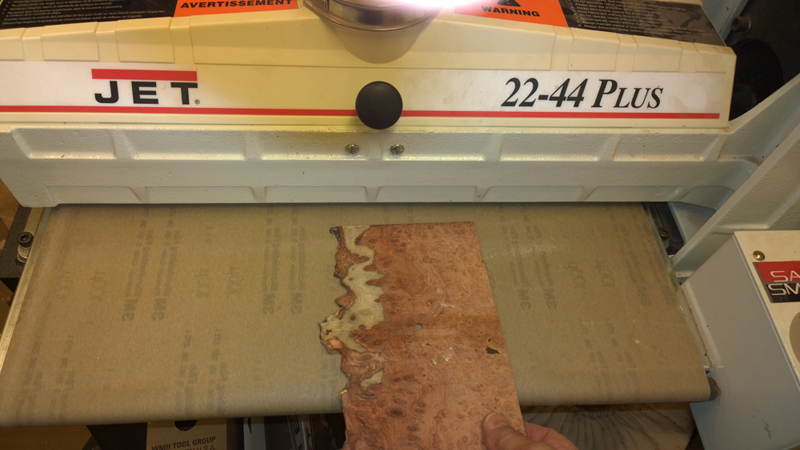
I take the rosette blank to my thickness sander and sand the uncut side until the ring drops out.
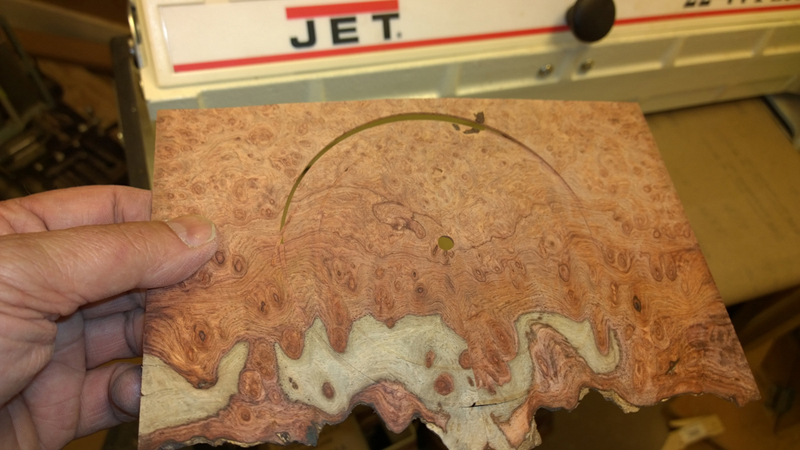
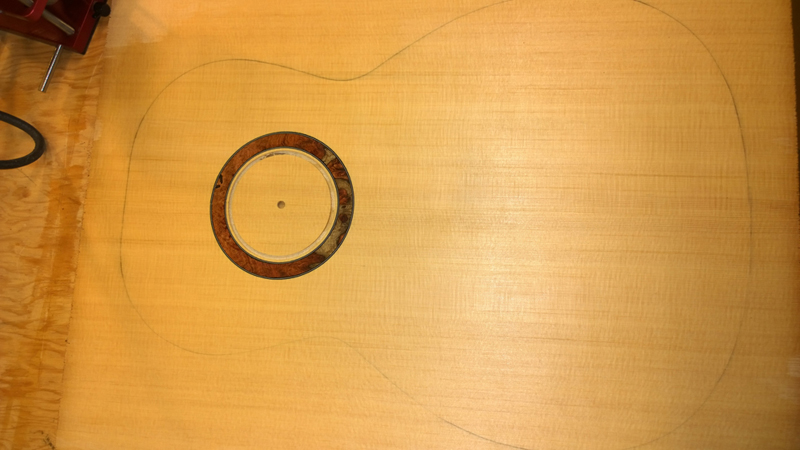
I use a wider router bit to flush out the center of the rosette channel. and end up with a matching channel and a wood rosette ring. As it is such a close fit I use Duco to glue it in to avoid any water caused wood expansion.
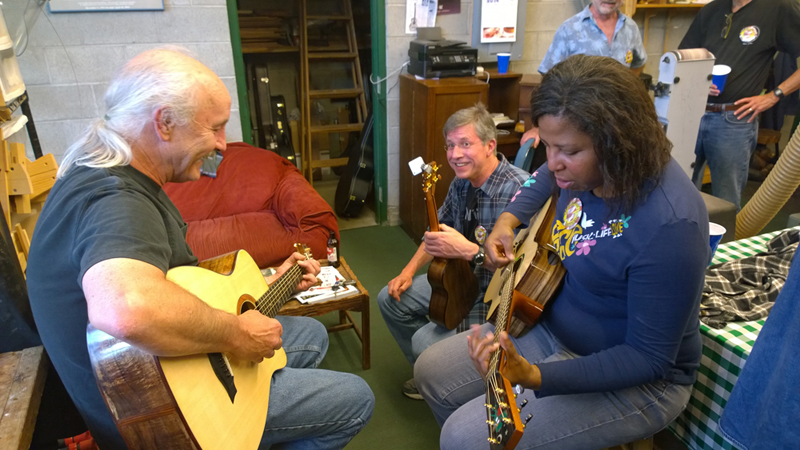
I got to show off my Gore style falcate braced guitar at the Guild Of American Luthiers convention and at Rick Davis's pre-party. The guitar sounded really good during the steel string listening session and there was a lot of interest in the bracing pattern. I did take feedback that my neck was a bit thick and have re-carved it. (The finish is curing as we speak)
Actually I am so happy with the sound of that guitar that I decided to try falcate braces for this guitar. It should be interesting. I am sure that the guitar will sound good, but I am interested to see what moving the bracing pattern toward the neck does to the sound (14 frets to the body puts the bridge closer to the neck).
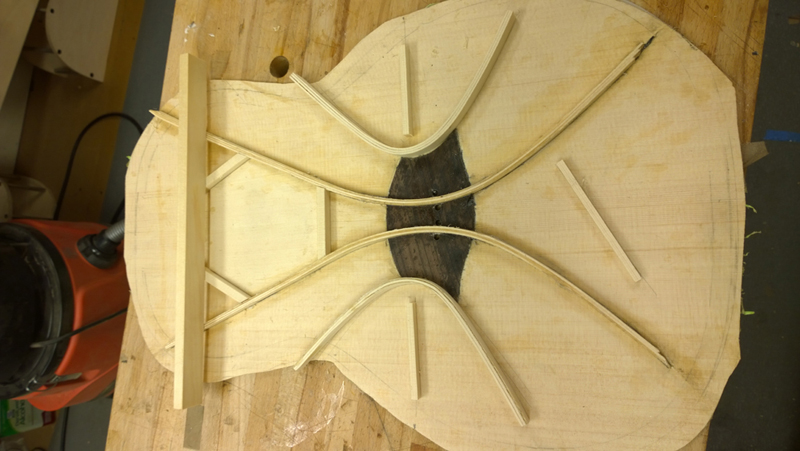
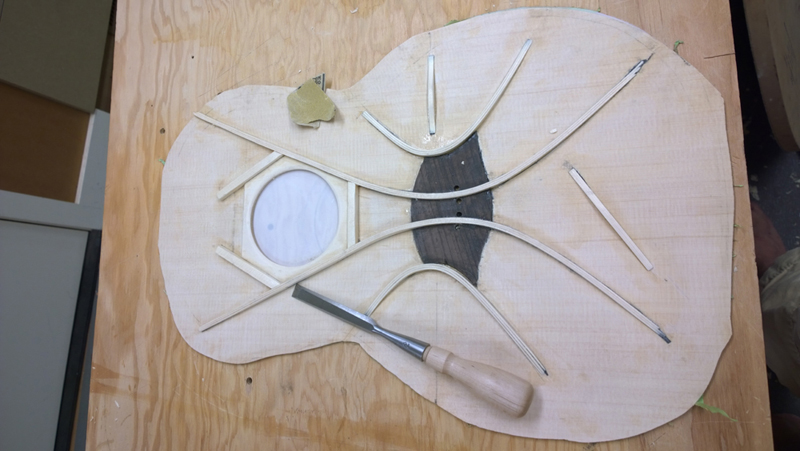
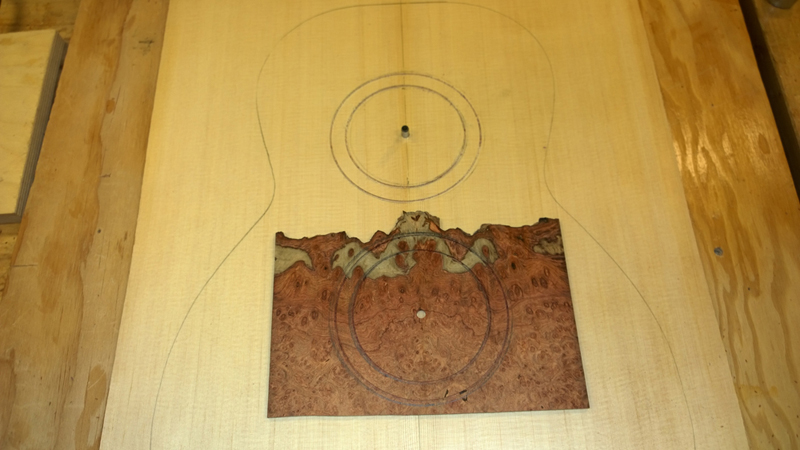
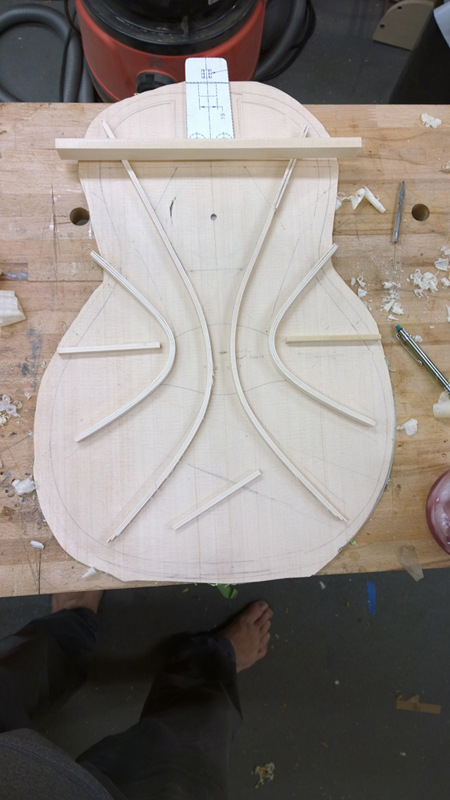
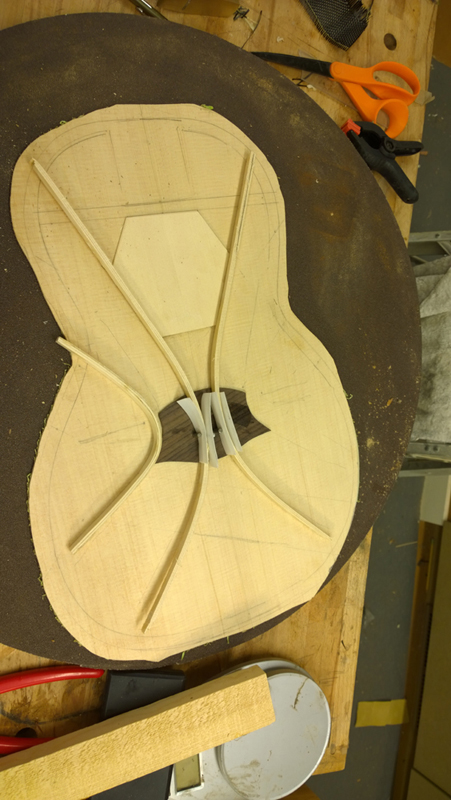
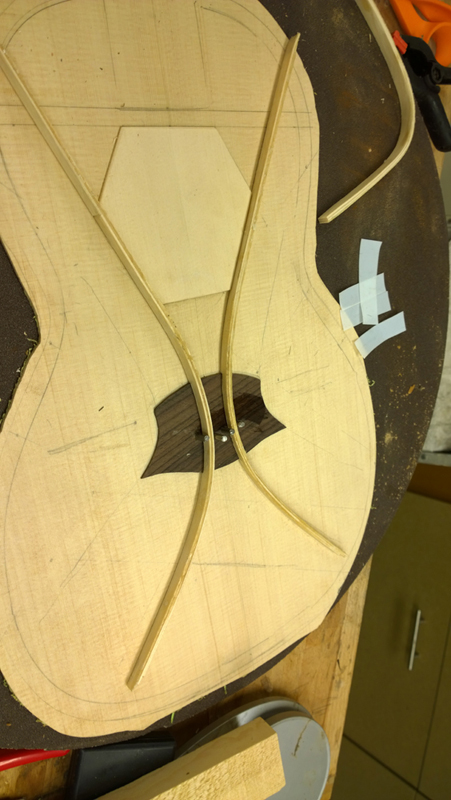
I laid out the pattern on the top and decided that the falcate shapes that I used on my last project will work with this guitar. This was a handy decision as I have the lamination\bending forms for that shape.
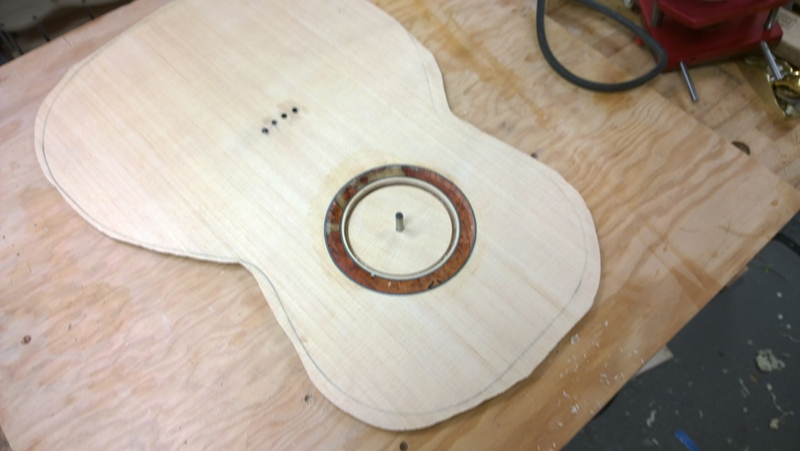
I used the old (flawed) red spruce top to make a 2.5 mm top doubler for reinforcing the sound hole. The ring will be cut out when I finish cutting out the sound hole.
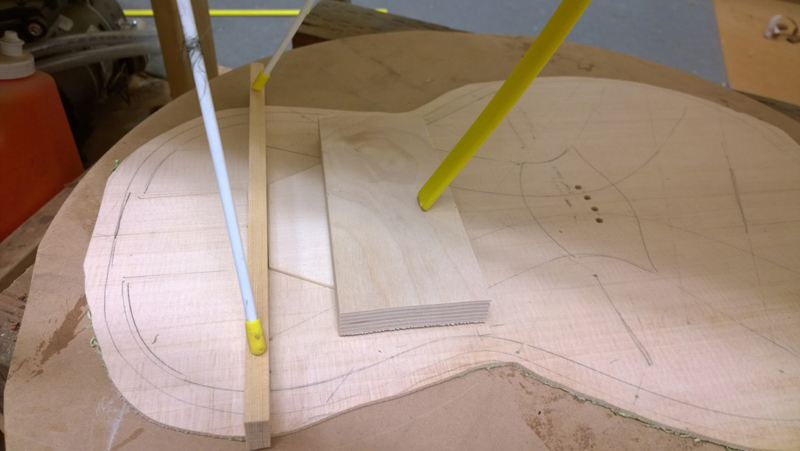
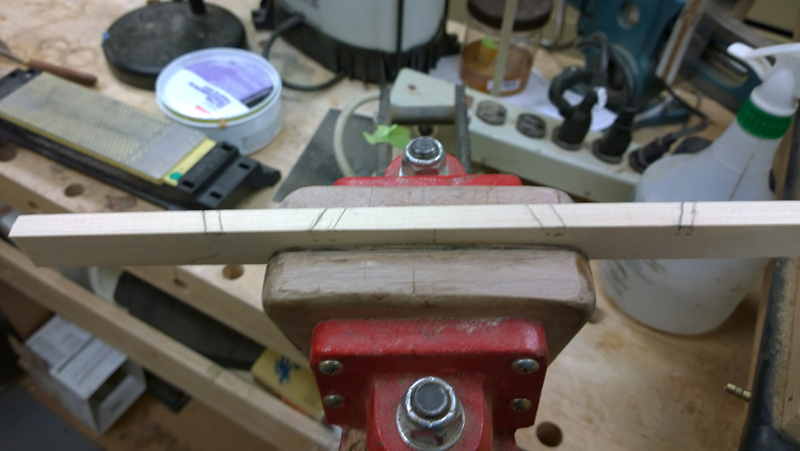
I cut out a thin rosewood bridge patch, a matching shaped piece of carbon fiber fabric and prepared to epoxy the whole mess down. (Here is a critical point) The falcate braces pass through the bridge pin holes so, it is critical to get the bridge and those holes placed properly at this time.) Once these whole are drilled the rest of the guitar, for the purposes of intonation are based on these holes and this bridge placement. I also had to cut rebates in the falcate braces to make room for the plate.
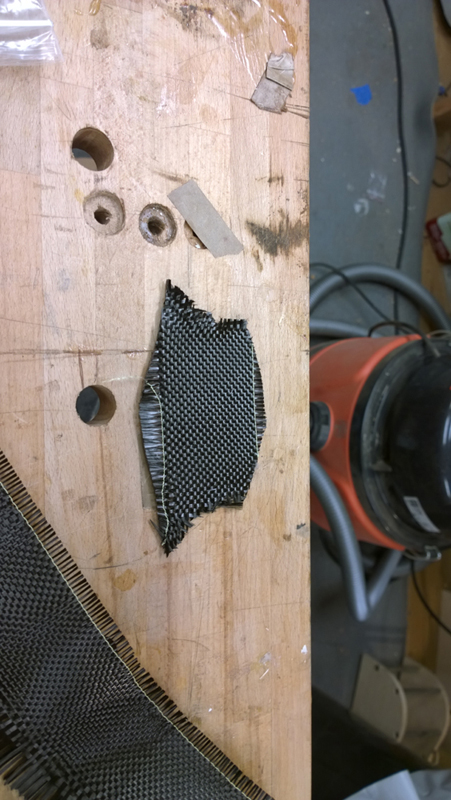

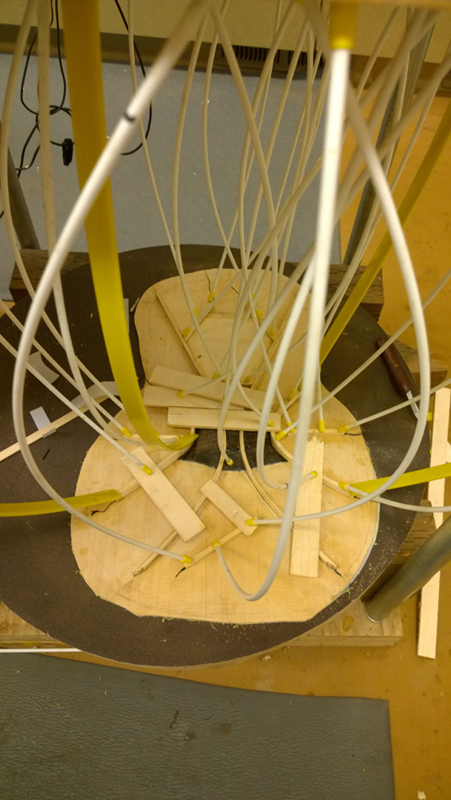
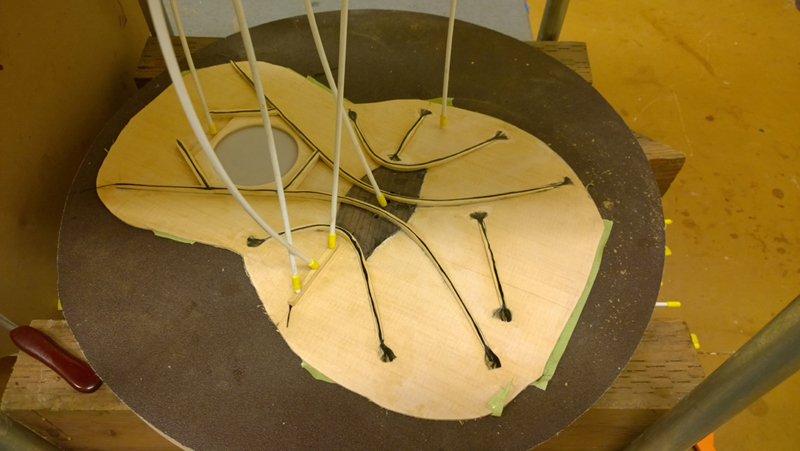
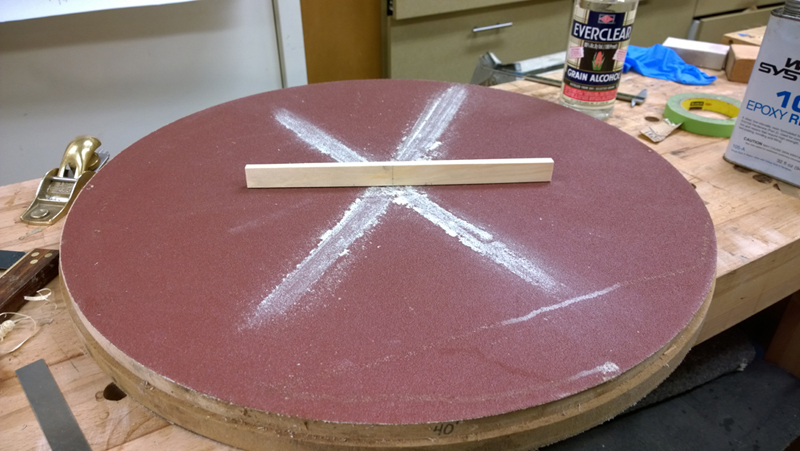
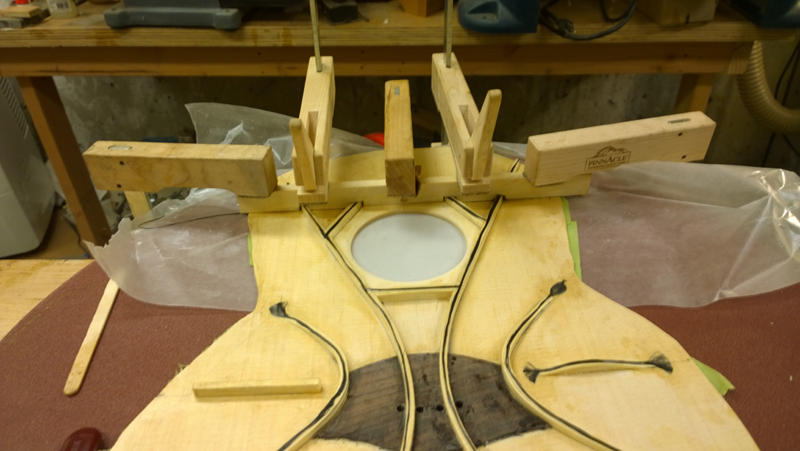
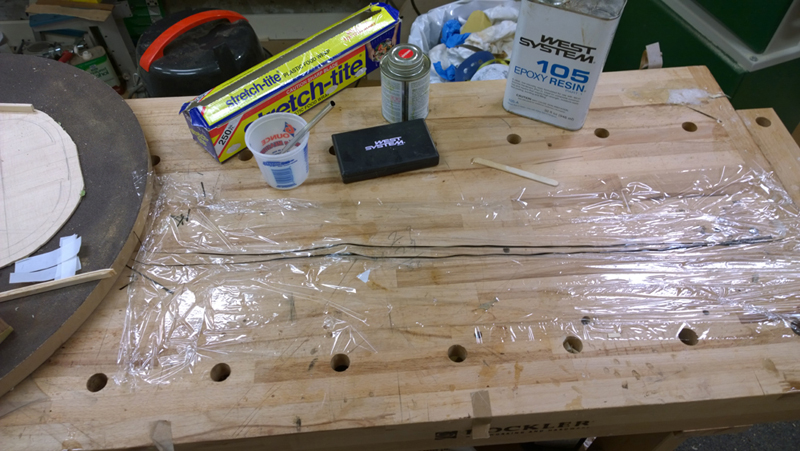
Now for the epoxy. To help keep the CF rows clean, I laid out of plastic wrap and put a thin coating on epoxy on it. That way I could lay the CF rows down, coat them with epoxy and have them ready to use when I start the glue up. During the first session I only glue the long falcate braces and the bridge plate. I had a little difficulty as I had too much epoxy on the top and the CF wanted to float out. There is such a long working time, I lifted the braces and fiber, removed some of the epoxy leaning a thin layer and reglued down the two braces.
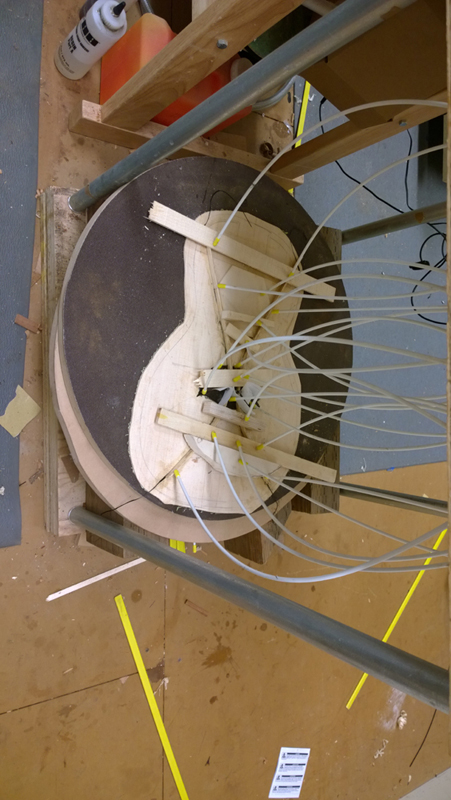
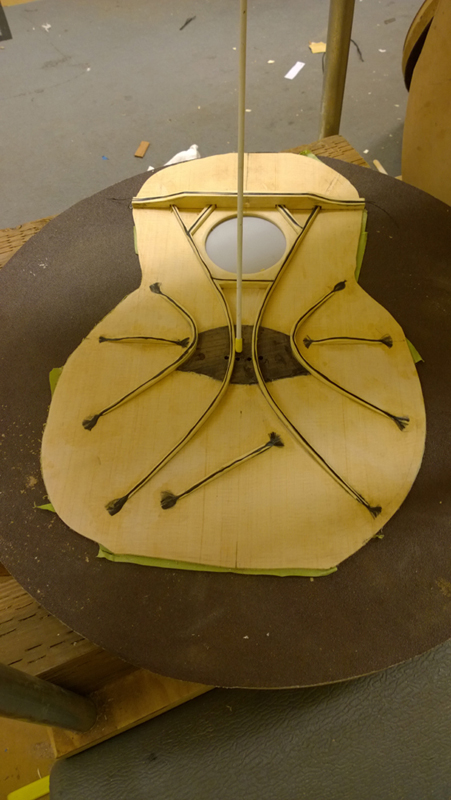
I let those braces sit overnight and prepared all of the remaining braces. Except for the transverse brace I glued all of these down in one session. They are current curing.