Page 1 of 4
Beard Reso Guitar Kit
Posted: Sat Oct 06, 2012 1:37 pm
by penndan
I'm in the middle of assembling a wood body reso guitar kit from Beard Guitars. I'm blogging the build on the Reso Hangout. Is it acceptable to also blog it here?
Anyone interested?

Re: Beard Reso Guitar Kit
Posted: Sat Oct 06, 2012 4:04 pm
by darren
Yep - always interested, and would love to see what goes into one of these. :)
Re: Beard Reso Guitar Kit
Posted: Sat Oct 06, 2012 8:21 pm
by Ben-Had
From what I can see a single burner camp stove goes in the center:)
Re: Beard Reso Guitar Kit
Posted: Sun Oct 07, 2012 5:57 am
by Darryl Young
I would like to see how it goes.
Are you using an outside mold? If so, did you make it?
Re: Beard Reso Guitar Kit
Posted: Sun Oct 07, 2012 7:20 am
by JVan
Ben-Had wrote:From what I can see a single burner camp stove goes in the center:)
Love it Tim!
Yes , I am curious on how these are constructed as well. Looks quite interesting! Build on!
Jeff
Re: Beard Reso Guitar Kit
Posted: Sun Oct 07, 2012 7:52 am
by tippie53
I am glad to see you post this. A great way to see the process of the reso.
Re: Beard Reso Guitar Kit
Posted: Sun Oct 07, 2012 1:40 pm
by penndan
OK, here we go. But first some thoughts I just had about the Beard reso guitar kit. It might be the ideal kit for a first build. No rosette to inlay. No bracing to shape an arched top and back. No problems with fall off of the fingerboard extension. Everything's flat, flat, flat! No bridge to glue to the top. Other than having to carve the neck, it's the easiest kit I've done.
Here are the pieces/parts to the fit.

No, the thing in the upper left is not a single burner camp stove as was rumored.
I decided to make one change to the construction and use a sound post system instead of the basket that was provided. Supposed to give a fuller warmer tone based on what i read on line. The back is more free to vibrate and get into sound production. Or maybe it's just magic.
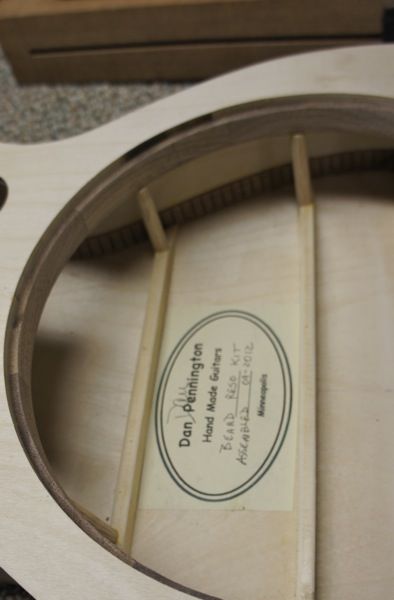
Here's the basket. I'll show the the posts and ring that replaced it later.
The basket is attached to both the top and back with kerfed linings. Easy as both are flat. The kit comes with a short set of build instructions and a very nice full size plan.
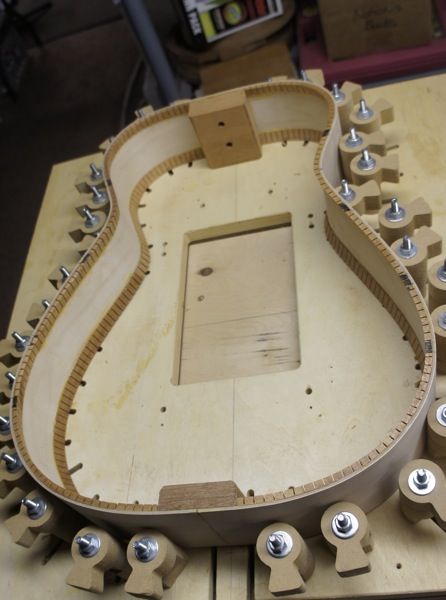
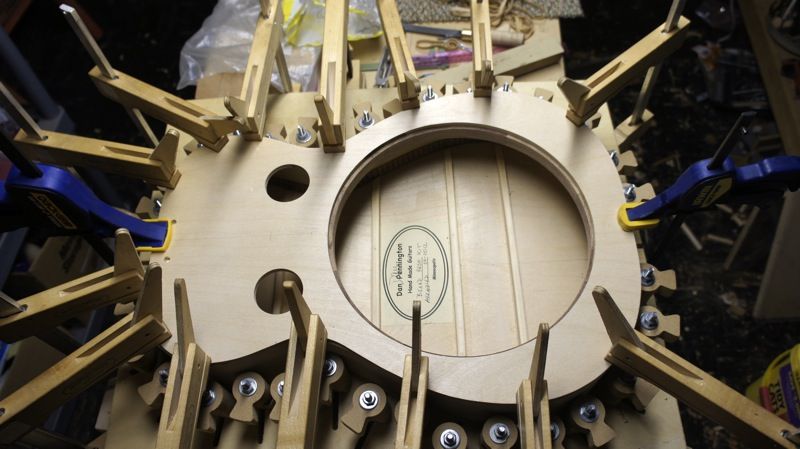
For an outside form, I used my KMG adjustable mold. Very handy for the odd size one off build. I was having troubles with a failing memory chip in my camera and I lost some photos of my build process, so I don't have the usual photo of the kerfing being glued on with a hundred clamps. I also lost shots of trimming the bent sides to length and gluing on the end blocks. That's pretty standard build stuff. Look at anyone else's build and you can see them. Here's my result.
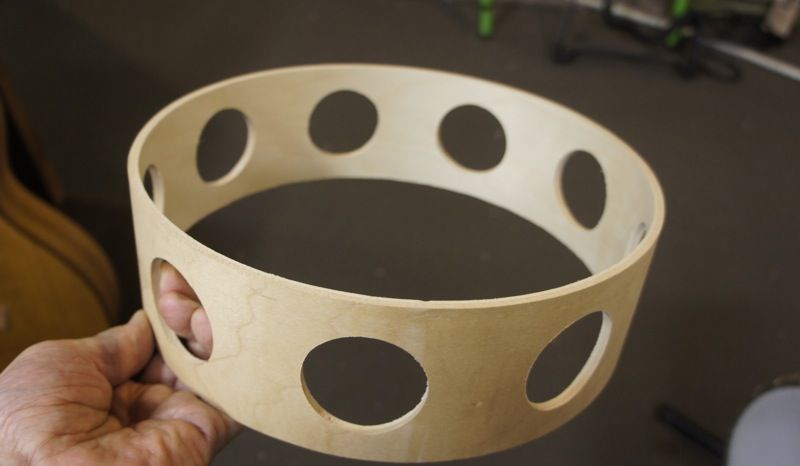
To do the sound post setup, I had to make a ring that gets glued to the inside of the top and acts as a shelf for the reso cone to sit on. I build wood block banjo rims, so I have a lot of banjo rim stuff laying around. I used one layer of 8 walnut blocks. I put it back on my rim lathe and turned it down to the size for the cone shelf.

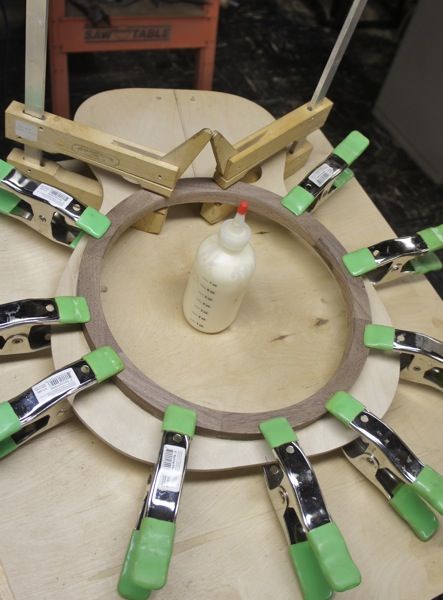
Then I glued it to the top.
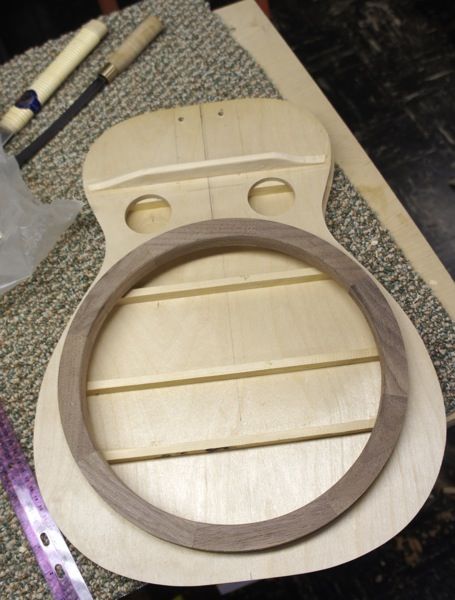
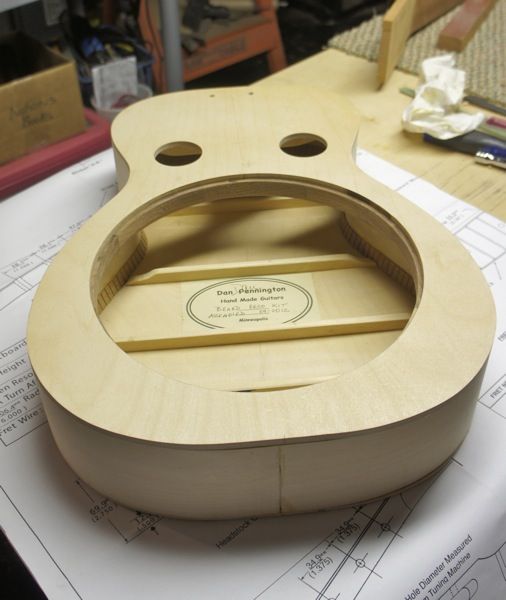
Then, because I'm doing the sound posts, I had to put braces on the back for the post to sit on and one on the top. Using the basket stiffens up the top and back so that bracings is not needed. Here's the top sitting on the back all braced.
Re: Beard Reso Guitar Kit
Posted: Sun Oct 07, 2012 1:56 pm
by JVan
Very informative and the pics are great! Good stuff, I am looking forward to the rest of the build!
Very clean work you do!
Jeff
Re: Beard Reso Guitar Kit
Posted: Sun Oct 07, 2012 2:11 pm
by penndan
Onward and upward!
Gluing the top to the sides.
Then I glued in six dowel sound posts. Connecting the cone shelf ring to the back braces. In the standard construction, the basket does this.
Here's the box in one piece. I failed to mention that the top, back and sides are birch plywood - 1/4 in. for the top, 1/8 in. for the back, and 3/32 in. for the sides. The box is stiff, stiff, stiff.
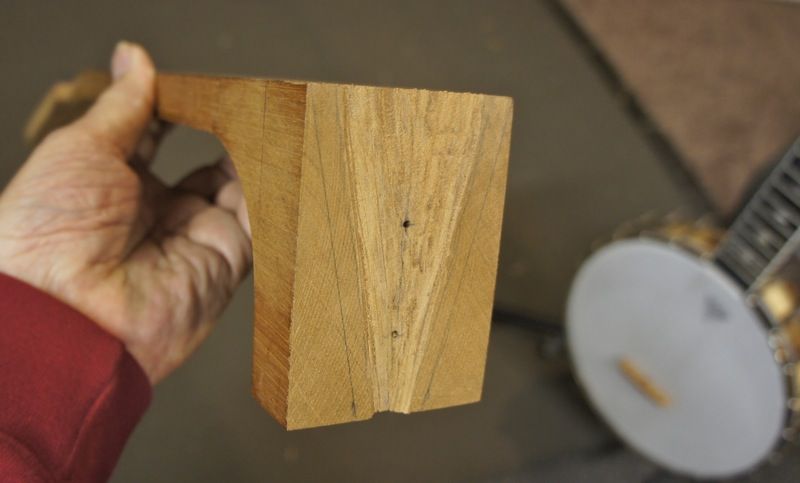
On to the neck.
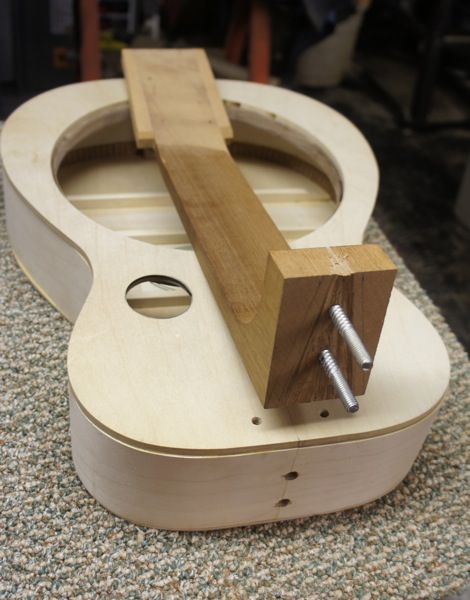
And here's the neck now. The area where the neck will attach is slightly rounded, so I chiseled a bit of relief in the heel so the neck will sit flat on the 1/2 in. shoulder that will be there after I cut the neck shape. Just like fitting a banjo neck to a round rim. Then I clamped the neck to the body and marked where the bolts will be screwed in. After the neck is to final shape, I'll do a bit of flossing with some sand paper to refine the neck/body joint.
Neck with lag screws installed.
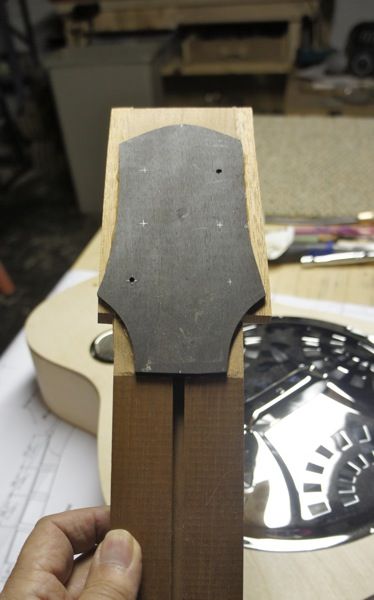
I glued some ears to the peg head to get it wide enough for my preferred head shape and here's the provided ebony overlay shaped and glued on.
And that's where I am now. I'll post some more in 4 or 5 days after I get back from visiting family in Michigan.
Dan in Minneapolis
Re: Beard Reso Guitar Kit
Posted: Mon Oct 08, 2012 9:53 am
by Kevin Sjostrand
I know nothing about this type of guitar. I had no idea the tops were that thick. Interesting to watch so thanks Dan for sharing.
Kevin