First Acoustic Build - StewMac Kit
Posted: Sun Apr 29, 2012 10:49 pm
Hello all,
I recently acquired my first acoustic guitar kit. It is the Spruce/Rosewood Dreadnought kit from Stewart-MacDonald, and I started it yesterday. I got quite a bit of work done today and thought I'd start a build thread. Any advice or tips are more than welcome and will be very appreciated.
Note: This is not my first guitar build, but is my first acoustic build. I am about to finish my first electric guitar. Just needs dye and lacquer.
So, Here are my pictures.
I decided that I would try to take pictures of every step of the process for this project. I'm pretty unorganized so I thought maybe making a point of it to document everything would help me keep this build neat. So far it seems to be working.
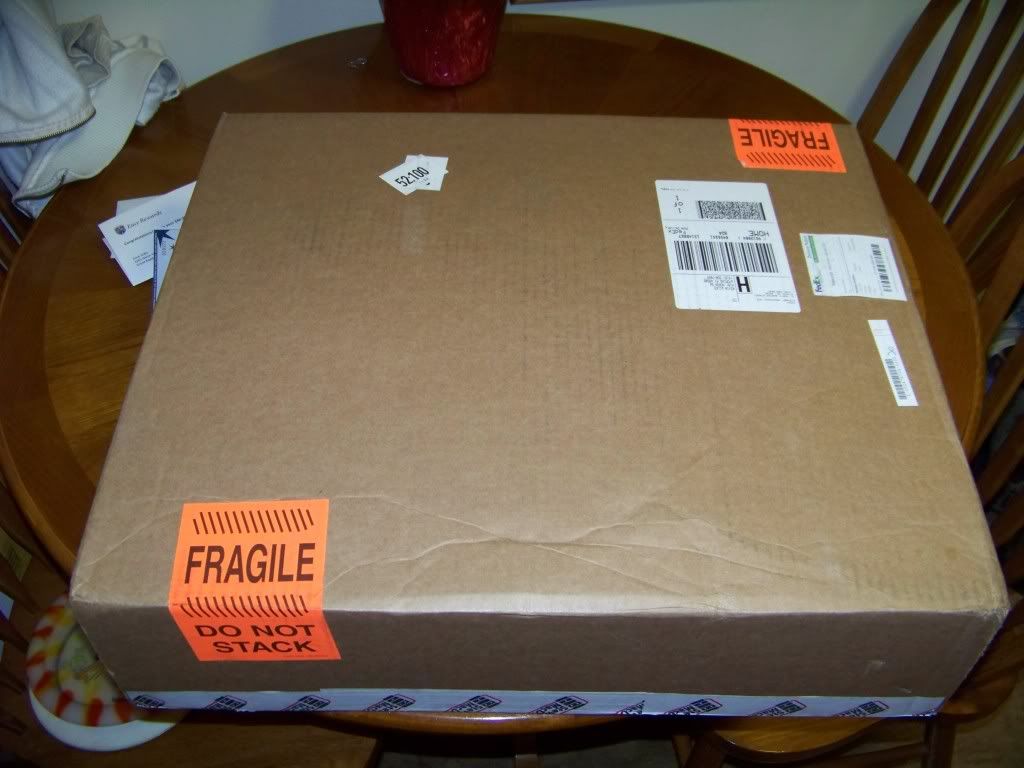
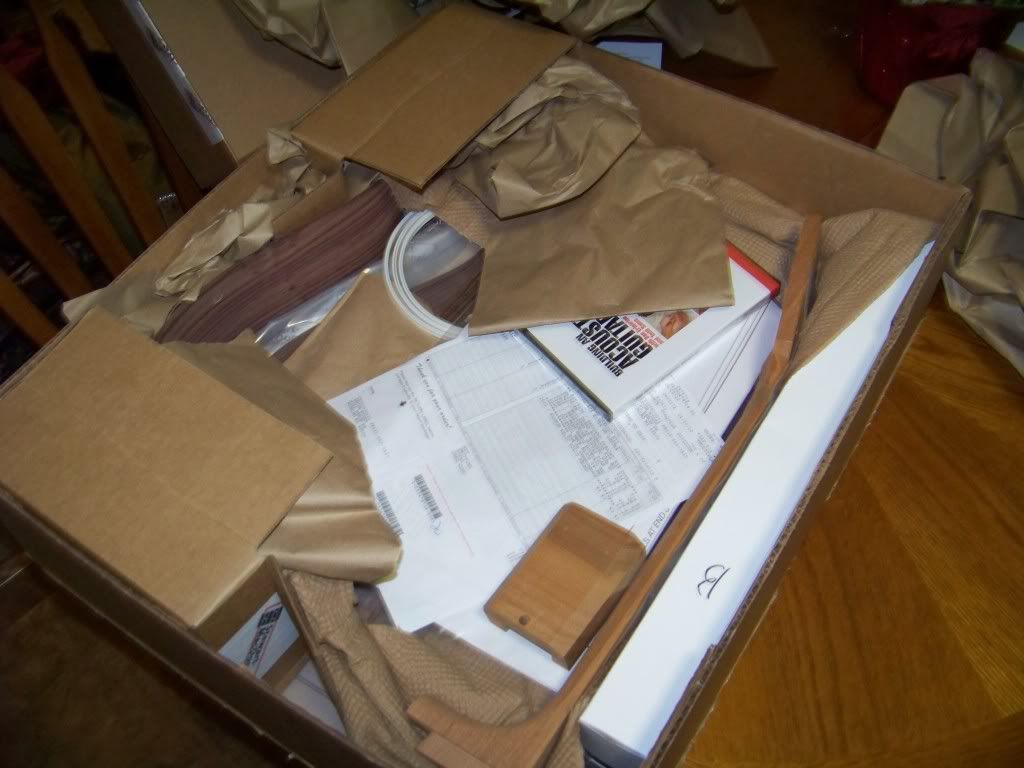
All the parts are here.
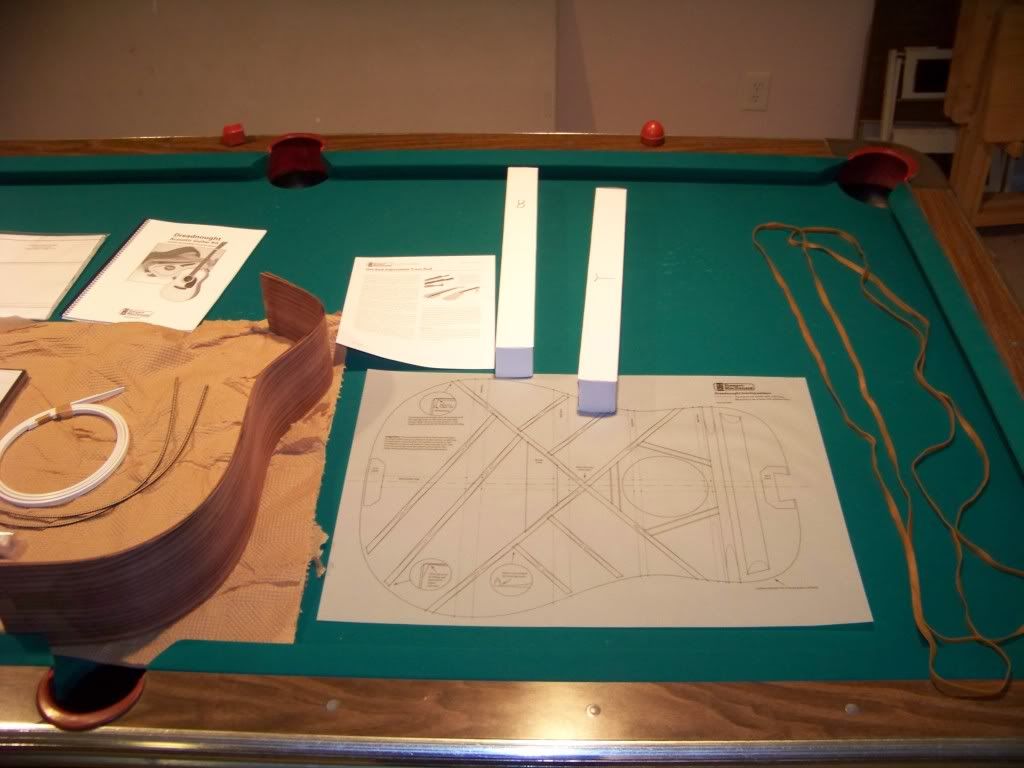

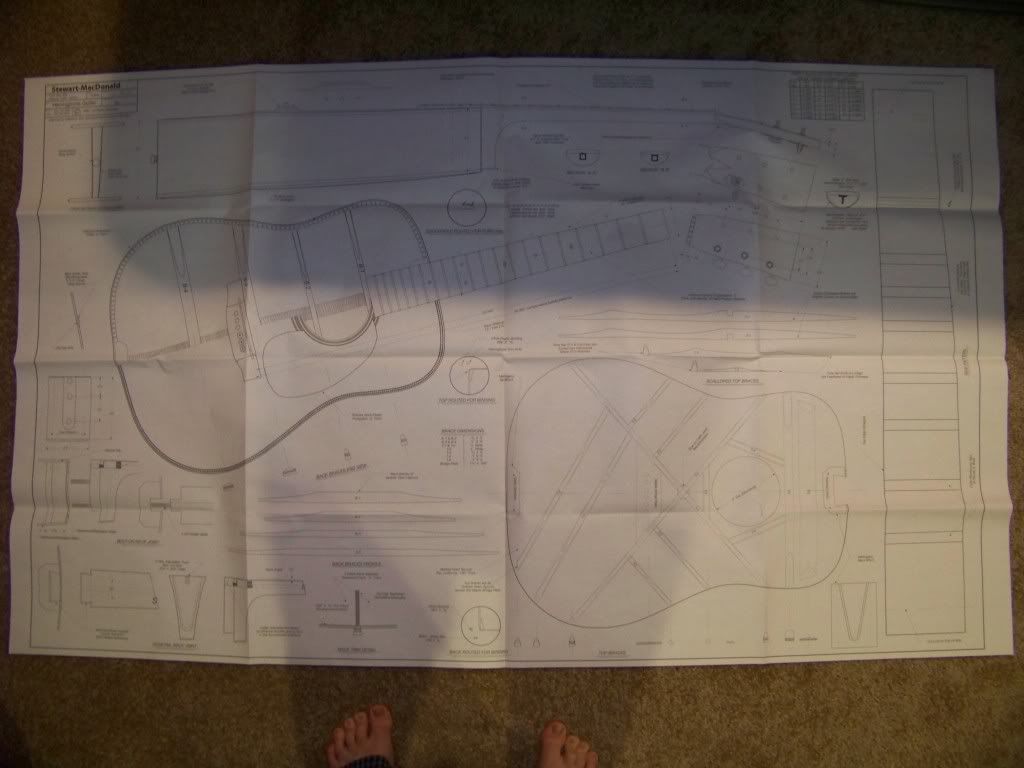
I was not expecting a blueprint nearly the size of our pool table...
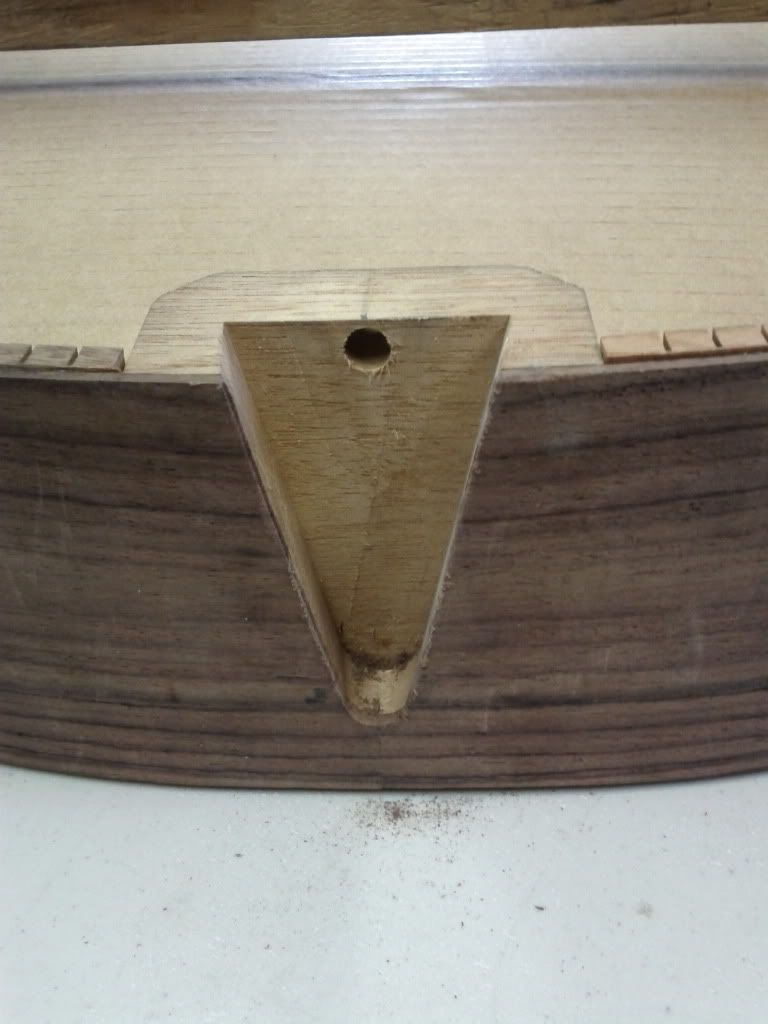
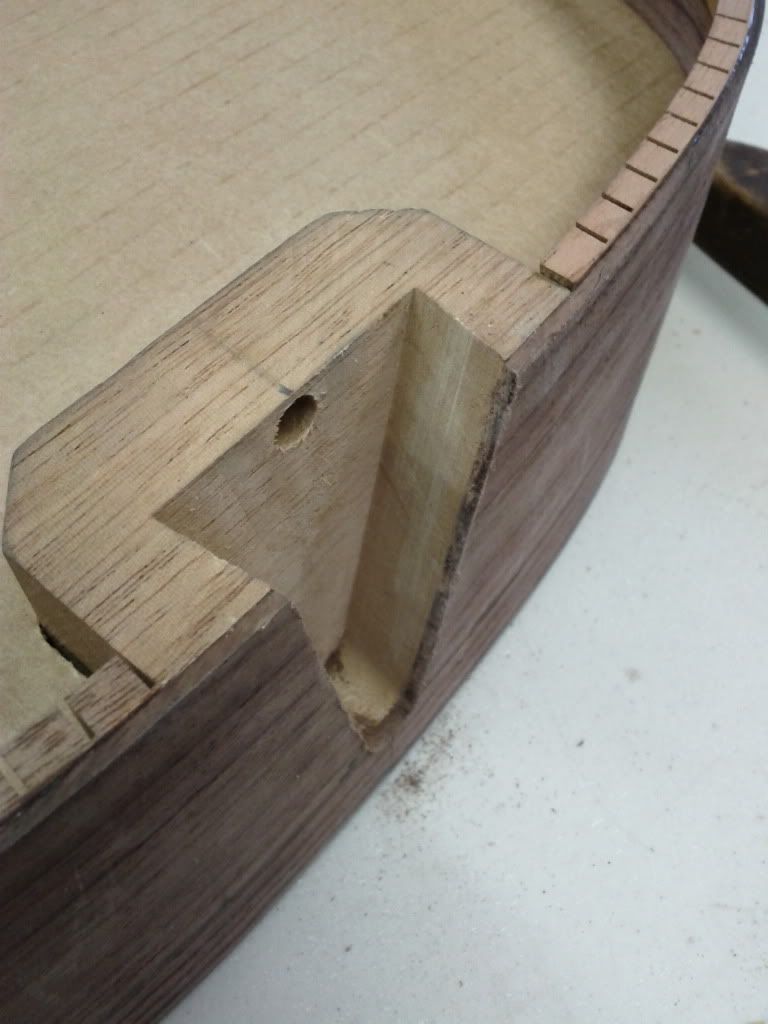
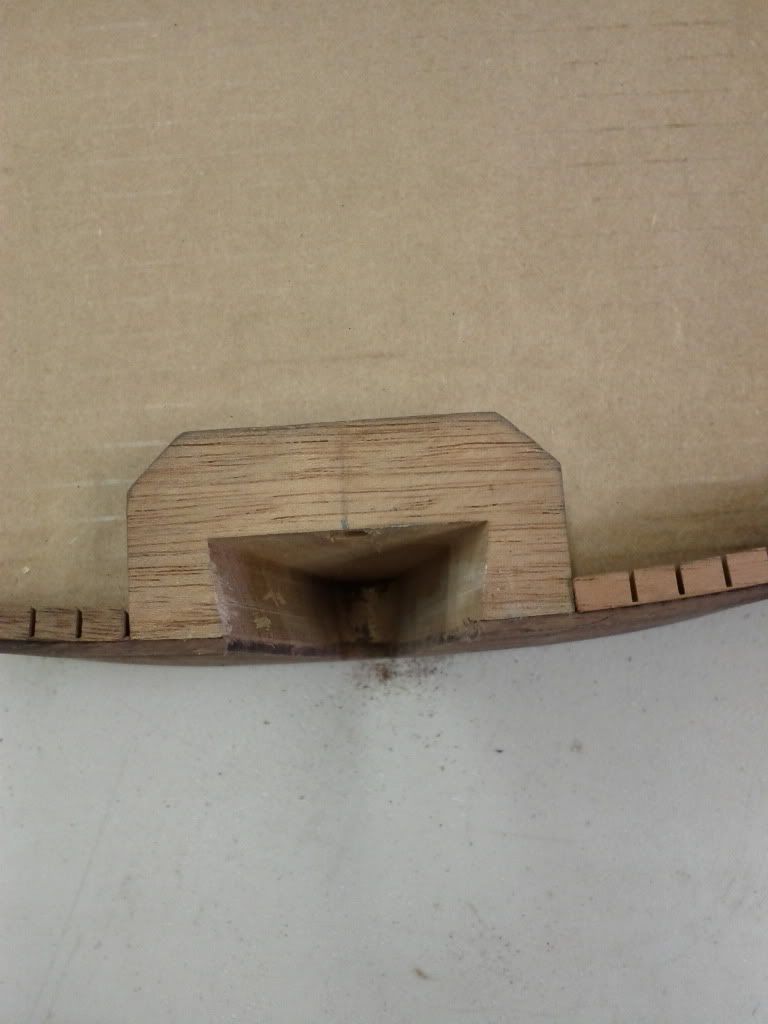
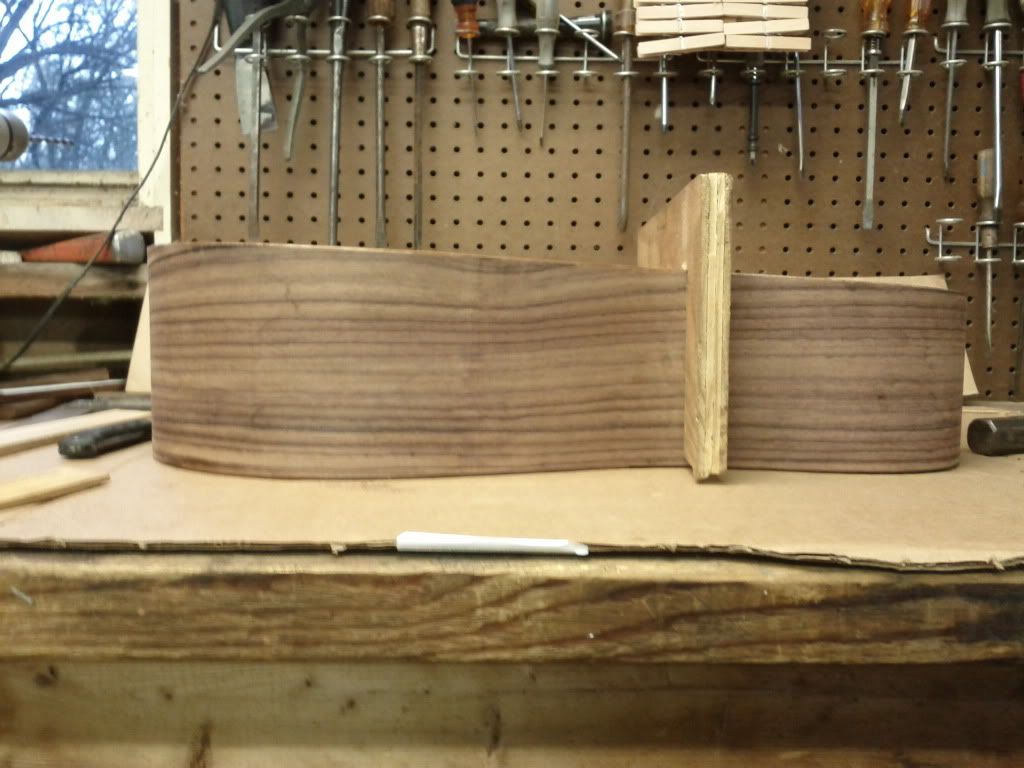
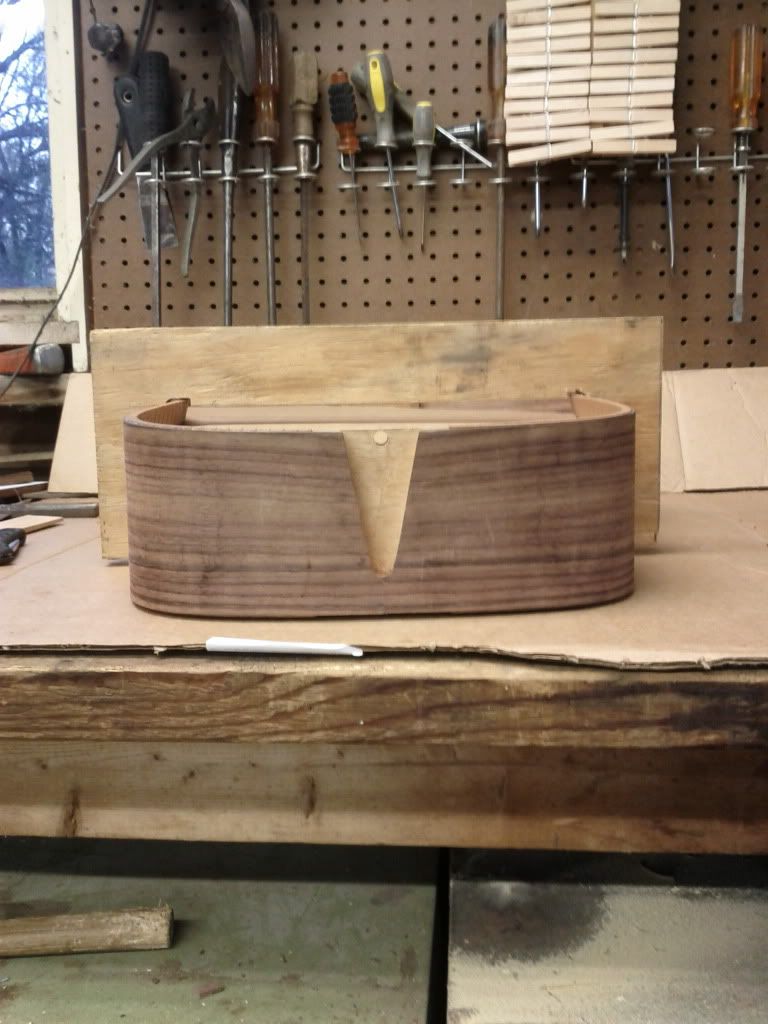
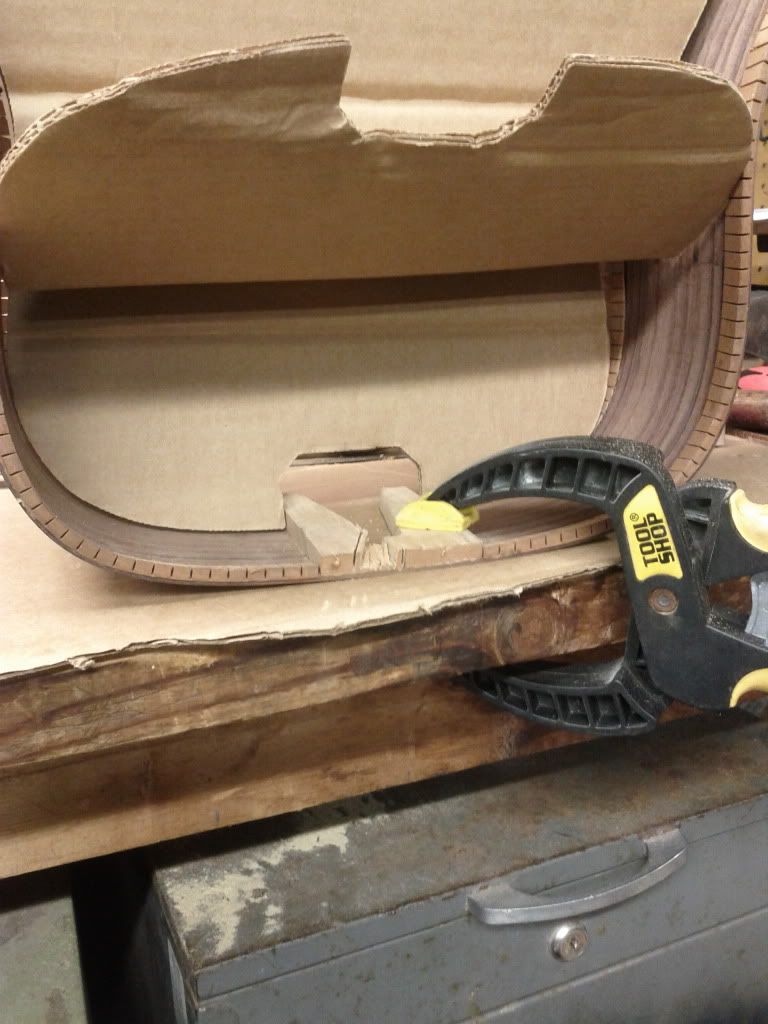
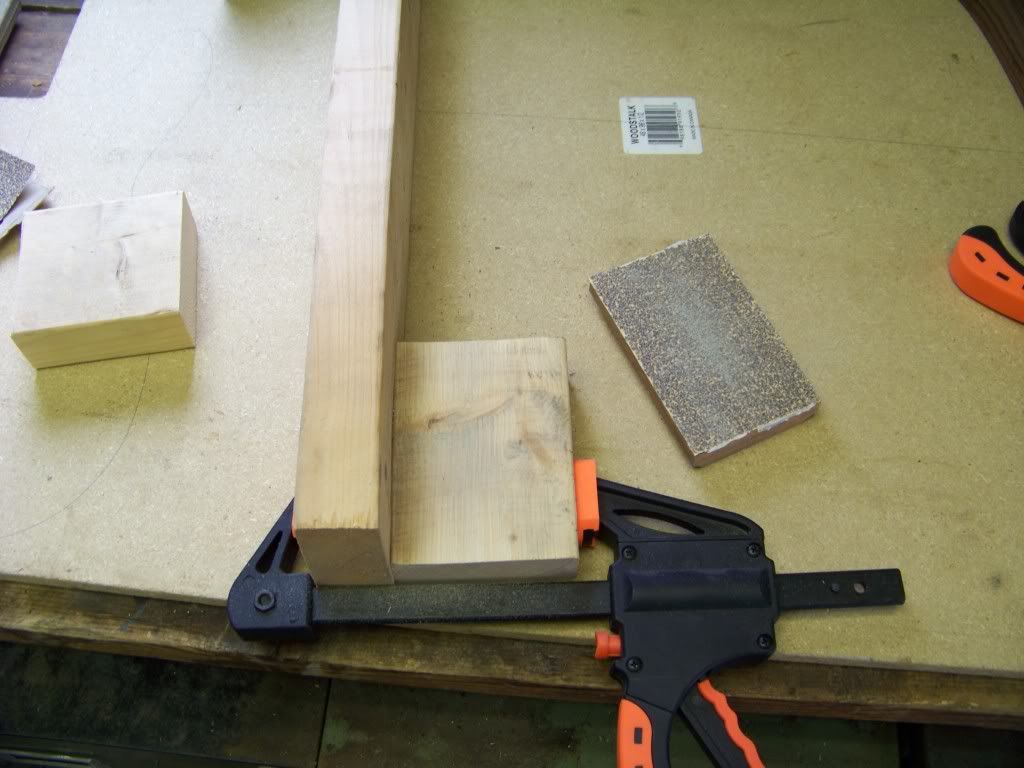
I tried using the heel block as a sanding block to make a clamping caul.
It ALMOST worked.... just not very well.
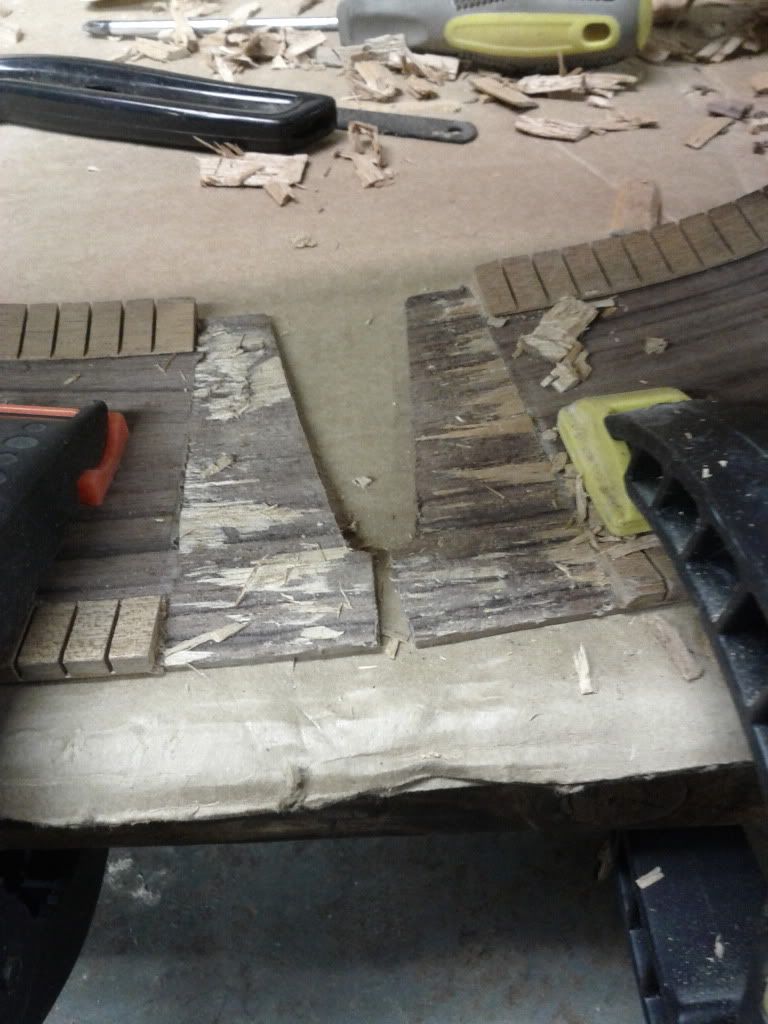
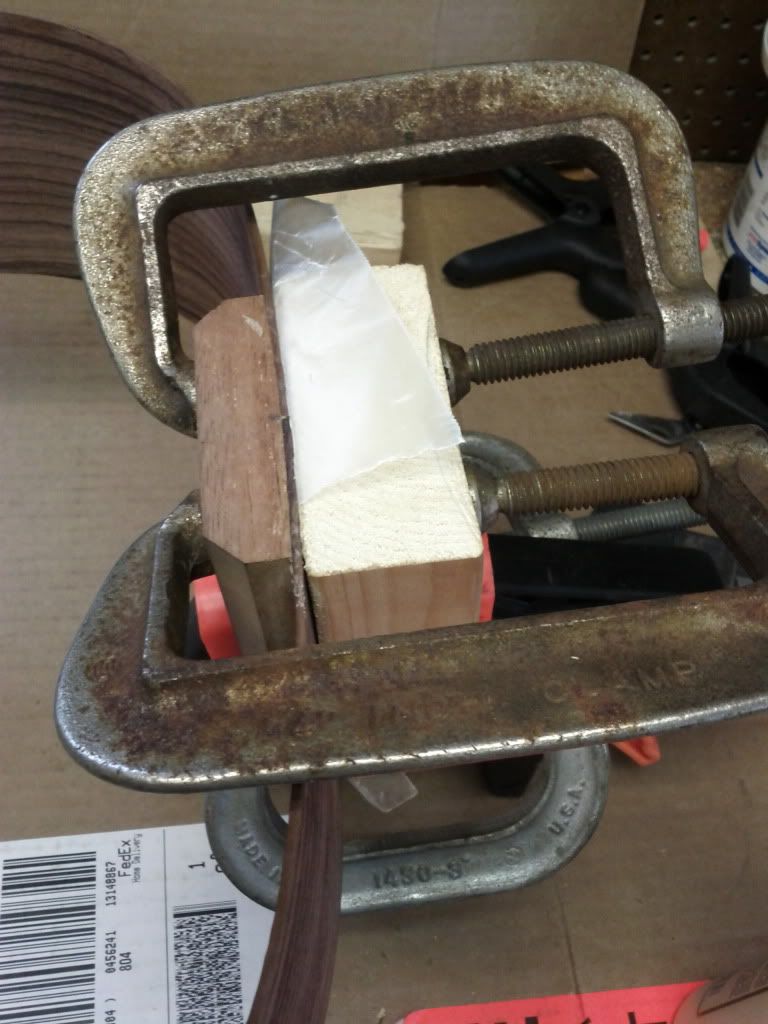
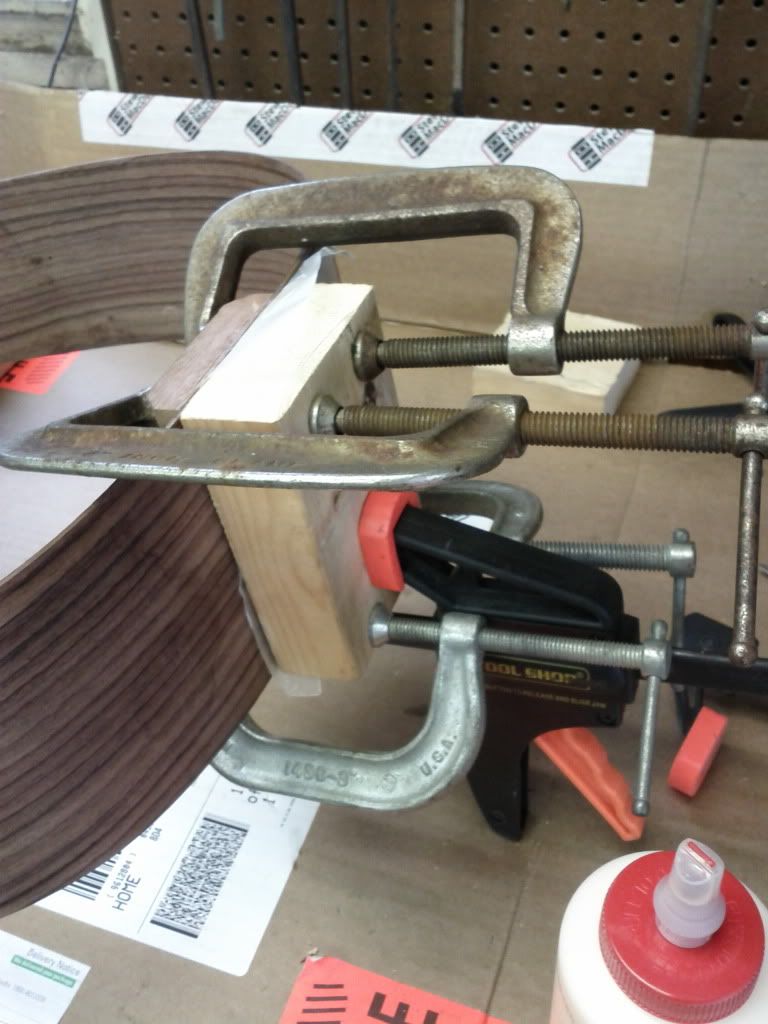
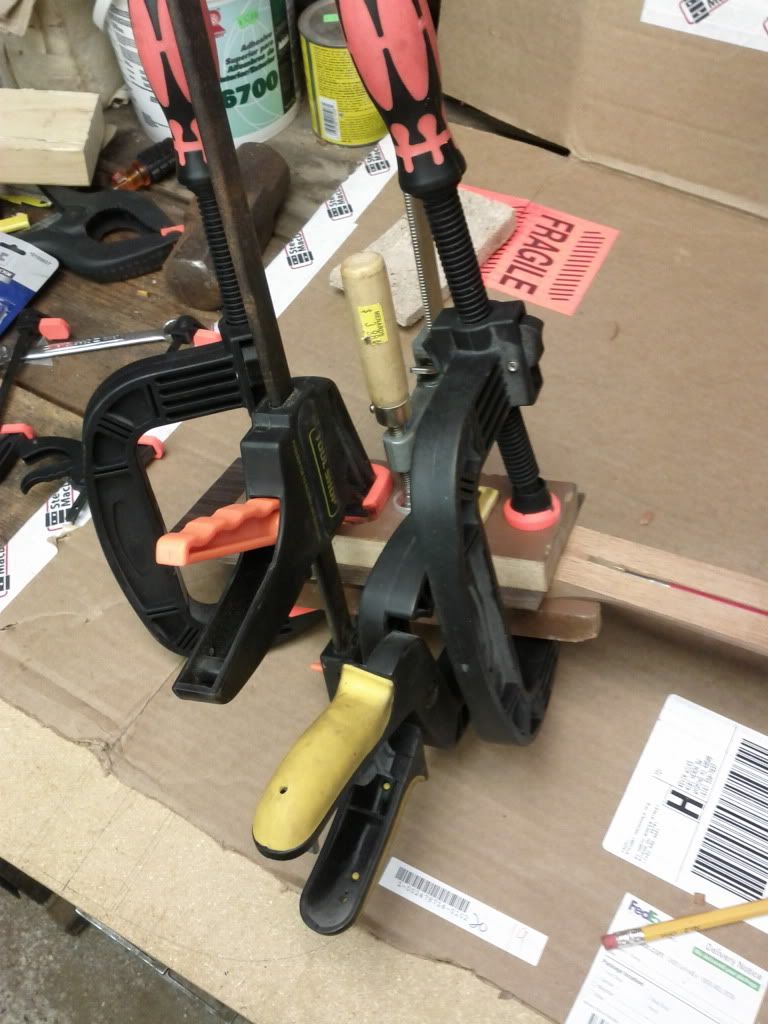
My dad suggested using wood filler so we put some wood filler on the blocks I cut, and pressed the heel and neck blocks to them with a piece of wax paper in between to make the shape.
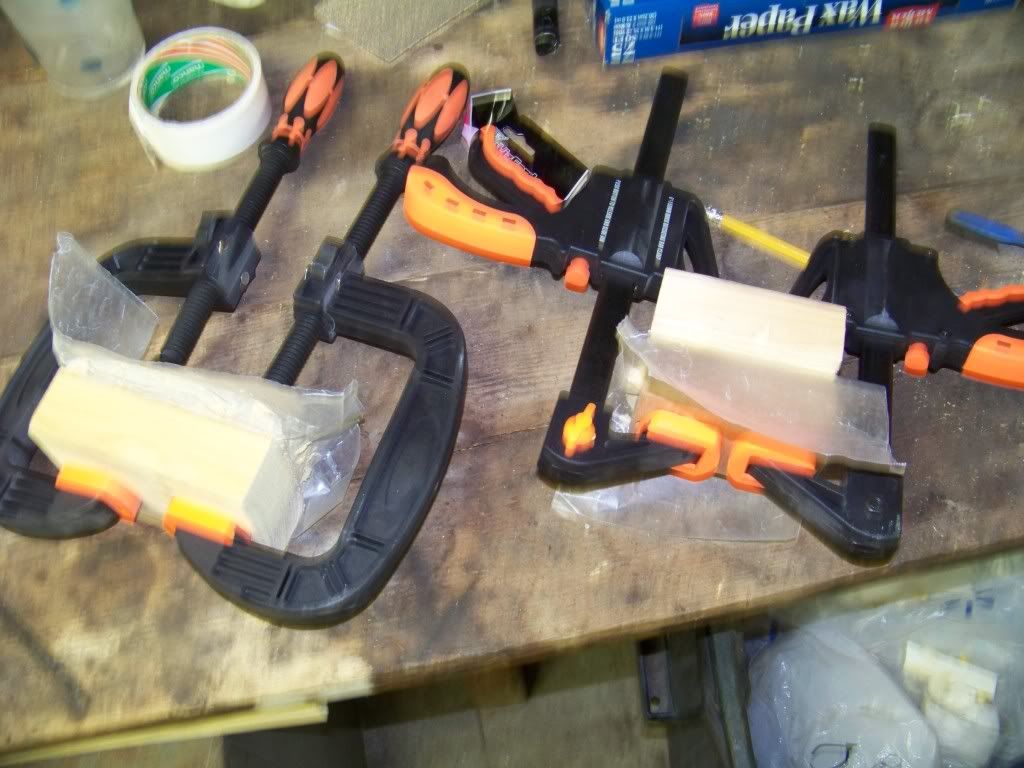
It worked pretty well I think. The clamps are still on and the glue is still hardening.
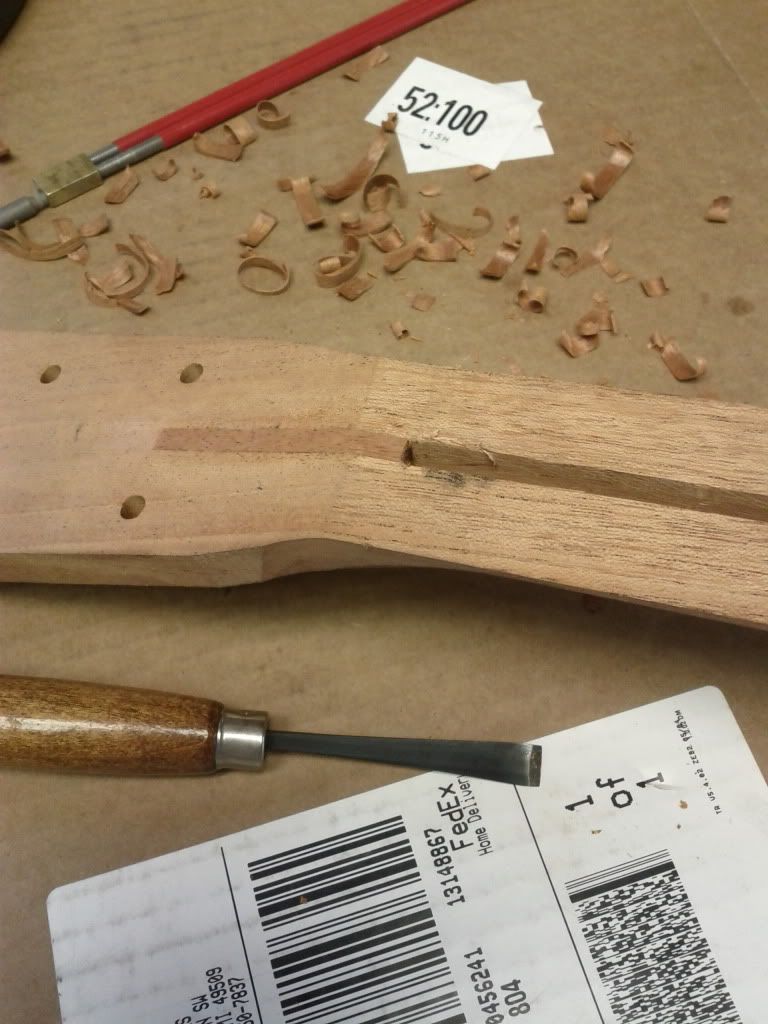
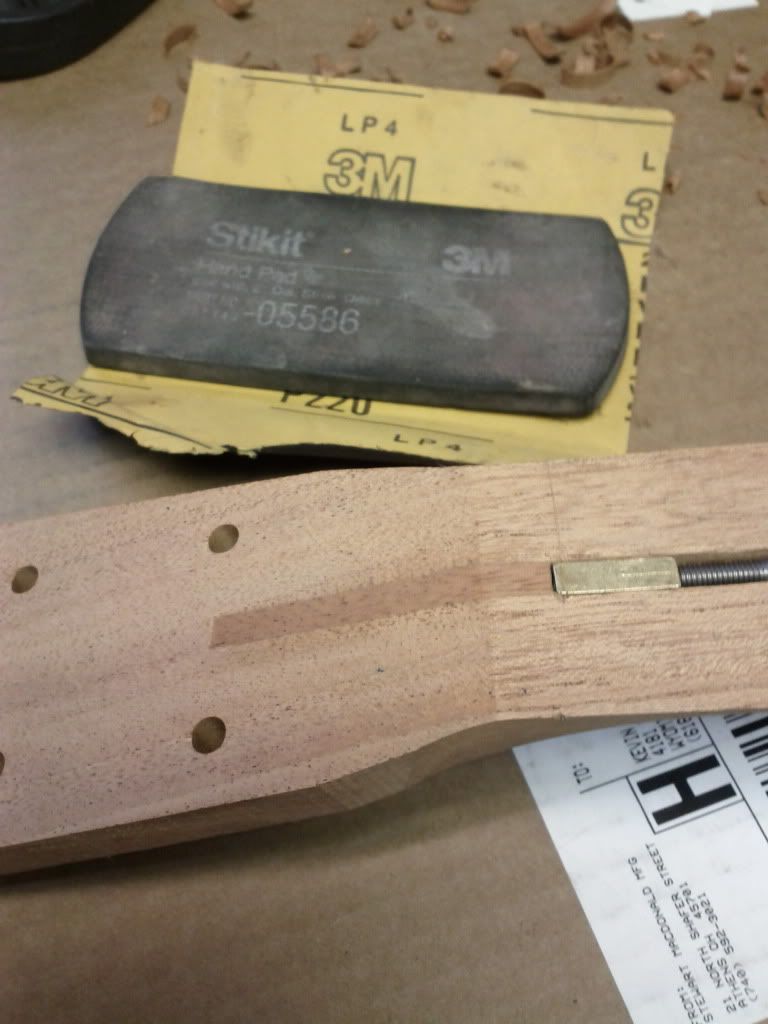
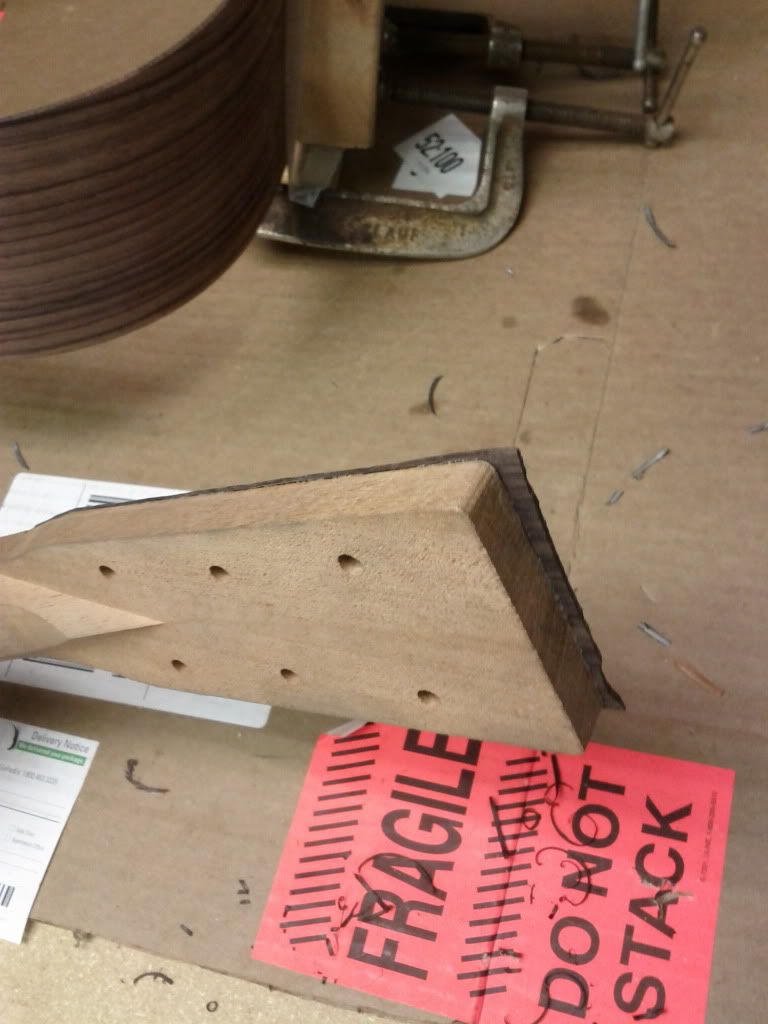
I couldn't wait to do some more work so I started on the neck. This is just the little plug for the truss rod channel. The Hot Rod truss rod came with the kit, the channel already routed. I just had to glue that plug in so the nut on the heel end of the truss rod was flush with the end of the neck, and then shave it off to fit. I like doing things by hand so I used a carving set I had.
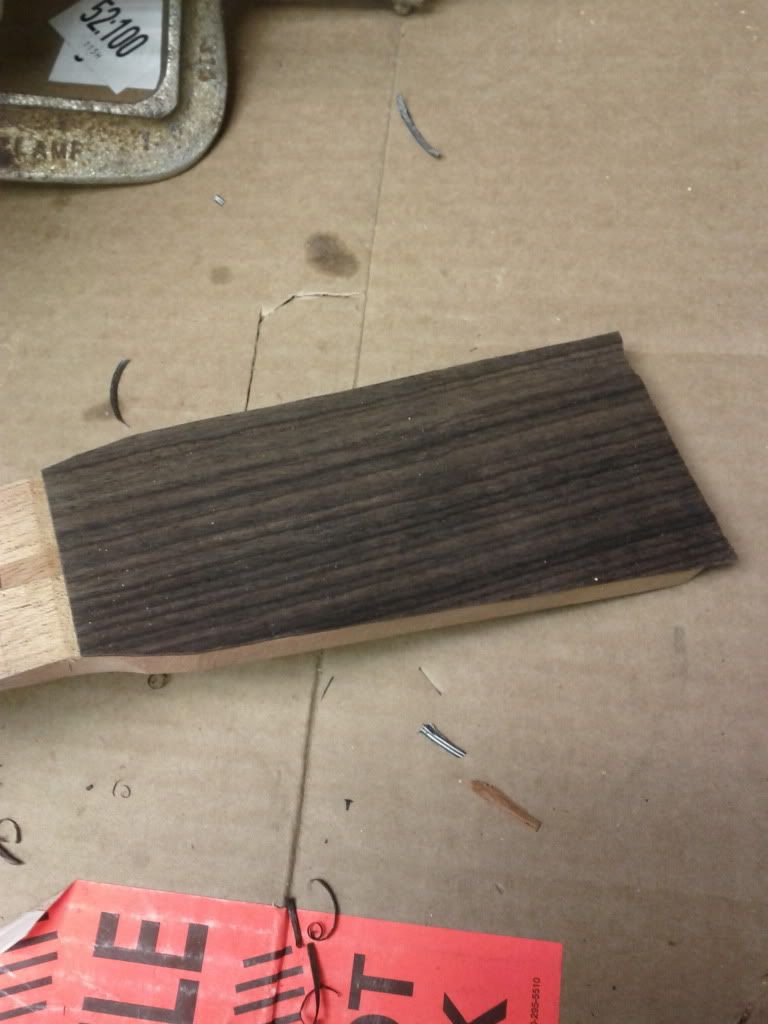
Here I am gluing the Rosewood veneer on the front of the head stock.

For the back, I used a scrap of wood with a v-cut in it as a caul. The v is because of the irregular shape in the back of the neck/headstock.
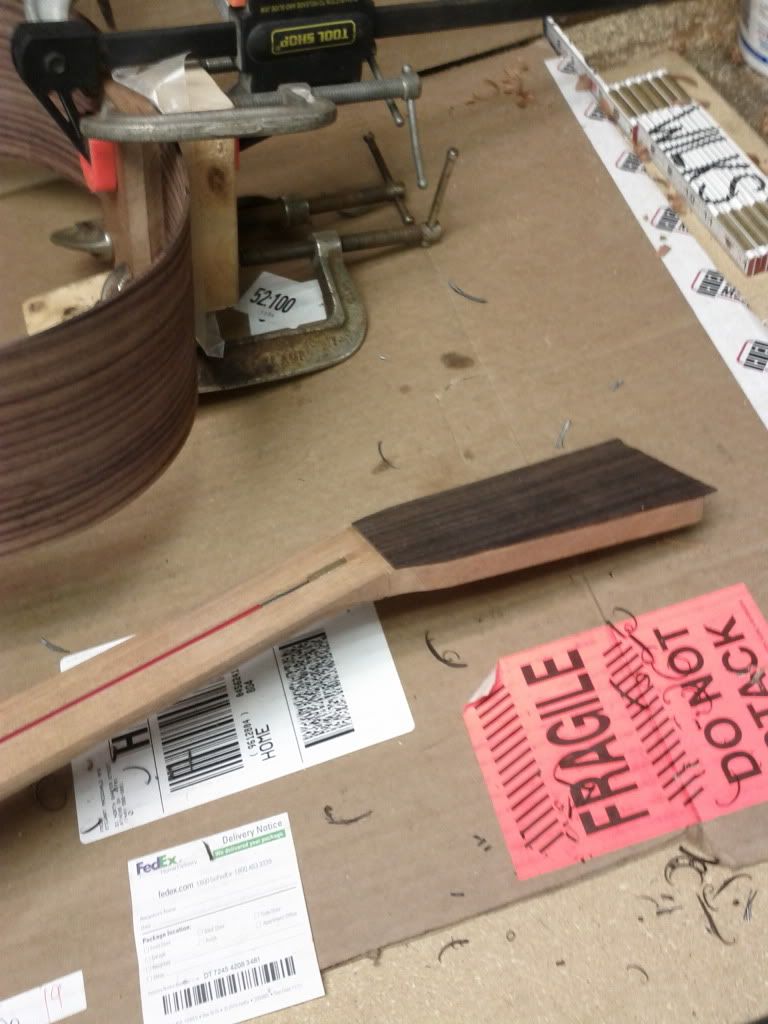
Here you can see the veneer on the headstock after I had cut it off. I just scored it with a razor blade and it snapped right out. Then I used my carving chisels again to shape the sides pretty close. The end grain isn't quite as easy to carve so maybe i'll just sand that tomorrow.
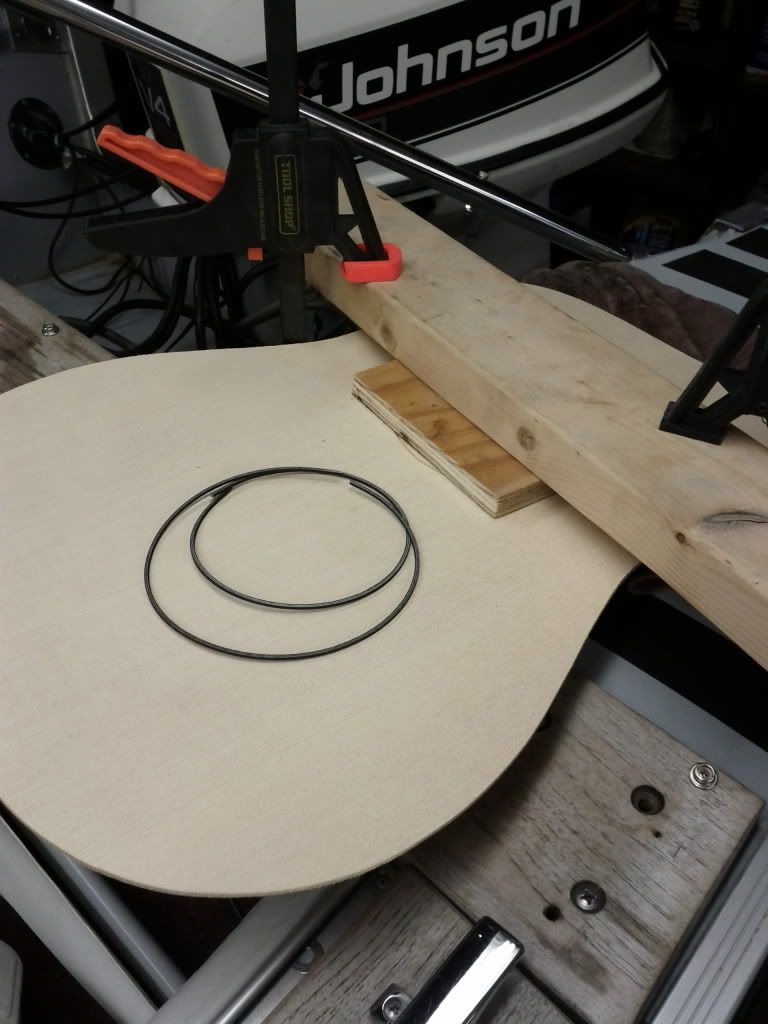
I was running out of things to do, so I started working on the rosette. The circles are already routed out to fit the inlay, but the thin inlays were a little too thick for the channels that were routed for them. I used a flat chisel on a 90 degree angle to scrape a little bit at a time off the sides of the inlay. It is very tedious.
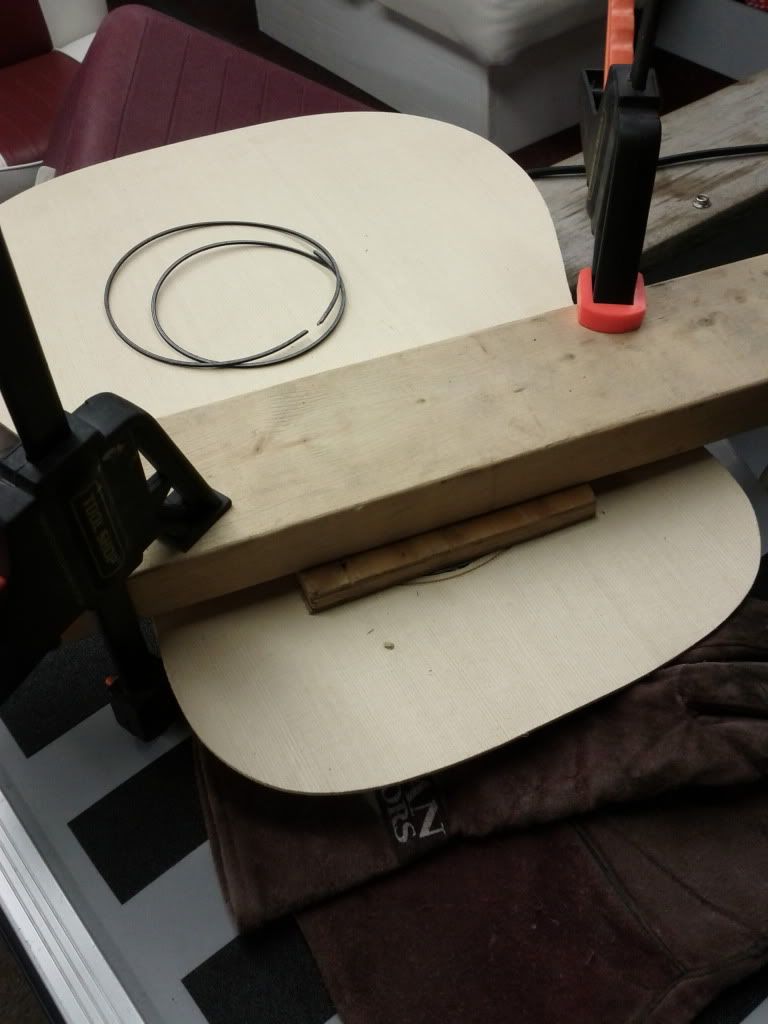
The gap isn't really an issue according to the instructions, because the fretboard is supposed to cover the outer two inlays. Seems like a good enough reason for me to do the inner rosette last.
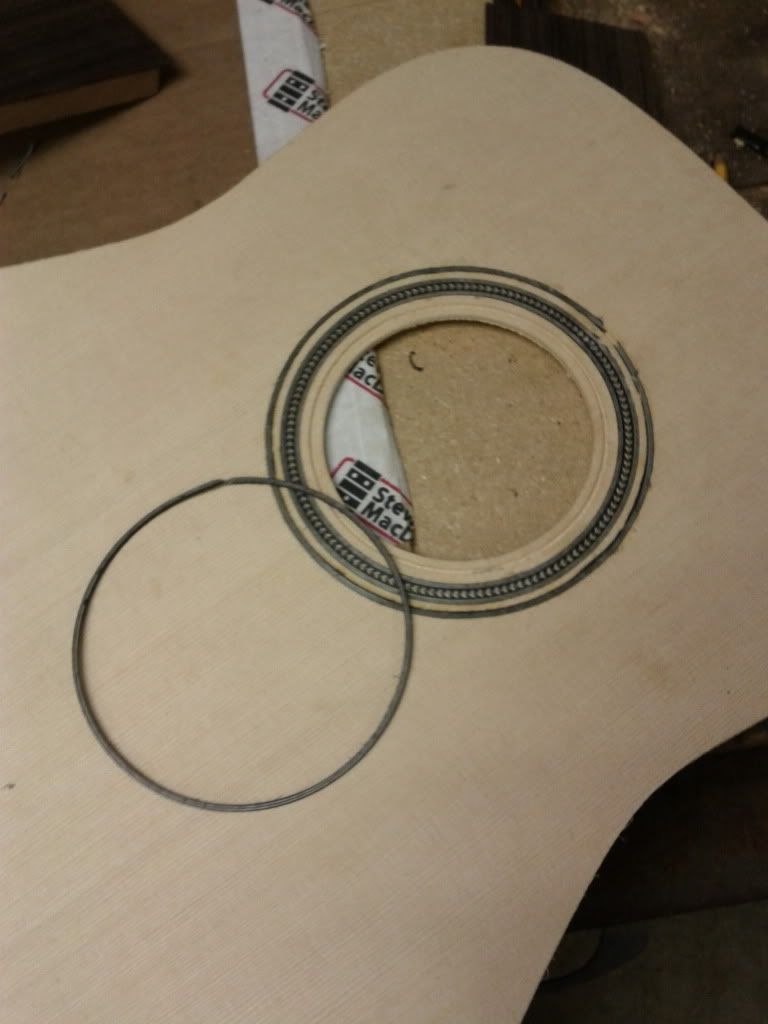
I got in a bit of a rush on the outer ring, but It should be alright. I'll smooth them all down flush after I get the third ring in.

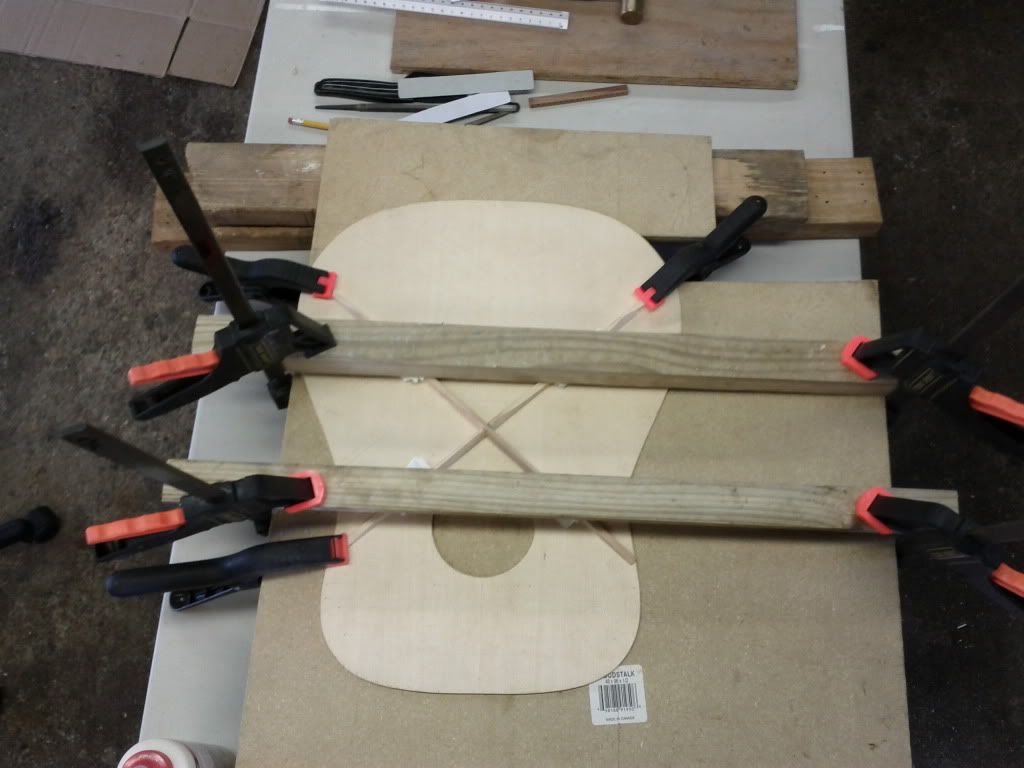
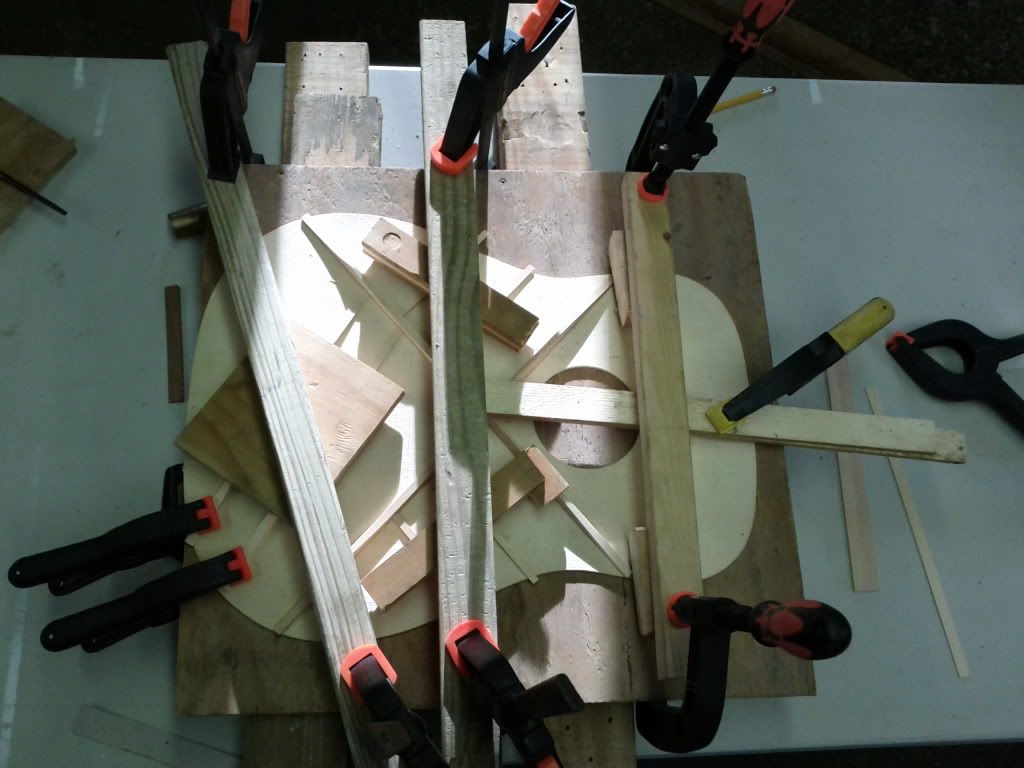
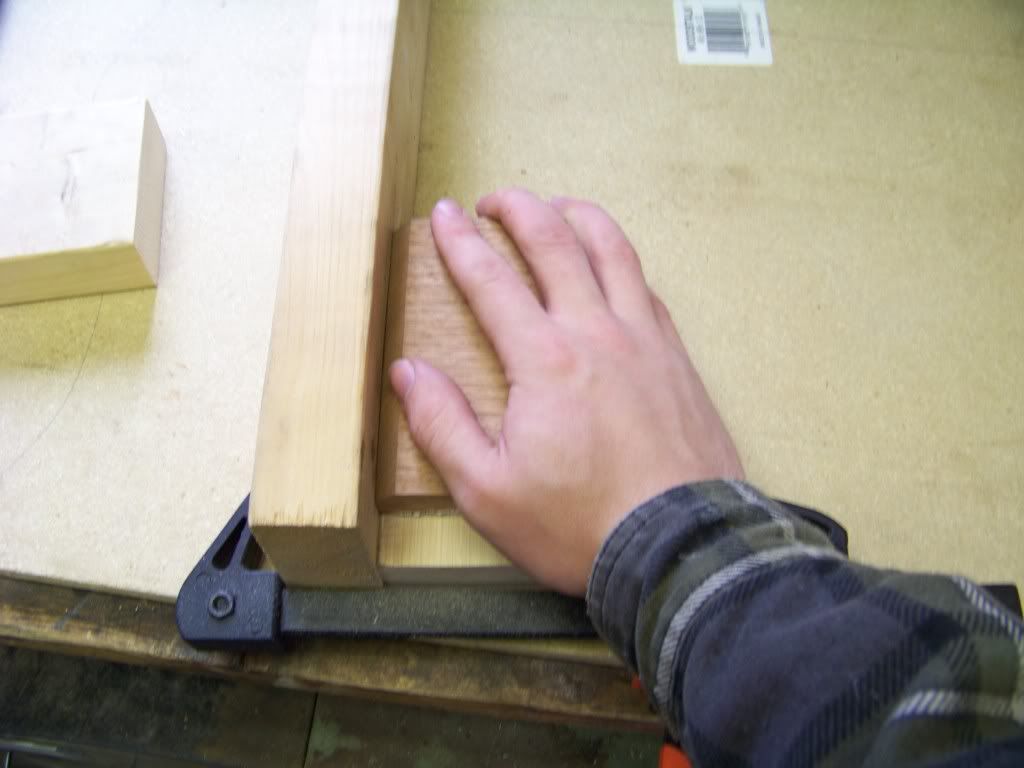
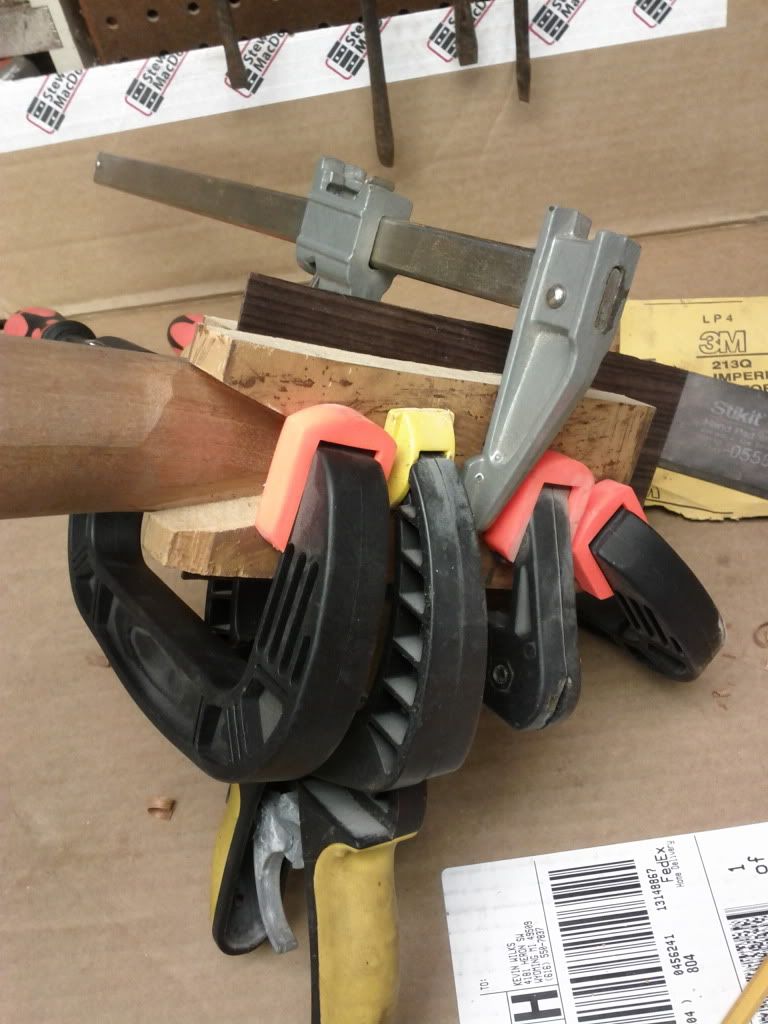
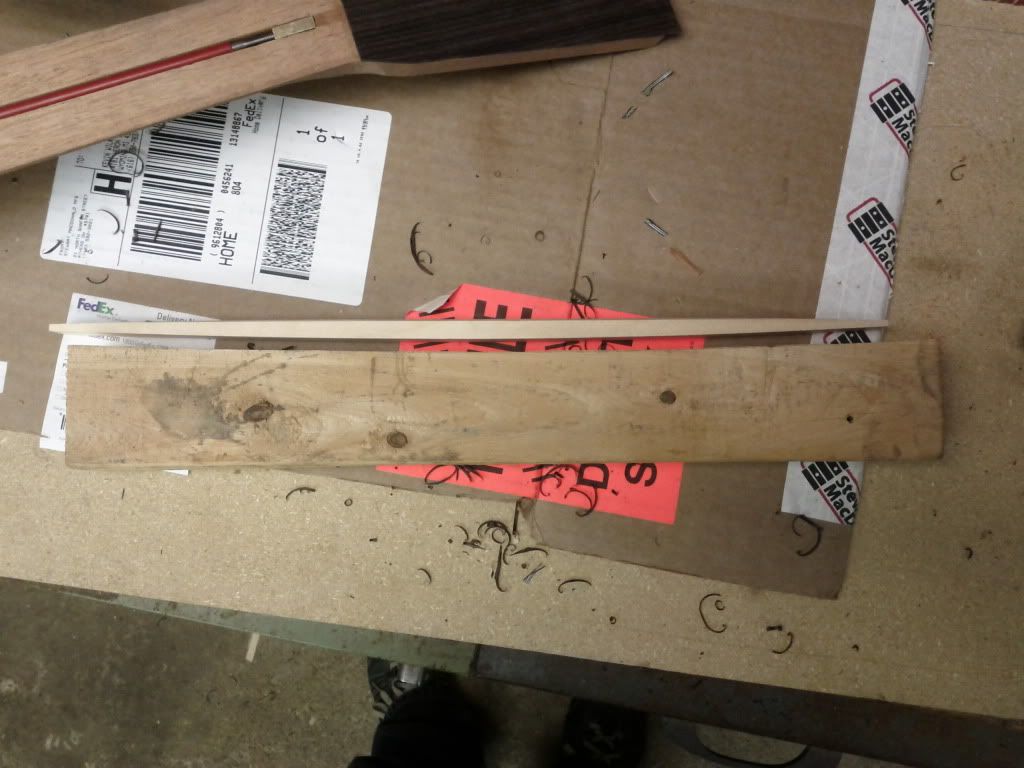
To finish the night, I made a clamping caul for the braces that go on the back. I will likely spend as much time, if not more, making clamping cauls and other oddball jigs than I will spend making the guitar itself.
Thanks for looking, and please share your comments!
I recently acquired my first acoustic guitar kit. It is the Spruce/Rosewood Dreadnought kit from Stewart-MacDonald, and I started it yesterday. I got quite a bit of work done today and thought I'd start a build thread. Any advice or tips are more than welcome and will be very appreciated.
Note: This is not my first guitar build, but is my first acoustic build. I am about to finish my first electric guitar. Just needs dye and lacquer.
So, Here are my pictures.
I decided that I would try to take pictures of every step of the process for this project. I'm pretty unorganized so I thought maybe making a point of it to document everything would help me keep this build neat. So far it seems to be working.
All the parts are here.
I was not expecting a blueprint nearly the size of our pool table...
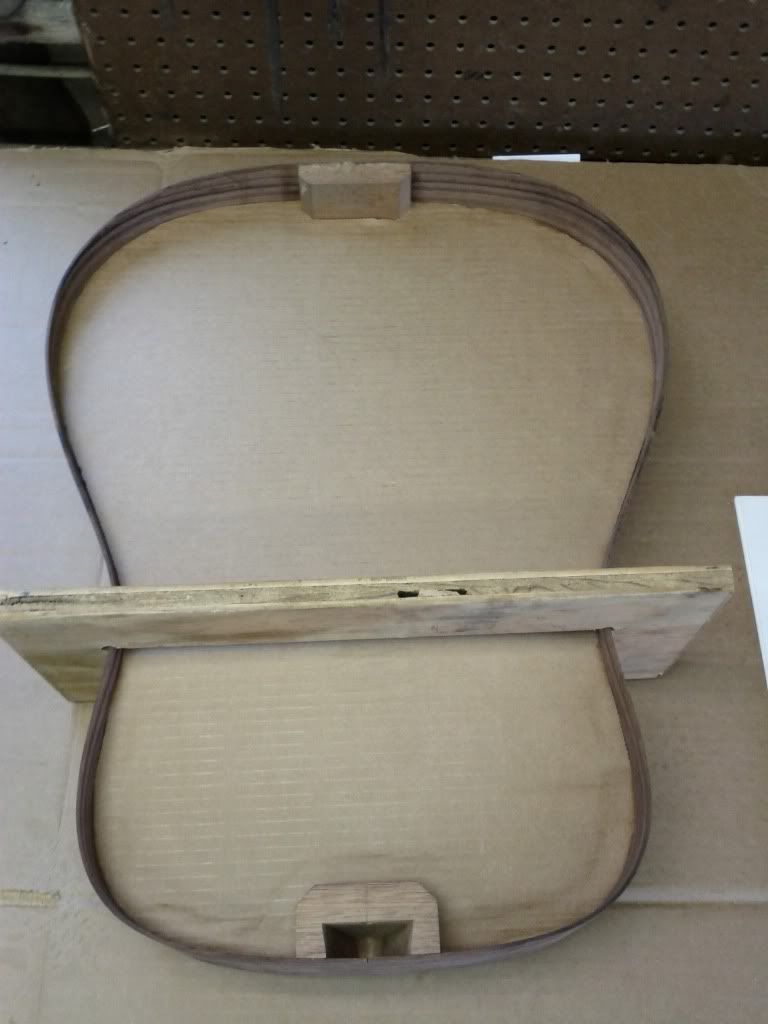
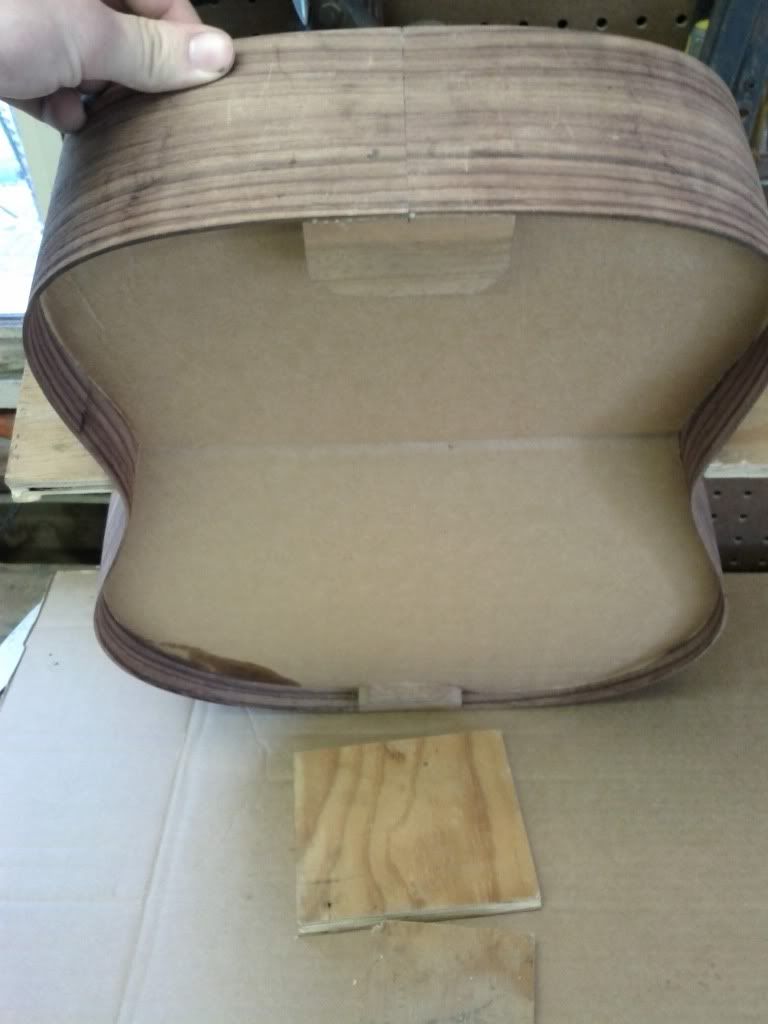
I tried using the heel block as a sanding block to make a clamping caul.
It ALMOST worked.... just not very well.
My dad suggested using wood filler so we put some wood filler on the blocks I cut, and pressed the heel and neck blocks to them with a piece of wax paper in between to make the shape.
It worked pretty well I think. The clamps are still on and the glue is still hardening.
I couldn't wait to do some more work so I started on the neck. This is just the little plug for the truss rod channel. The Hot Rod truss rod came with the kit, the channel already routed. I just had to glue that plug in so the nut on the heel end of the truss rod was flush with the end of the neck, and then shave it off to fit. I like doing things by hand so I used a carving set I had.
Here I am gluing the Rosewood veneer on the front of the head stock.
For the back, I used a scrap of wood with a v-cut in it as a caul. The v is because of the irregular shape in the back of the neck/headstock.
Here you can see the veneer on the headstock after I had cut it off. I just scored it with a razor blade and it snapped right out. Then I used my carving chisels again to shape the sides pretty close. The end grain isn't quite as easy to carve so maybe i'll just sand that tomorrow.
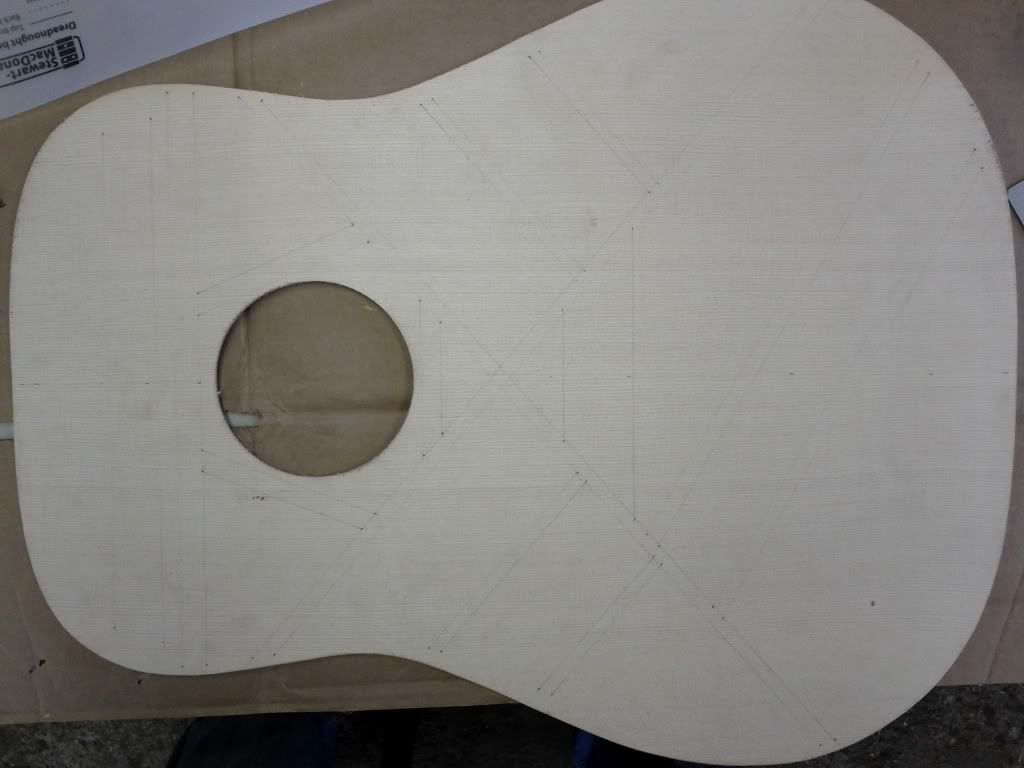
I was running out of things to do, so I started working on the rosette. The circles are already routed out to fit the inlay, but the thin inlays were a little too thick for the channels that were routed for them. I used a flat chisel on a 90 degree angle to scrape a little bit at a time off the sides of the inlay. It is very tedious.
The gap isn't really an issue according to the instructions, because the fretboard is supposed to cover the outer two inlays. Seems like a good enough reason for me to do the inner rosette last.
I got in a bit of a rush on the outer ring, but It should be alright. I'll smooth them all down flush after I get the third ring in.
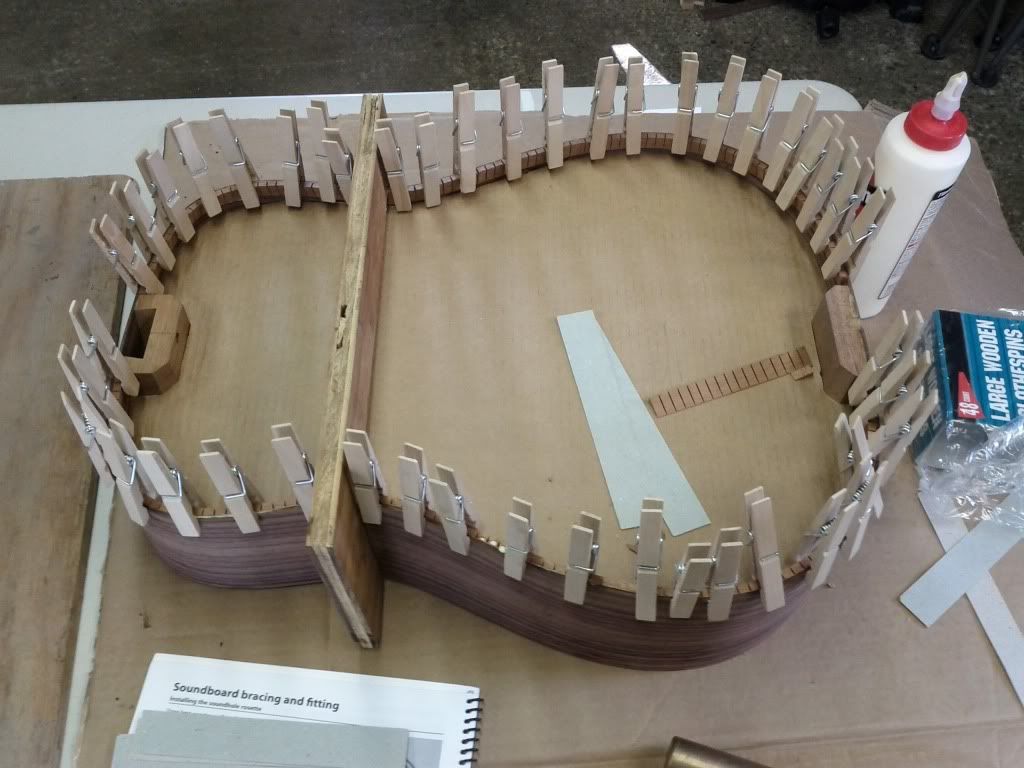
To finish the night, I made a clamping caul for the braces that go on the back. I will likely spend as much time, if not more, making clamping cauls and other oddball jigs than I will spend making the guitar itself.
Thanks for looking, and please share your comments!