Page 1 of 5
No. 4 - my attempt at a mahogany/sitka folk size
Posted: Mon Apr 22, 2024 7:58 pm
by nkwak
I know that No. 3 just had a setback but I'm kicking this one off in order to take my mind off the feeling of defeat. I bought most of the materials after I closed the box on No. 3 and made a mold and forms. For inspiration I went way back: I still have the husk of the Kay folk size guitar that I took lessons on way back in the 70s. So I traced it and made a mold and bending form:

Here are the materials I have so far. Surprisingly this is just over $200:

Re: No. 4 - my attempt at a mahogany/sitka folk size
Posted: Mon Apr 22, 2024 7:59 pm
by nkwak
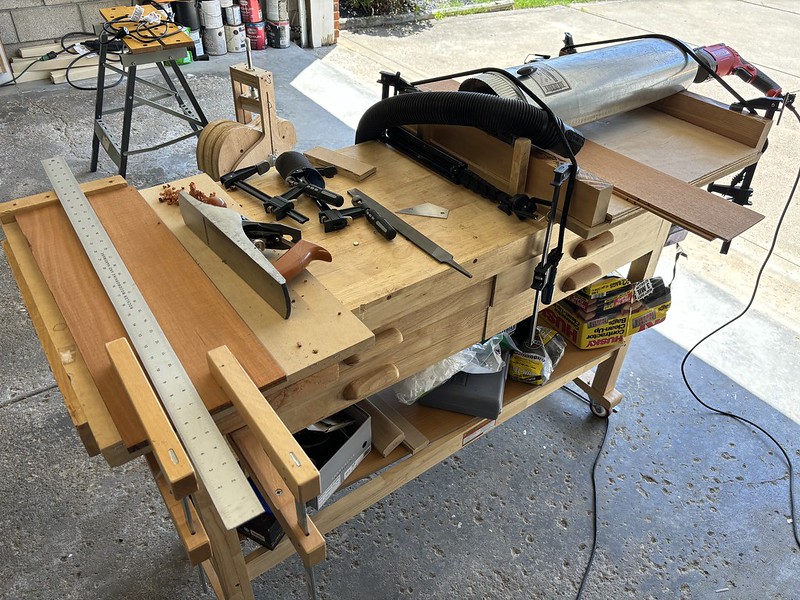
Then when I damaged No. 3 I decided to not beat myself up but instead try to shift my attention toward something else. So I wheeled my Harbor Freight workbench into my garage and set up my shooting board and homemade drum sander. I made partial progess: I'm still chasing away the daylight on the joint and only have the sides down to 1.4" thick.
Re: No. 4 - my attempt at a mahogany/sitka folk size
Posted: Tue Apr 23, 2024 12:47 pm
by Diane Kauffmds
Good for you. We've all had our problem builds. I'm glad you haven't given up. I had to totally restart my #2 after several setbacks. If you build long enough, it'll happen.
Re: No. 4 - my attempt at a mahogany/sitka folk size
Posted: Tue Apr 23, 2024 8:02 pm
by nkwak
Thanks, Diane. From now on I'm avoiding climbing cuts! My sides are now thin enough to bend but I want to joint the back plate and soundboard first and run them through the drum sander before I put it away.
Re: No. 4 - my attempt at a mahogany/sitka folk size
Posted: Sun Sep 15, 2024 10:12 am
by nkwak
I’ve got the sides bent and in the mold, blocks installed and the top kerfed lining installed. I upgrade my spreaders with new turnbuckles so that I can concentrated on planing at the back side rims so that I can do the lining on that side. Looking ahead I am considering on adding spruce side braces because the mahogany wants to relax and I’m afraid of it cracking and cupping.

Re: No. 4 - my attempt at a mahogany/sitka folk size
Posted: Wed Sep 18, 2024 11:56 pm
by nkwak
I took a day to refine my mold and make sure that it holds everything in place. I did this because I noticed that I wasn't sanding the back level.


Re: No. 4 - my attempt at a mahogany/sitka folk size
Posted: Sun Sep 22, 2024 2:05 pm
by nkwak
I kinda got the rosette done:

The Dremel for the outer rings isn’t a double fluted bit so it didn’t cut cleanly and I didn’t rout it very deep. When I glued the purfling strips in they were too tall to scrape so I ended up pulling them out. The black/spruce dust from the scrapings/sanding worked its way into the channels though, I was nearly meticulous in measuring the gaps, I’m out if black strips and I broke the bit anyway so I’m loathe to do it completely over. The channels aren’t completely full so I’m gonna sand the scrap purfling and sprinkle it in and set it with thin CA. The herringbone ring went in perfectly and I’m proud of that at least.
Re: No. 4 - my attempt at a mahogany/sitka folk size
Posted: Mon Sep 23, 2024 3:51 pm
by Kevin Sjostrand
Neil
Since the purfling channels are very deep can you recut them couple thousands deeper to clean the up?
Also you could cut them a bit wider too to clean hmthe sides and the add a black or white strip to your purfling scheme? We've probably all had to do this at least once and it can turn out looking like you planned it.
Give it some thought.
Kevin
(The herringbone looks great!)
Re: No. 4 - my attempt at a mahogany/sitka folk size
Posted: Wed Sep 25, 2024 12:11 pm
by nkwak
I may just do that, Kevin. I have more purfling and new bits on order.
Re: No. 4 - my attempt at a mahogany/sitka folk size
Posted: Wed Sep 25, 2024 12:52 pm
by carld05
How about using an inlay powder in epoxy like these
https://www.amazon.com/Inlay-Powder/s?k=Inlay+Powder. I've done that on some knife handles with my grandkid"s names.