Well, After destroying a top at this stage with purflex when using it for the rosette, I have to say I was nervous. Less so as I had shellac on the top and the purflex (it can stain as well); also I tried it on the portion covered by the fret board.
But all came out OK. I mostly used a scraper to clean up everything.
I resawed a couple of veneers from my block of amboyna burl. Thanks to Ken's for pushing carter's bandsaw bearing upgrade kit multiple times, I was able to cut out nice cleanly cut veneers for the headstock to match the rosette.
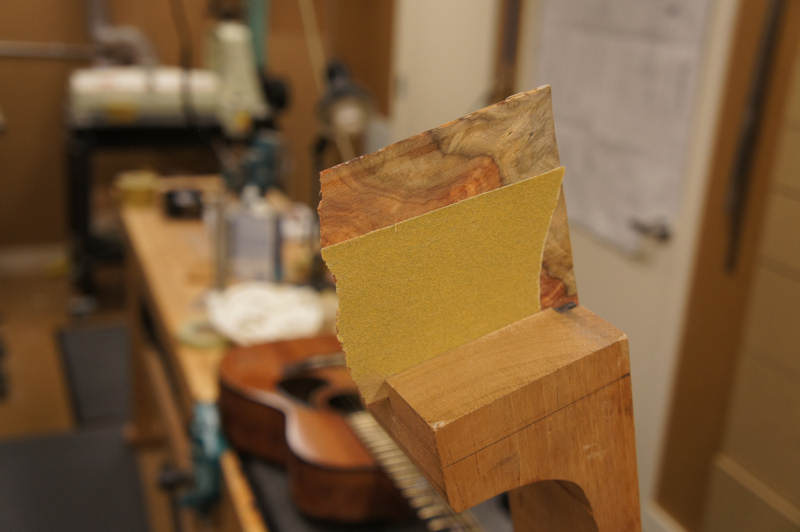
I had a cople of ways to book match one way had a lot of the amboyna type swarels but looked to scary, the other way has nice sapwood color so I in going that way. The first picture.
You do not have the required permissions to view the files attached to this post.
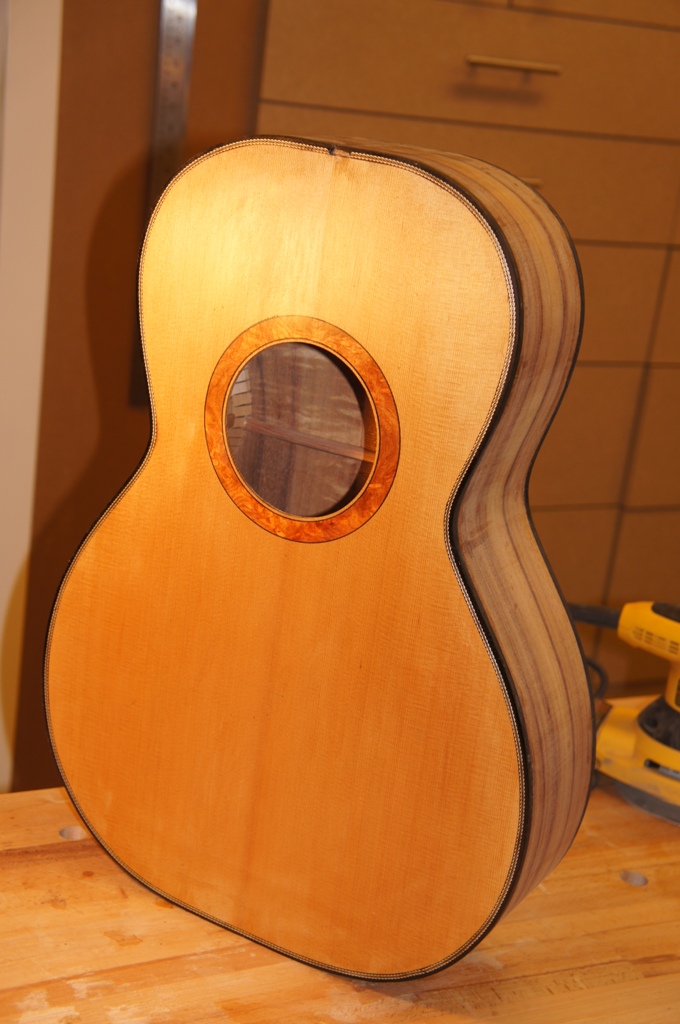
Super job on the binding/purfling. So you have to fill that purfling with black stuff? Did you tell us that?
I like the bottom picture of your headstock. That is beautiful wood, I have used it for knife handles.
Does it feel pretty solid?
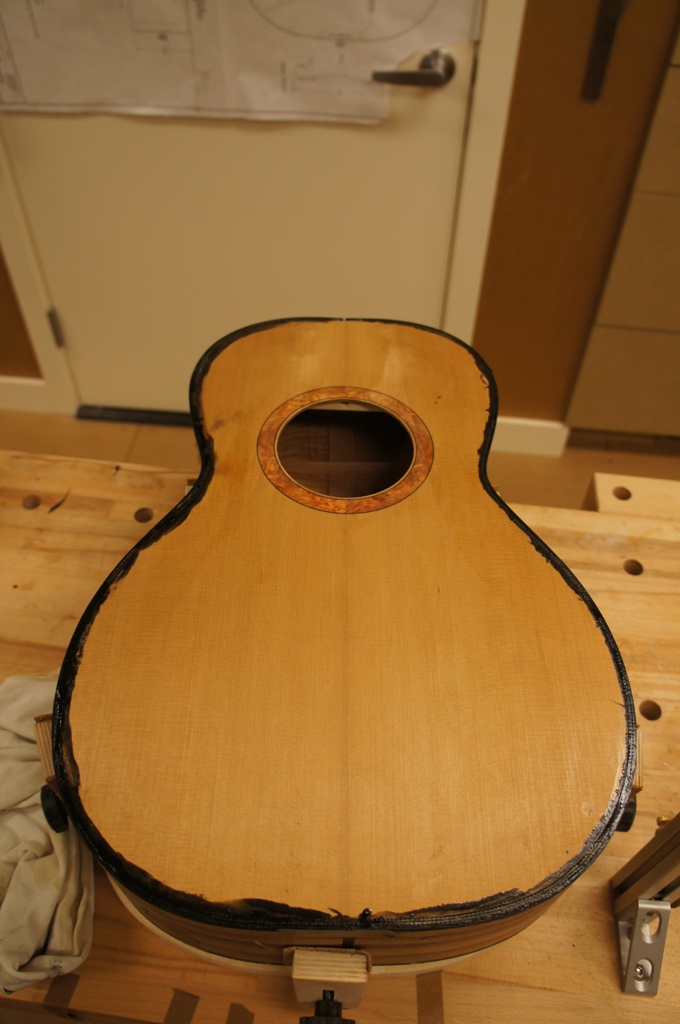
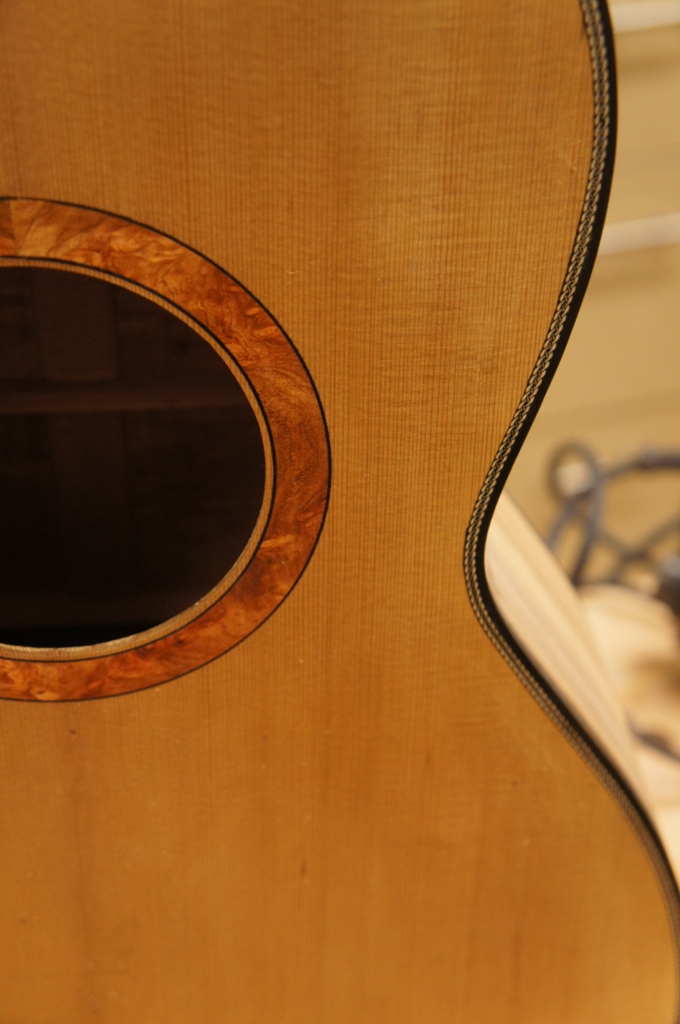
The purflex looks to me like a tight laser cut pattern held in place with a rubber backing. The cut out areas need to be filled. They suggested epoxy with black tempra paint, I ended up using medium CA with lamp black. I did use epoxy when I tried it on the first rosette, but found it really messy. The CA was more viscous so it was easier to get it to flow into the voids. I used medium CA and had the channels all tight and sealed with shellac, so my main fear of black CA leaking into the guitar did not happen.
The book matched amboyna was large enough so that I was able to join both configurations into headstock veneers. This wood was very solid and stable. The veneers I cut are staying very flat.
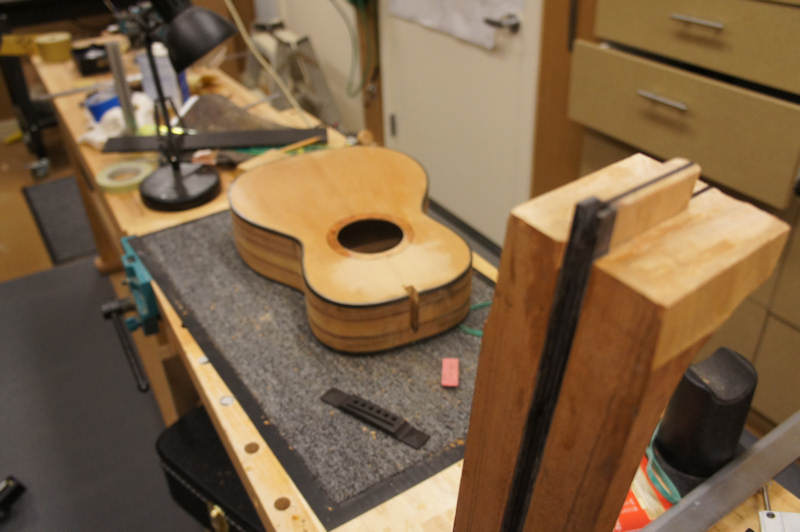
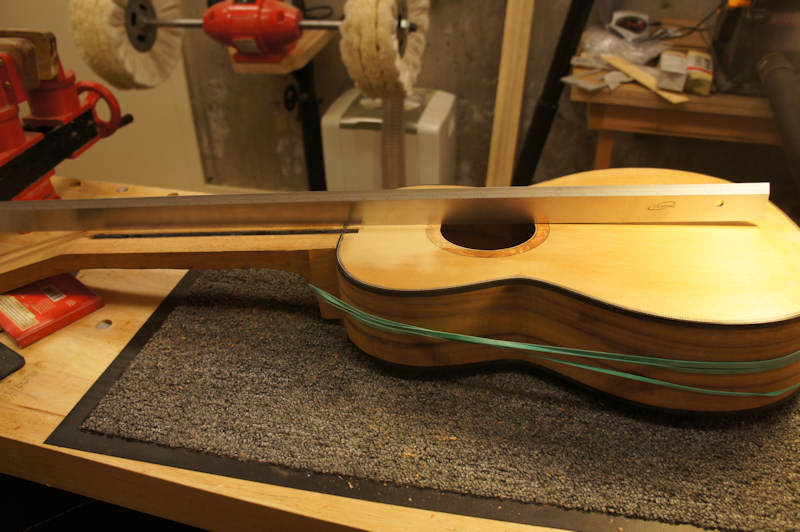
With the body closed and my brothers guitar ready for shipment I am ready to get back to the neck
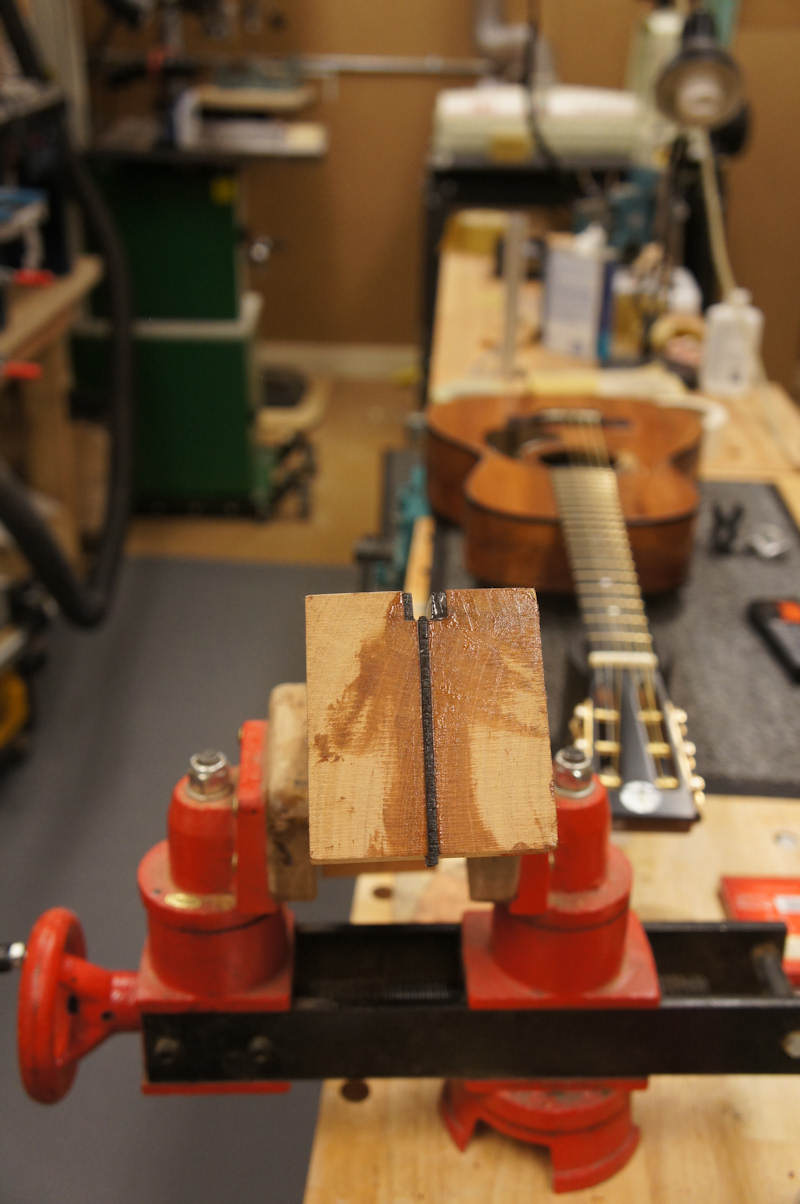
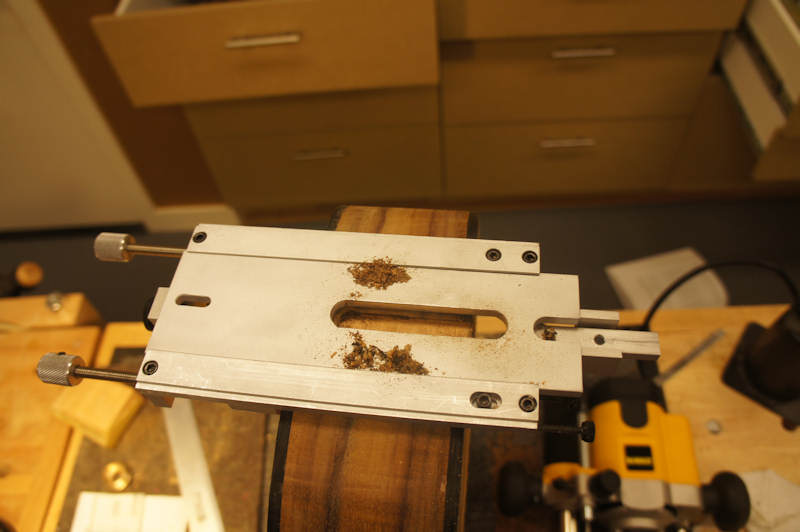
On my last parlor guitar I had a 3/4" tenon and used bolt on brass inserts. To my eye the 3/4 inch tenon forced me to have a stubbier looking heel than I was looking for. On this guitar I decided to go with a 1/2" tenon and switching to barrel nuts like Rick showed me when I built my last Koa parlor. With the switch to barrel nuts I decided to reinforce the tenon with an ebony insert running cross-grain to the neck. Basically I am making plywood. In the first series of pictured you can see I cut the slot in the neck where the tenon will be and I filled it with a thinned piece of ebony I had from a ruined fingerboard.
The ebony is 1/8" thick, so I had to take a couple of passes on the bandsaw. If Ken sees the post he might notice I took his advice for the bandsaw upgrade.
The slot cut clean but I cut it a little small.
I used a thin piece of veneer with a slight bow to carefully widen the slot. It was basically the only thing I could fit in.
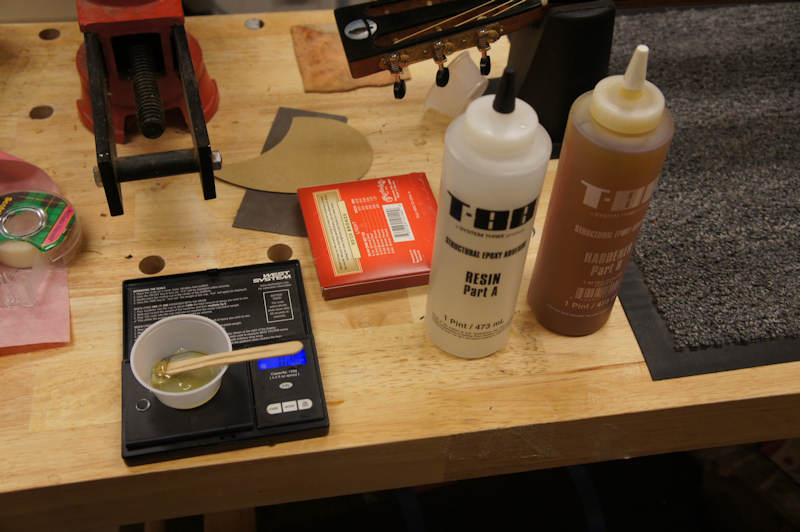
While the fit looked good I could not see inside so I decided to go with some structural epoxy (that is what it said on the label)
This eboxy take a long time to fully cure so I waited to the neck day to cut the tenon.
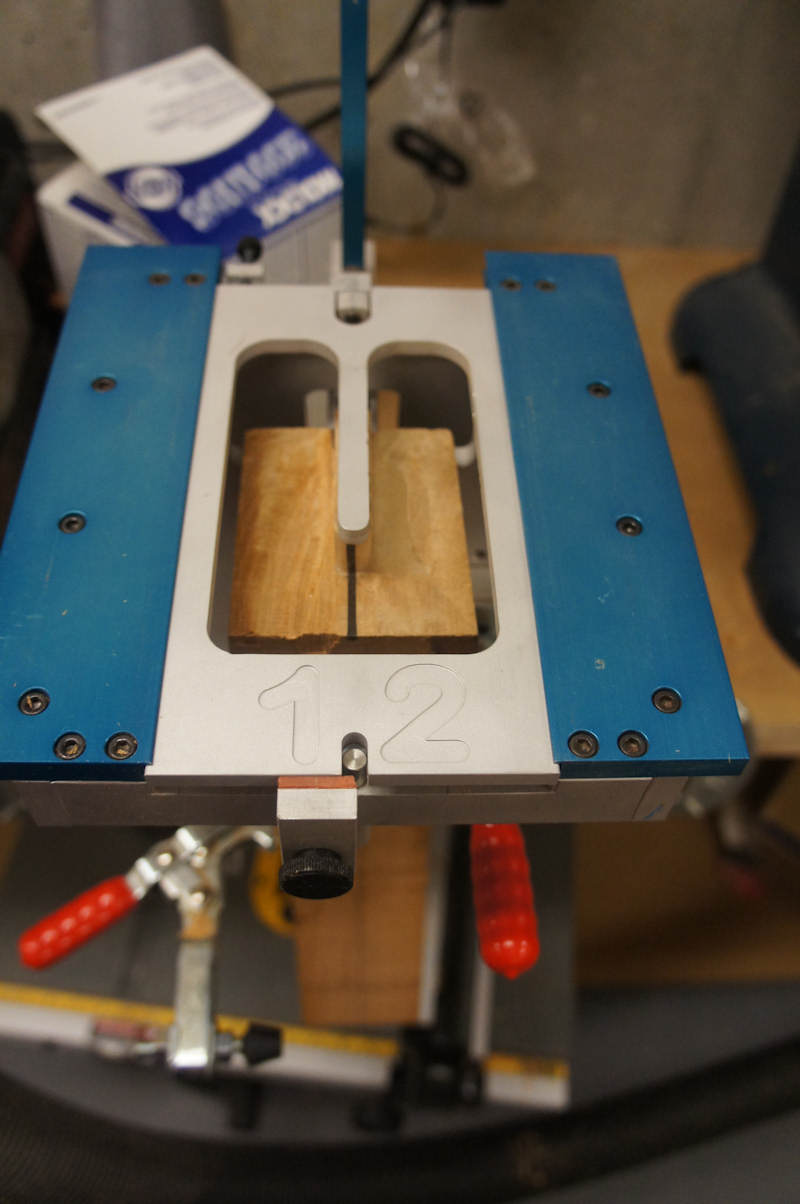
In the first picture you will see that I am setup to cut the tenon in my fancy neck jig. The jig is really a version of the Woolson neck jig. I have also have used another version of the jig built by Jon Simpson, it is built with plywood. It works the same way as this jig. Basically the neck is clamped on a tilting plane. You can place the body of the guitar on the jig and set the neck angle to match the body. I am not showing that step because I did not set up the tool that way. I just set the angle of the plate the neck is clamped to the correct angle.
The tool has a clamp for the top of the guitar that has template inserts. The first insert is a template with the center line. Once centered I have a template that just fits a template guide on my router. I used my plung router and cleanly route the mortice.
Checking the neck angle after the route I did end up with the angle I was looking for. I checked without the finger board and double checked with the finger board.
Last edited by johnnparchem on Wed Dec 28, 2011 11:08 am, edited 1 time in total.
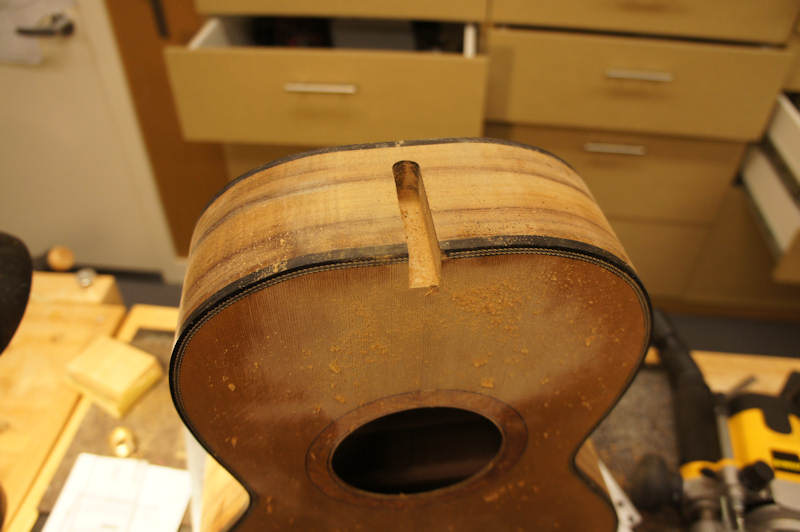
BTW, some folks drill the tenon from top to bottom and glue a dowel in this hole to add strength parallel to the grain. Nice to see an alternative which should work well.
Last edited by Darryl Young on Wed Dec 28, 2011 11:07 am, edited 1 time in total.