
David,
The box looks great. Nice job on the top bracing as well. Also with your clean dark back braces the inside of this guitar is going to look as good as the outside.
john
#2 Wormy Bearclaw
-
johnnparchem
- Posts: 2354
- Joined: Sat Apr 10, 2010 10:50 pm
- Location: Seattle
- Contact:
-
David L
- Posts: 1319
- Joined: Thu Jan 06, 2011 8:04 pm
- Location: Slidell, La
Re: #2 Wormy Bearclaw
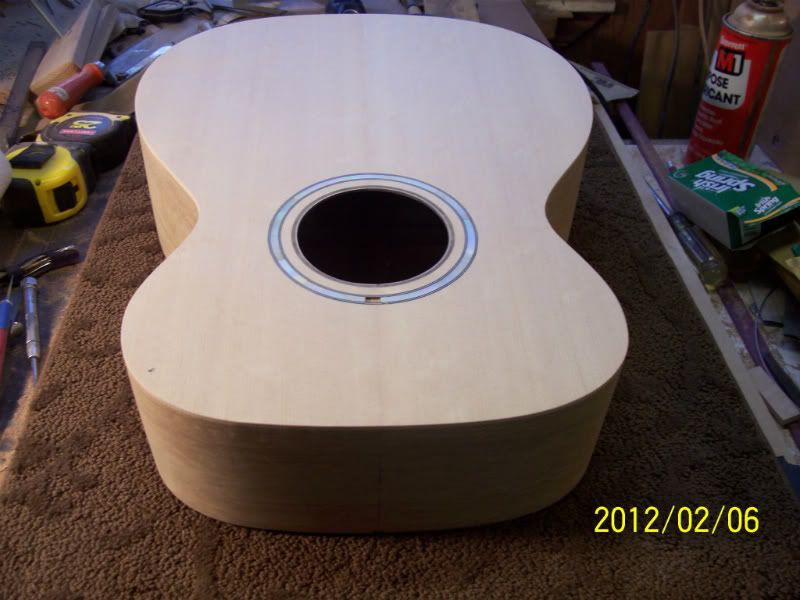
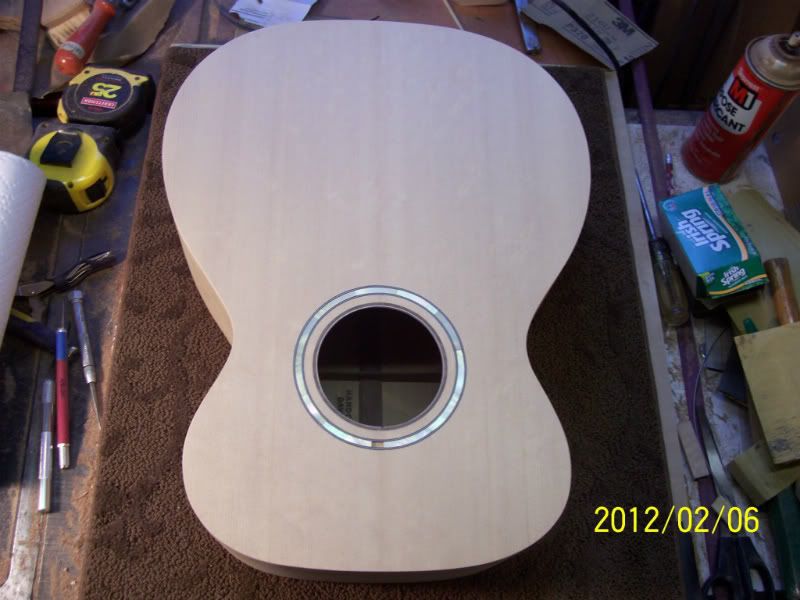
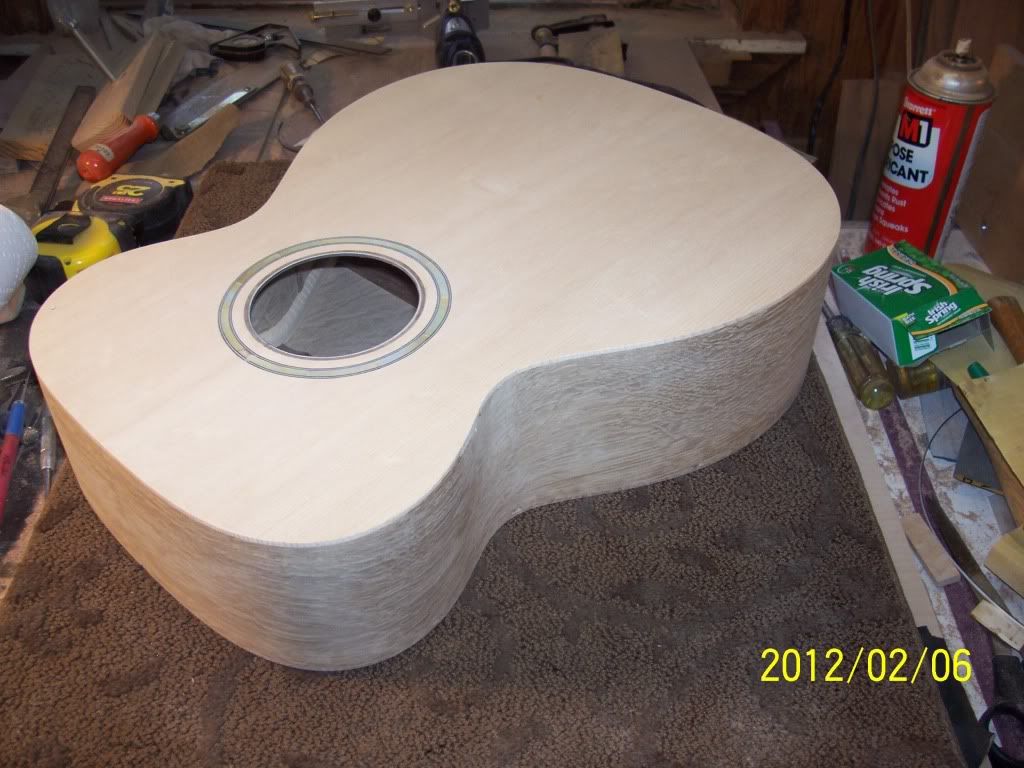
I finished closing the box today.
David L
David L
-
Kevin Sjostrand
- Posts: 4121
- Joined: Sat Feb 09, 2008 8:06 pm
- Location: Visalia, CA
Re: #2 Wormy Bearclaw
Very nice David. Sweet burn inside too.
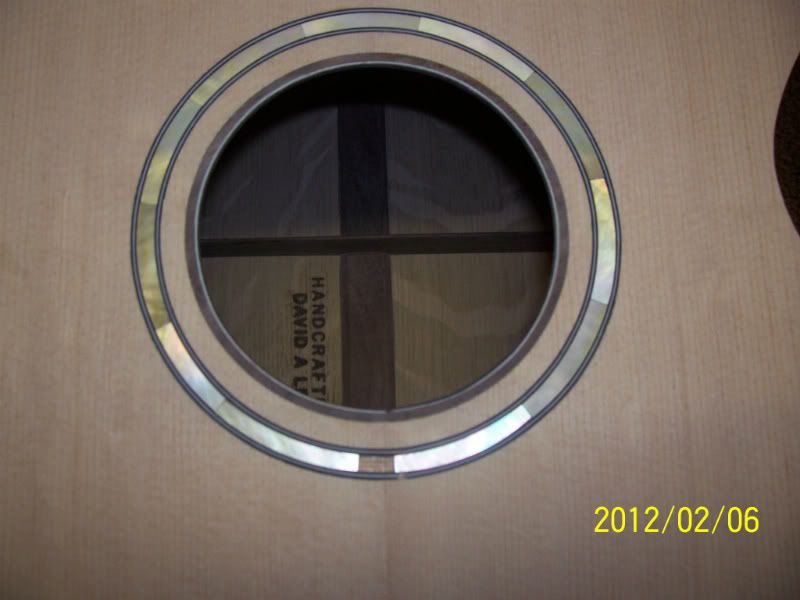
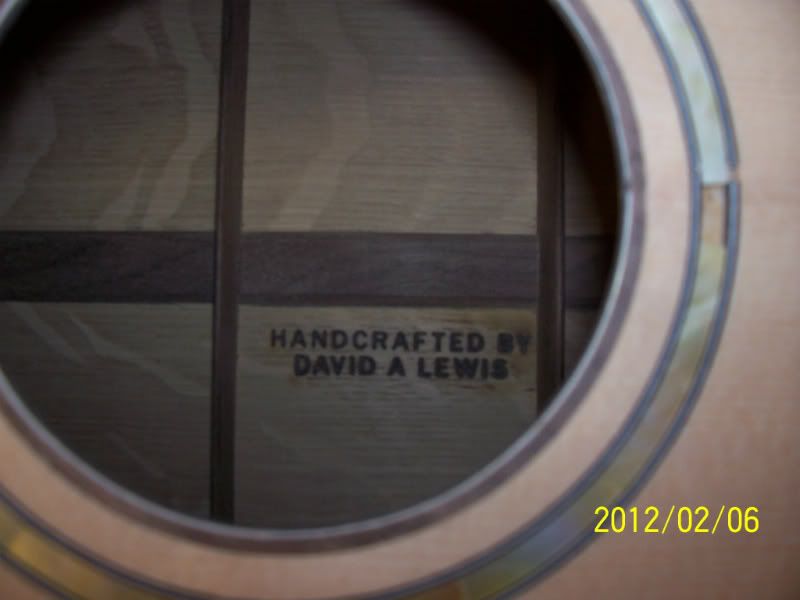
I like the trimmed soundhole. Did you do that as an inlay and then cut out the hole? I've thought about doing one that way.
Kevin
I like the trimmed soundhole. Did you do that as an inlay and then cut out the hole? I've thought about doing one that way.
Kevin
-
David L
- Posts: 1319
- Joined: Thu Jan 06, 2011 8:04 pm
- Location: Slidell, La
Re: #2 Wormy Bearclaw
Kevin, the soundhole trim was an afterthought. I set my circle cutter's inside diameter the same size as the soundhole and cut half way through the wood. reset the circle cutter so that the outside of the cut was the width that I wanted Again, cut halfway thruogh the wood and then flipped the wood over and cut the rest of the way through. reset the circle cutter to the outside line, flipped the piece of wood over and cut the rest of the way through to make a ring about 1/16" wide that fit the soundhole perfecty and glued it in place. Next I lined the walnut circle with purfling .010"B/.010"W. I did this by cutting a disc with my circle cutter undersized just enough to fit the disc and the purfling perfectly in the soundhole. I rubbed a bit of soap on the outside of the disc to prevent the glue from sticking. Put the disc in the hole and worked the purfling in between the gap between the disc and soundhole glueing as I went along. Lots of trial and error to get everything right.
David L
David L
-
David L
- Posts: 1319
- Joined: Thu Jan 06, 2011 8:04 pm
- Location: Slidell, La
Re: #2 Wormy Bearclaw
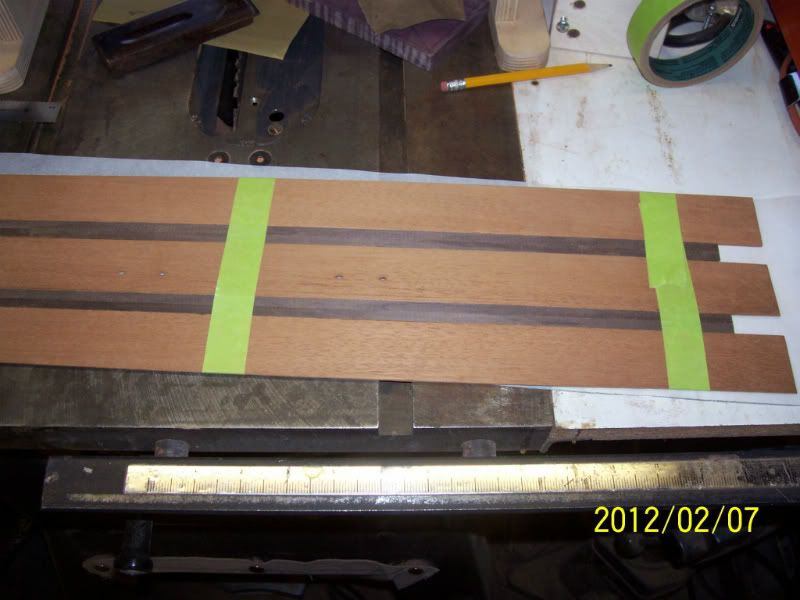
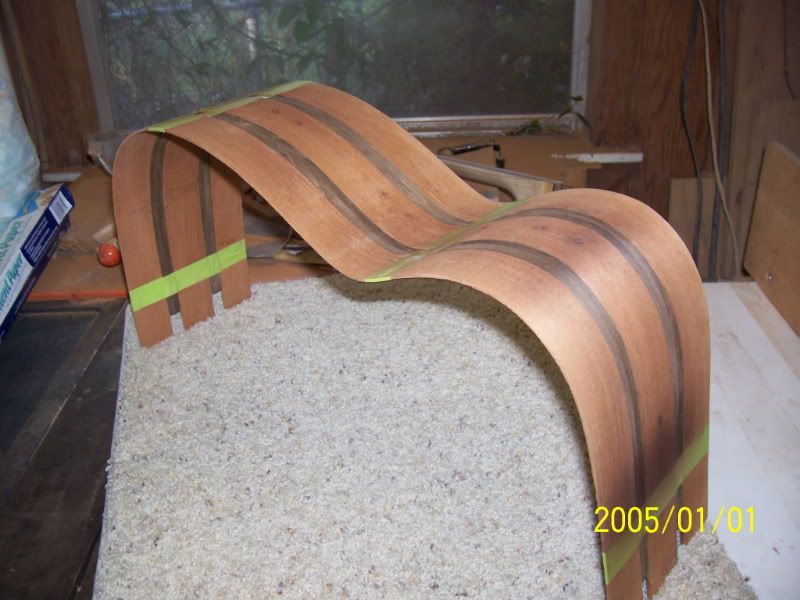
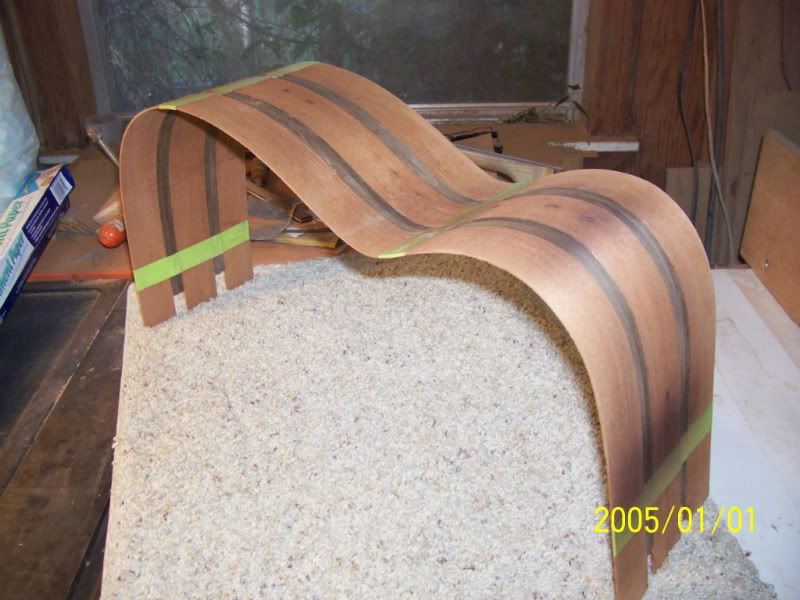
I bent some Walnut bindings today, I taped them between some strips of wood to keep them from going cock-eyed in the bender.
David L
David L
-
David L
- Posts: 1319
- Joined: Thu Jan 06, 2011 8:04 pm
- Location: Slidell, La
Re: #2 Wormy Bearclaw
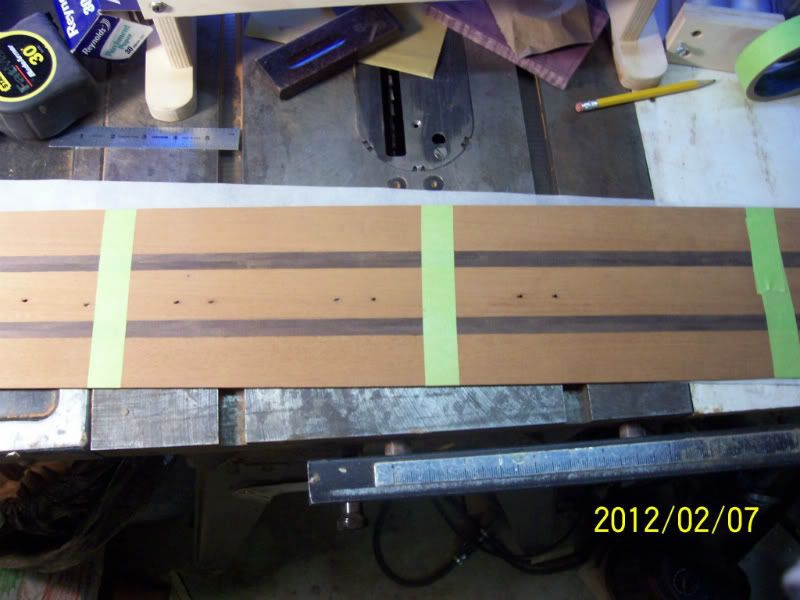
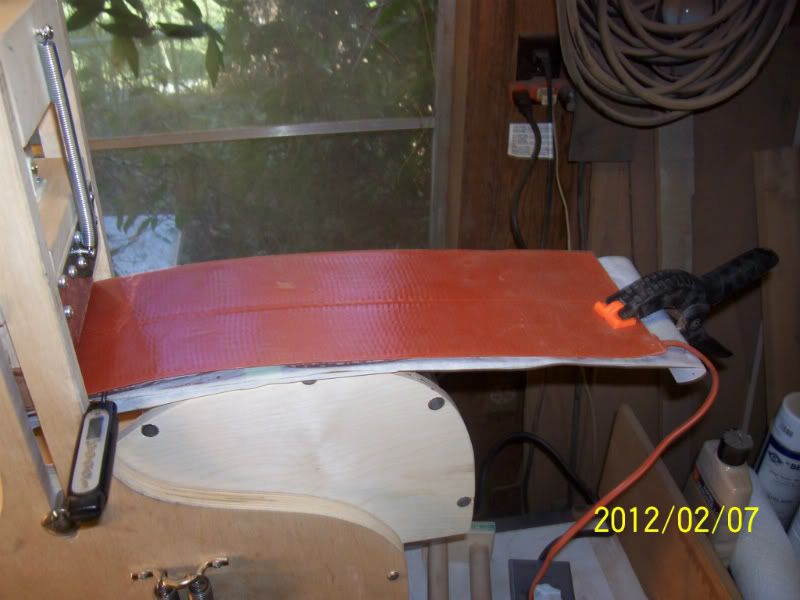
Next I loaded the bindings into the bender.
David L
David L
-
David L
- Posts: 1319
- Joined: Thu Jan 06, 2011 8:04 pm
- Location: Slidell, La
Re: #2 Wormy Bearclaw
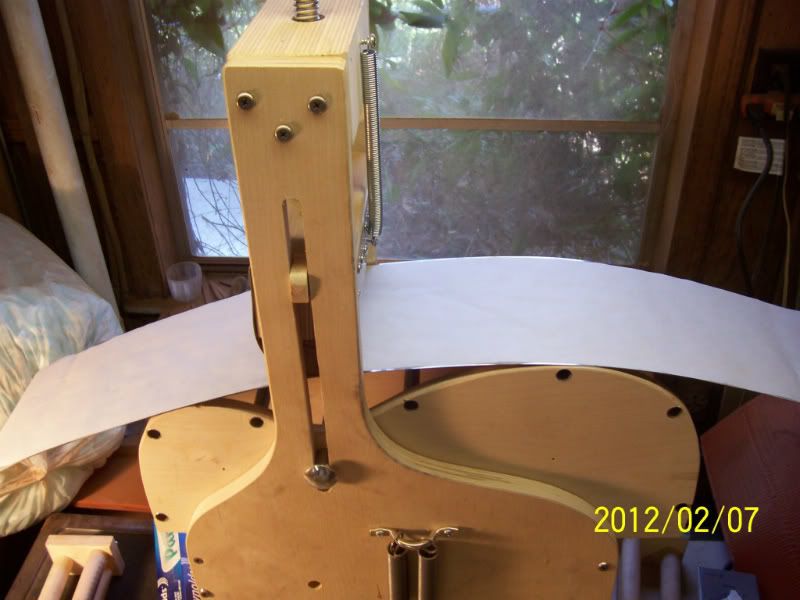
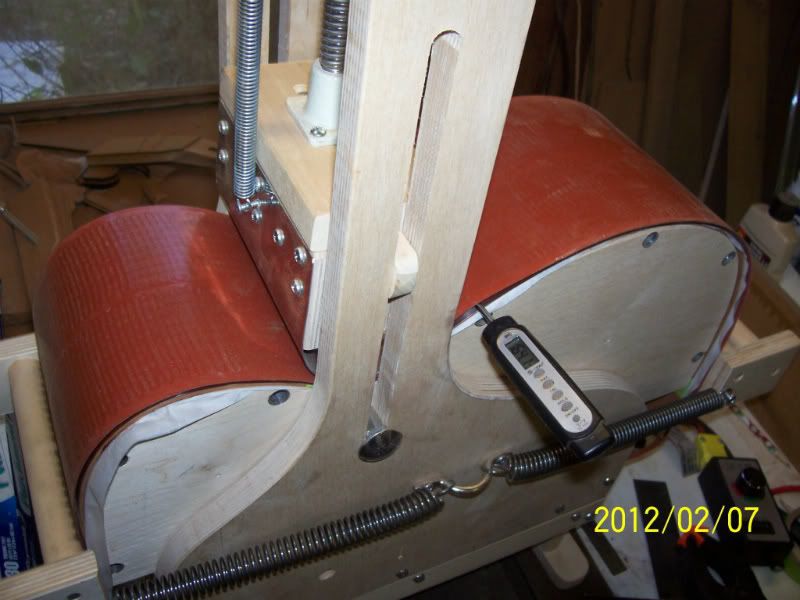
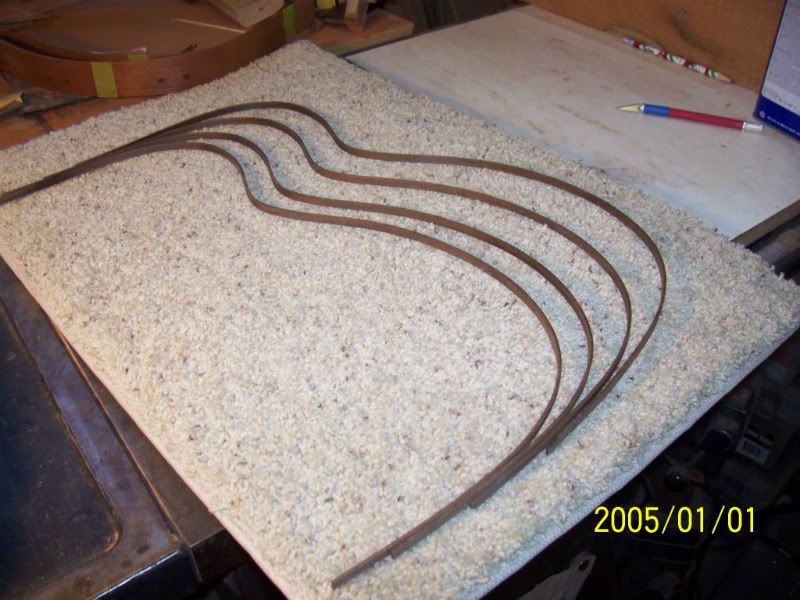
After cooking three time I removed the bindings from the bender.
David L
David L
-
David L
- Posts: 1319
- Joined: Thu Jan 06, 2011 8:04 pm
- Location: Slidell, La
Re: #2 Wormy Bearclaw
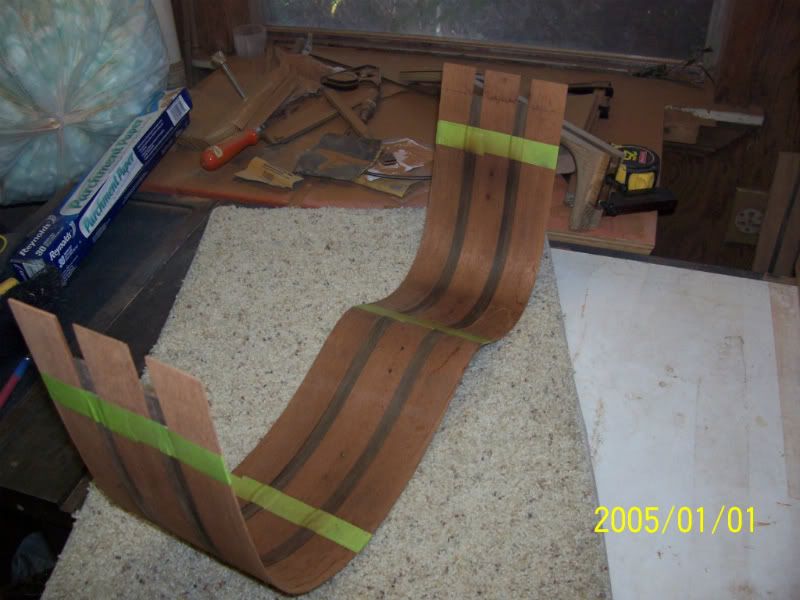
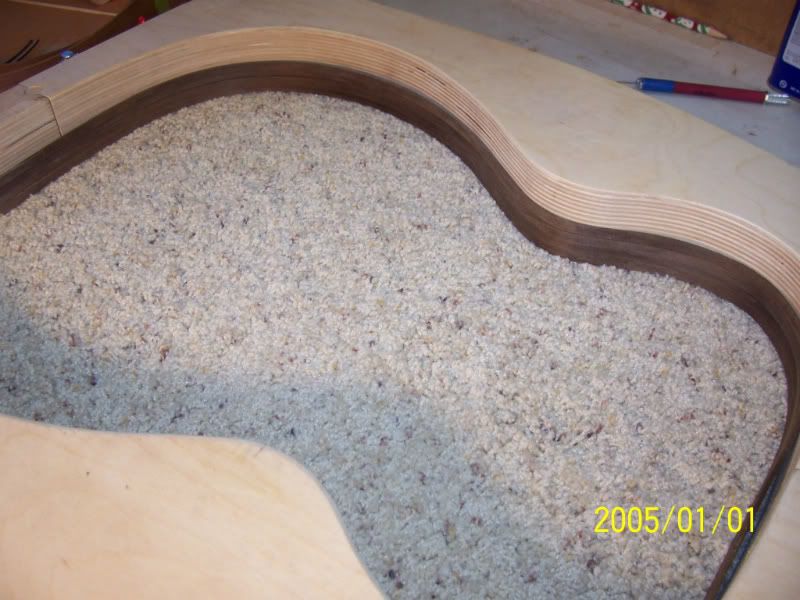
I seperated all of the bindings from the other wood and cleaned the adhesive off with lacquer thinner, now I'm ready to install the bindings.
David L


David L
-
Kevin Sjostrand
- Posts: 4121
- Joined: Sat Feb 09, 2008 8:06 pm
- Location: Visalia, CA
Re: #2 Wormy Bearclaw
NICE job David. They turned out perfect. What temp did you bend those at? It looks like the thermo says 164.
Kevin
Kevin
-
David L
- Posts: 1319
- Joined: Thu Jan 06, 2011 8:04 pm
- Location: Slidell, La
Re: #2 Wormy Bearclaw
164 was during a cool down period, I bent at about 250 degrees F.
David L
David L