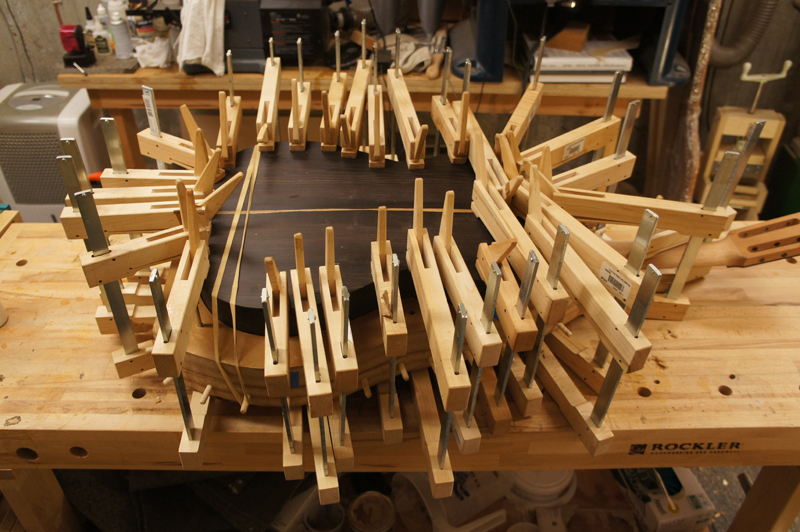
I have the neck and the rims finished including having the kerfed linings in and properly profiled. I did have one minor screw-up I will describe later in the post that I was thankfully able to fix with no damage.
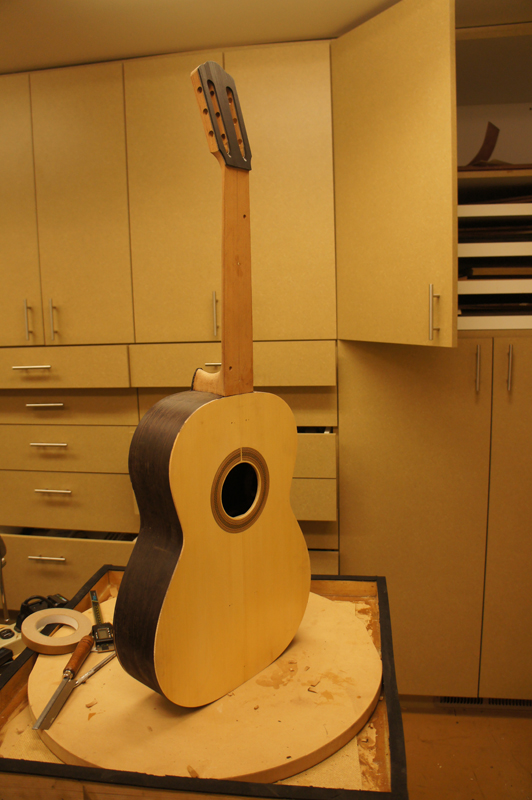
A classical guitar has a different neck\body geometry than a steel string. There are 2 reasons that I can tell for this difference. The first is that a classical guitar typically has the strings lower at the saddle position than a steel string guitar (10 mm vs. 14 mm.) Also, especial on the bass side, the classical guitar has a higher nominal action than a steel string guitar. For some easy to see calculation lets pick a 6 mm thick fret board with a 3 mm desired action at the 12th fret. One needs 2 x the action at the saddle (6 mm) plus a 6 mm thick fret board plus a 1 mm fret it is easy to see that with no angle on the neck I am already too high, 13 mm instead of 10 mm. So if one was using a straight edge on the neck without the fret board the straight edge would have to go inside of the body at the saddle for the correct angle. On the SS it is about 1.5 mm above the top at the same location.
Classical guitar builders use a variety\combination of methods to create the correct geometry: tilting the neck toward the top so that the nut end of the neck is a couple of mm higher than the plane of the body, or planning the angle into the fret board; both methods are often combined with a dome only on the lower bout.
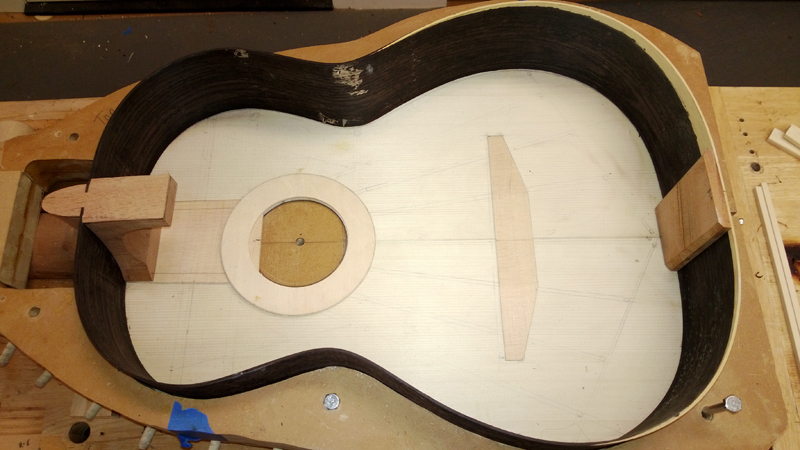
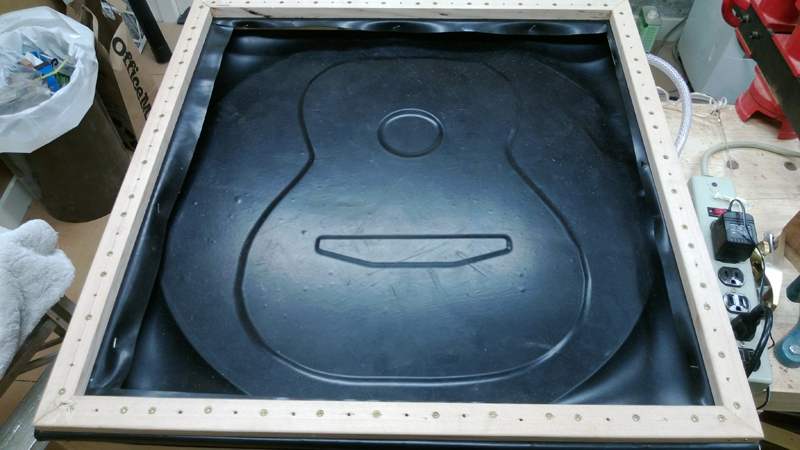
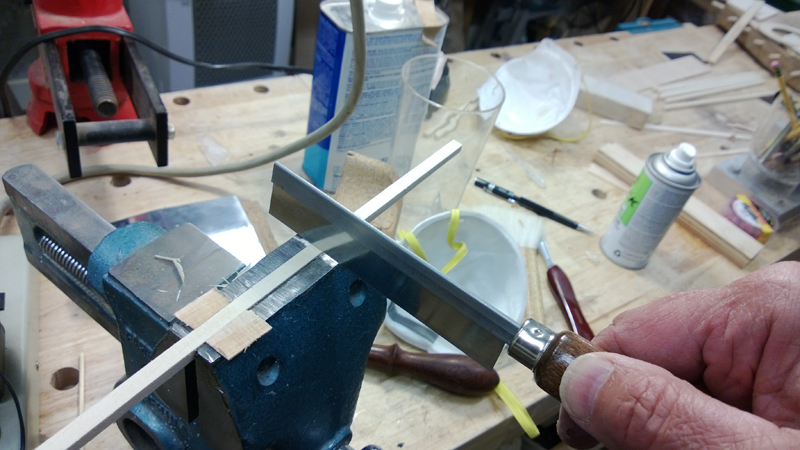
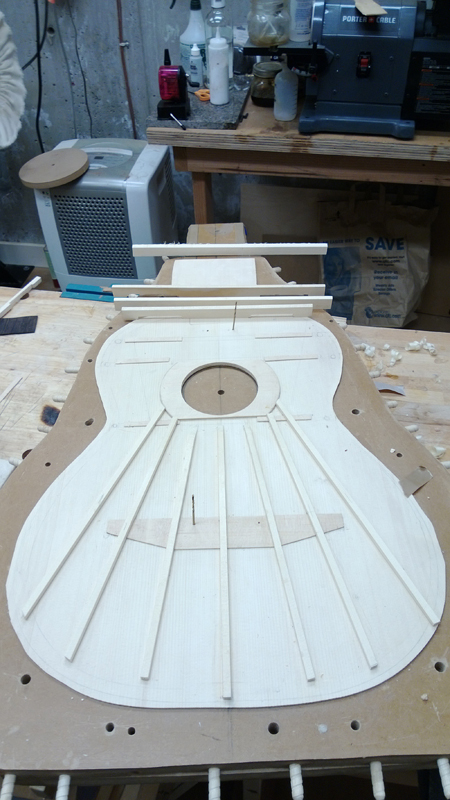
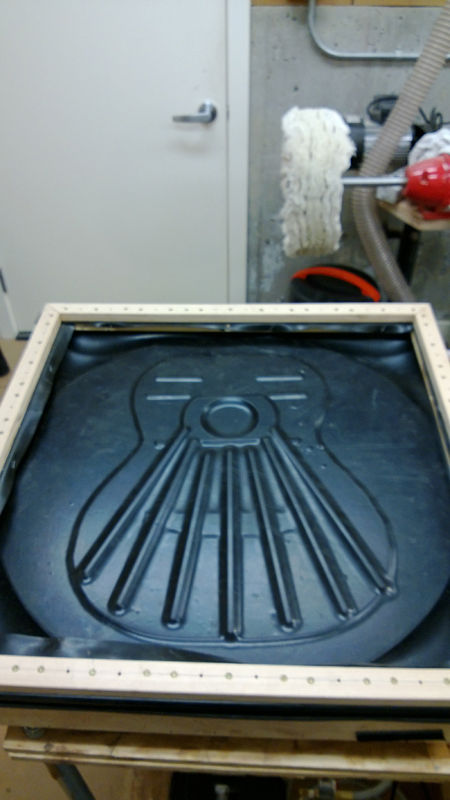
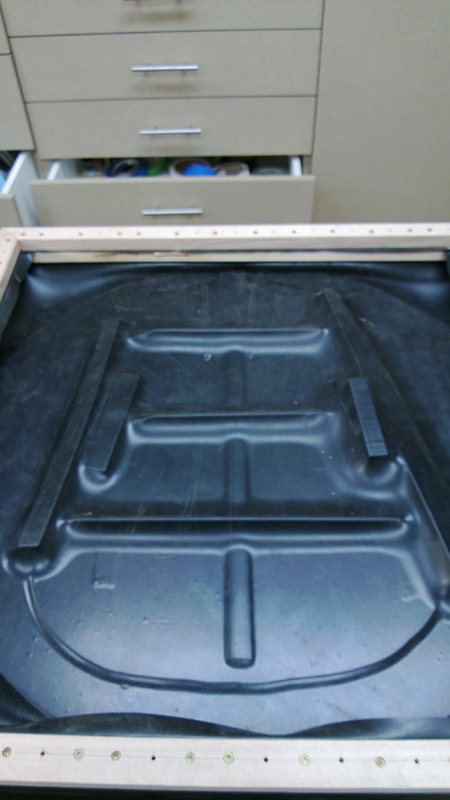
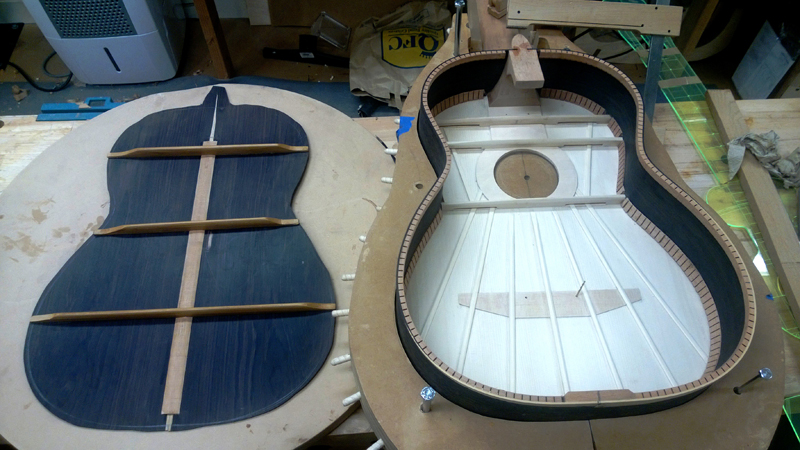
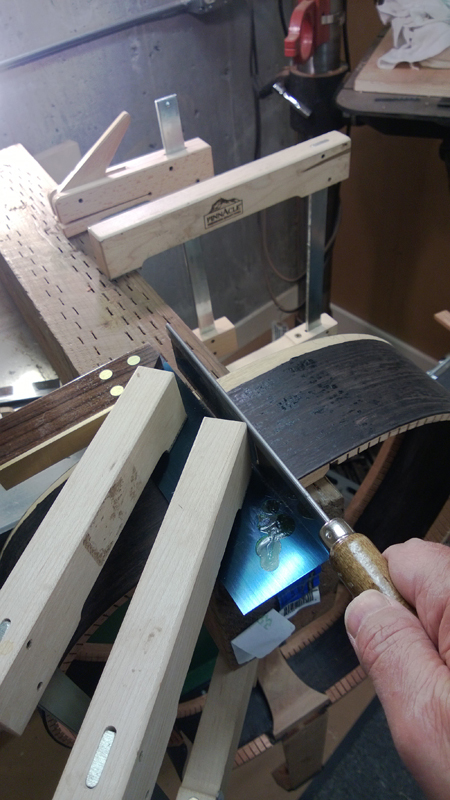
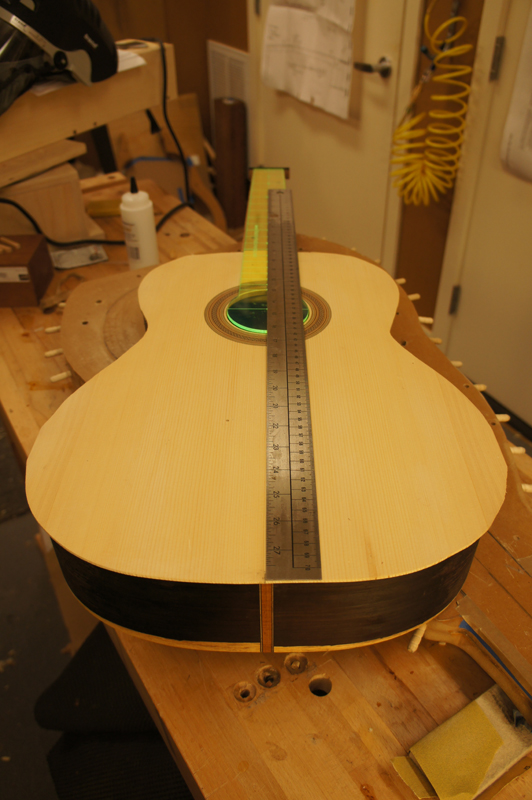
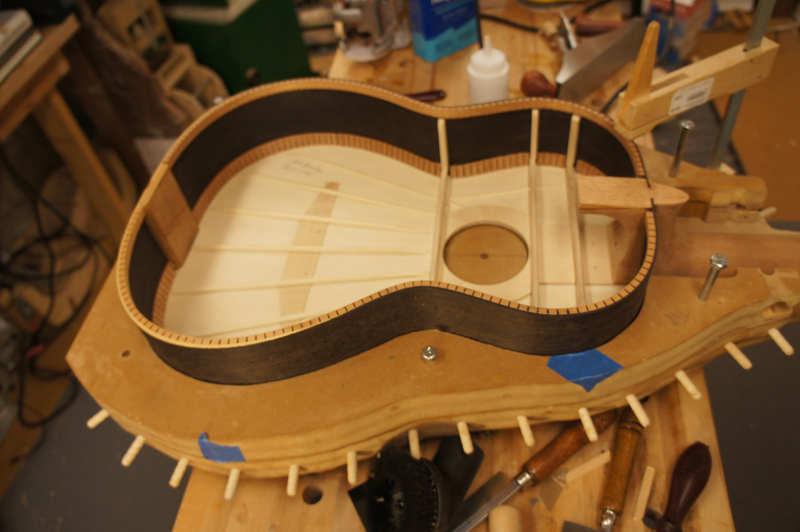
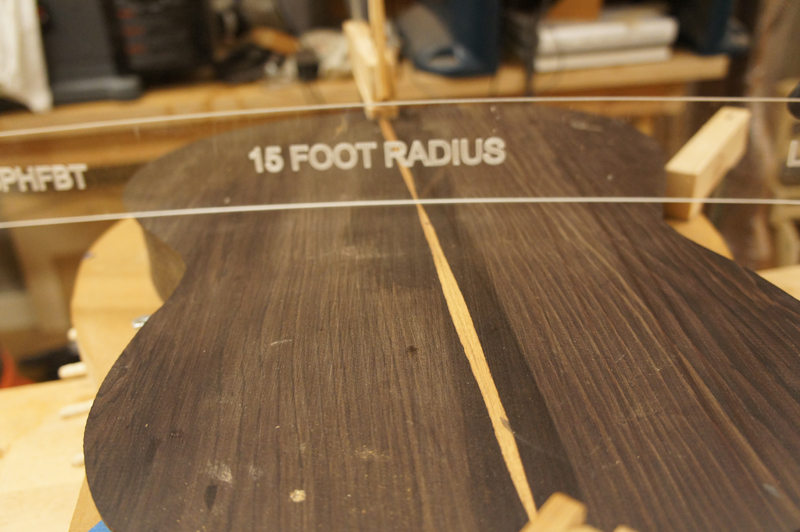
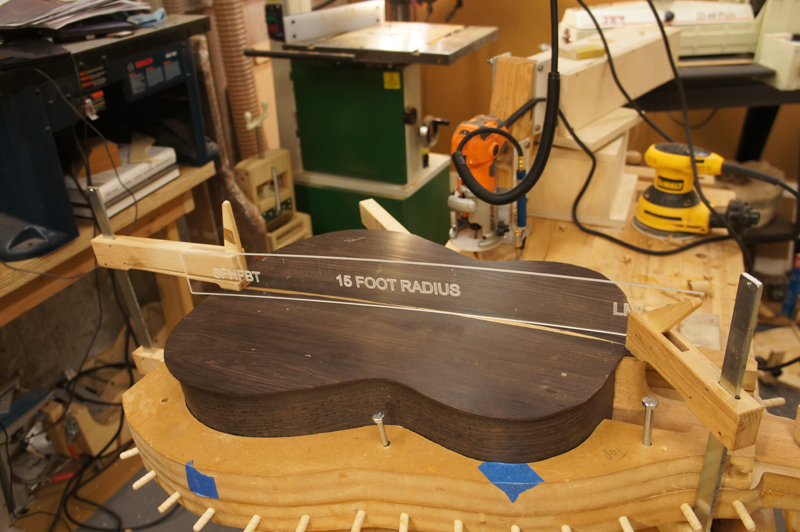
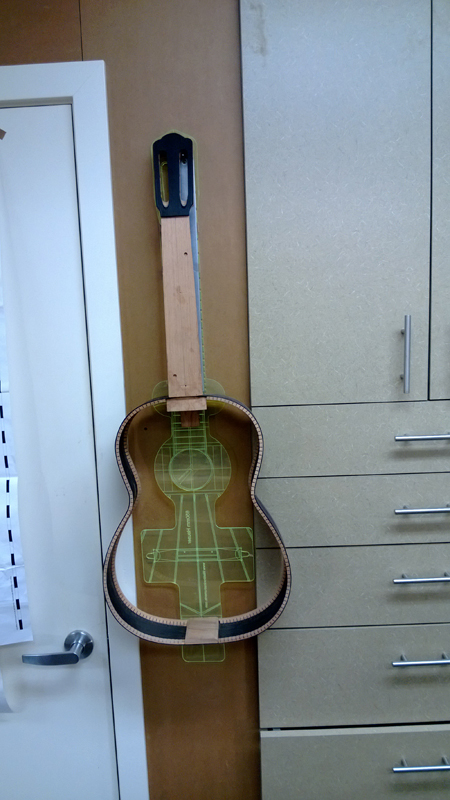
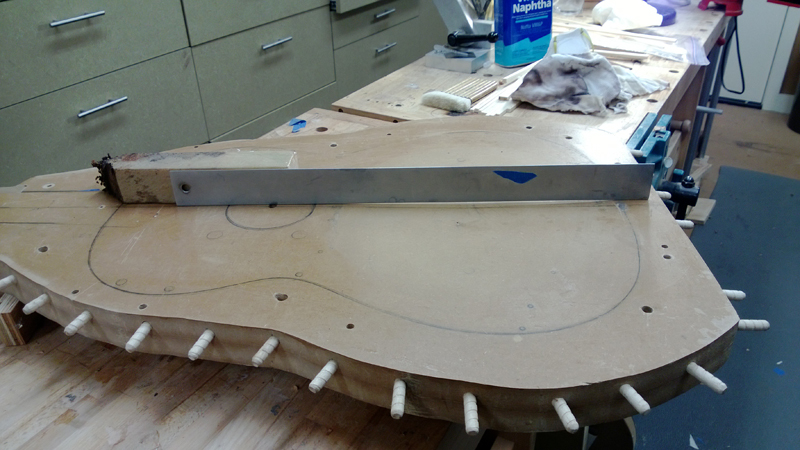
I keep the neck flat to the body and plane the desired angle into the fret board and make a dome. If you look at the picture of my solera you can see that I can use it to create the flat neck angle and the dome. Looking at the straight edge in the picture, you can see that the straight edge is in the dome with a flat neck angle.
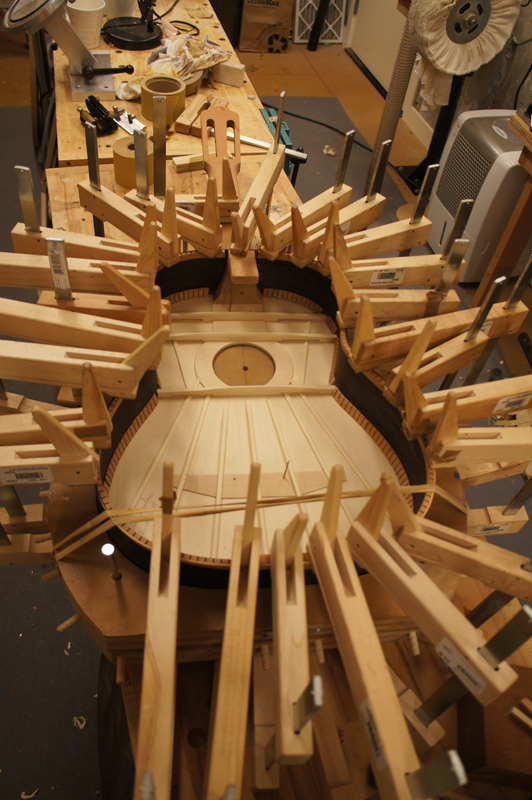
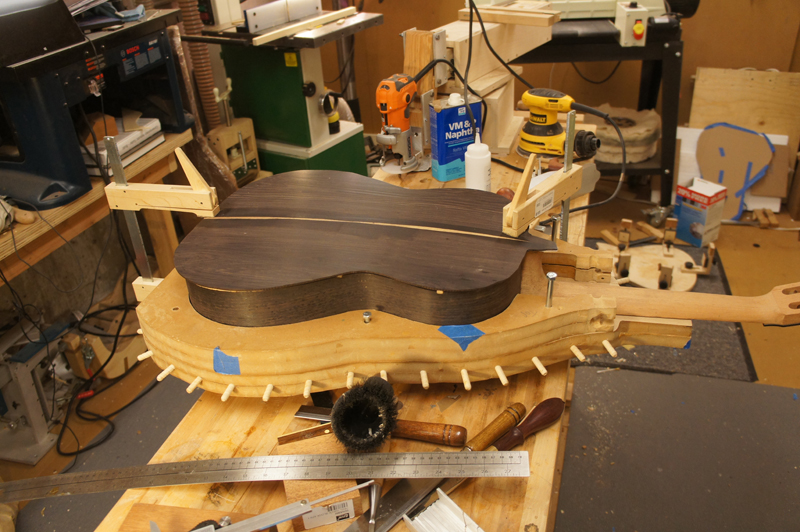
The neck angle in a classical with a Spanish heel is not fixed\set until the back is glued on. To close the box I will make sure the is top properly indexed in to my solera, I will first glue on the neck and rims on to the top. I also have index pins in the solera for the neck so I am sure that the top and neck are properly positioned as I clamp the rims to the top. I will have the neck clamped tight against the solera through this whole process. Leaving the body on the solera I will then clamp on the back. The solera keeps everything properly aligned while closing the box.
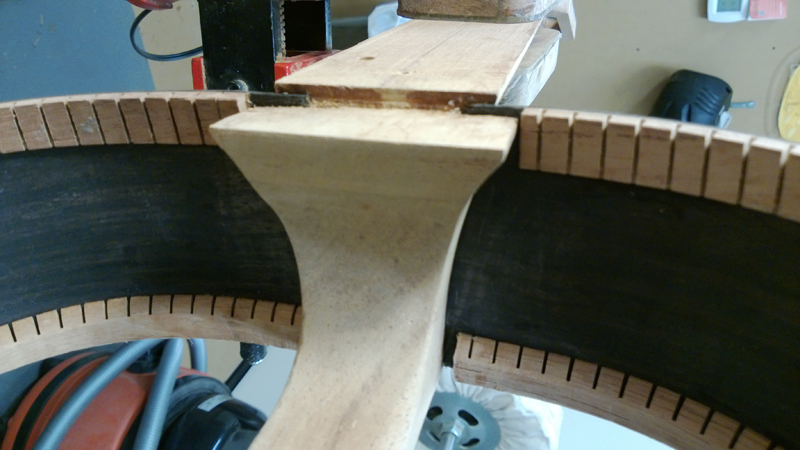
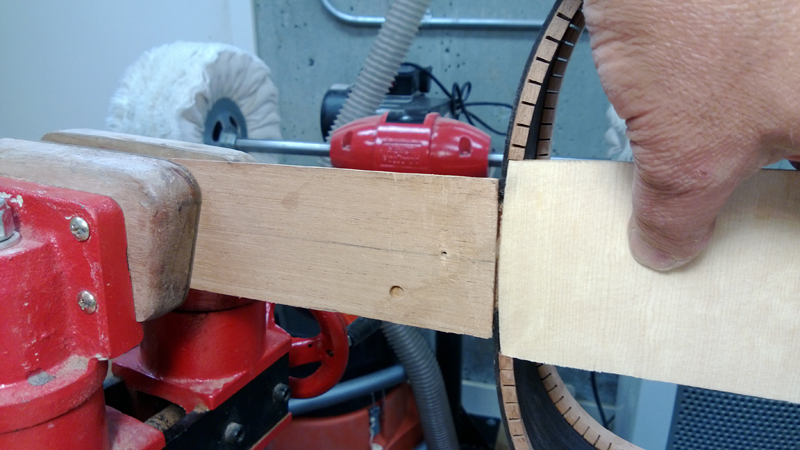
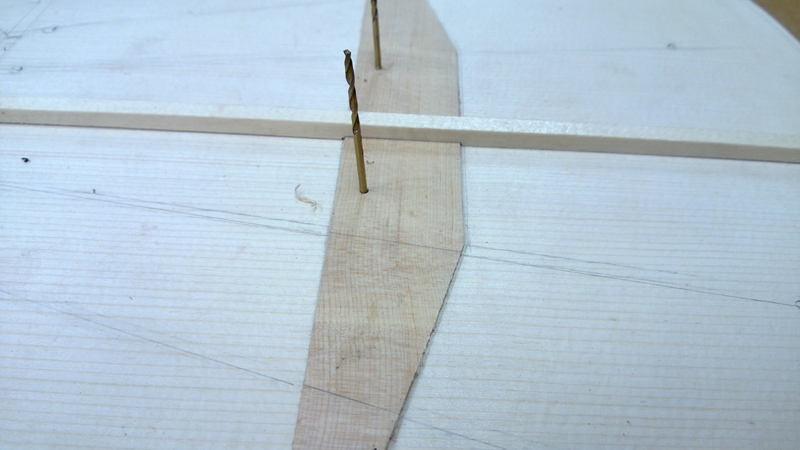
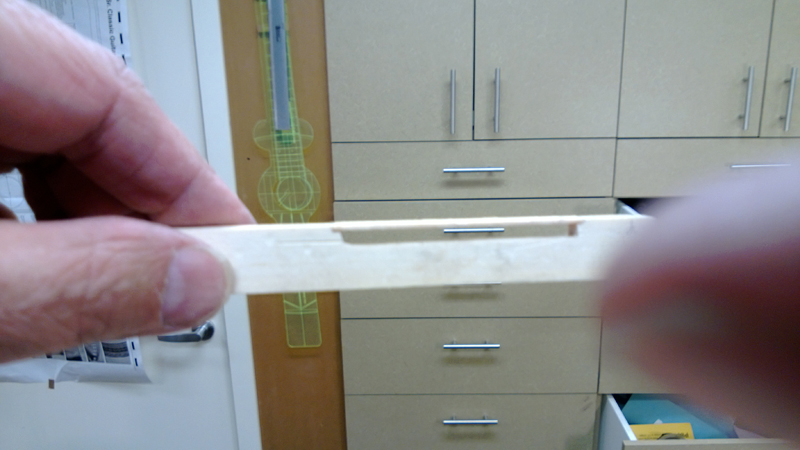
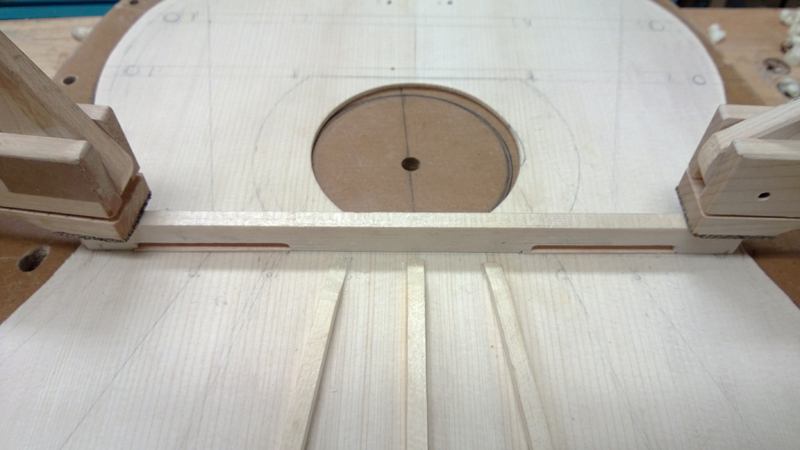
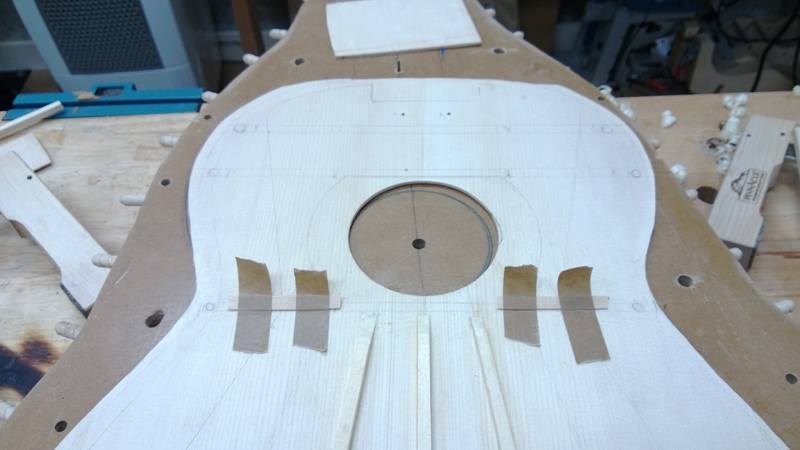
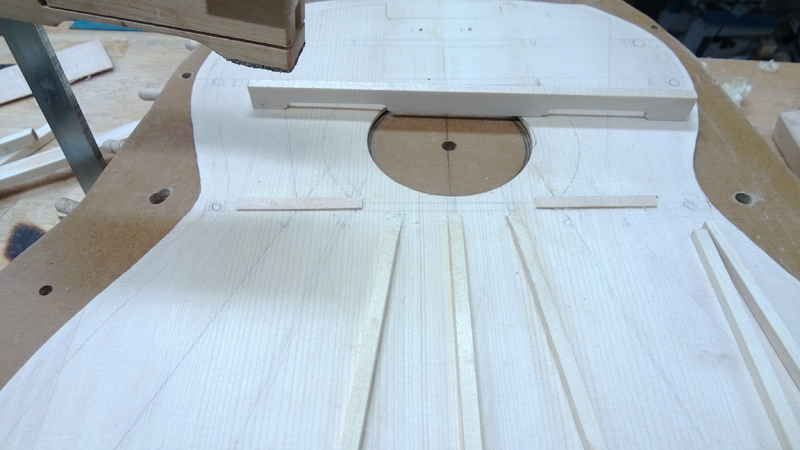
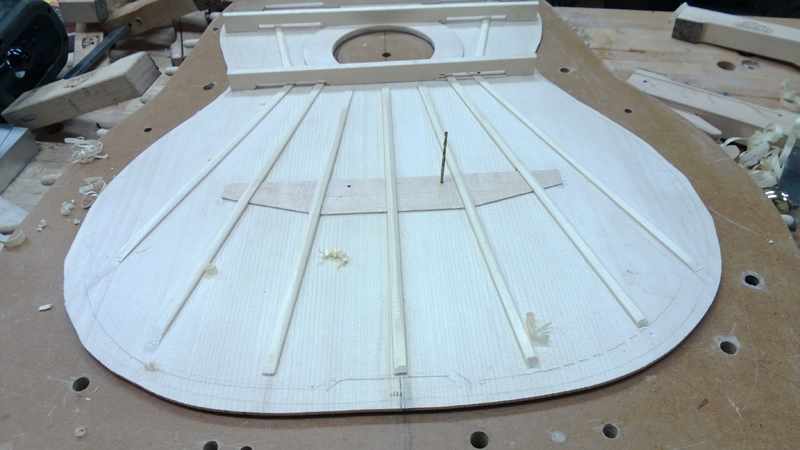
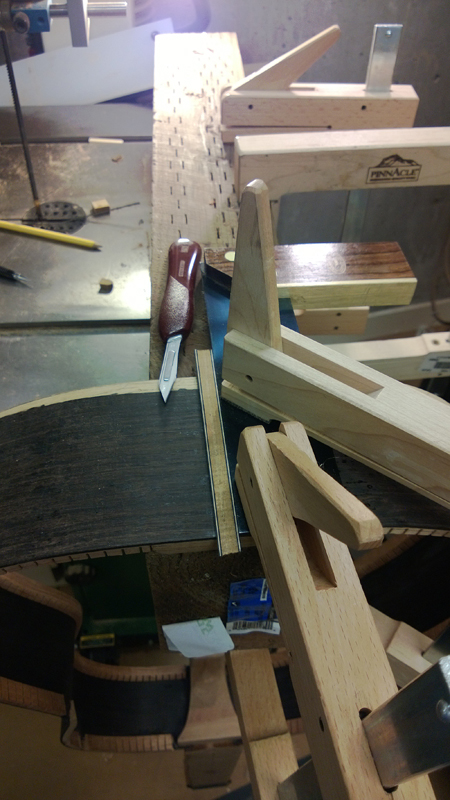
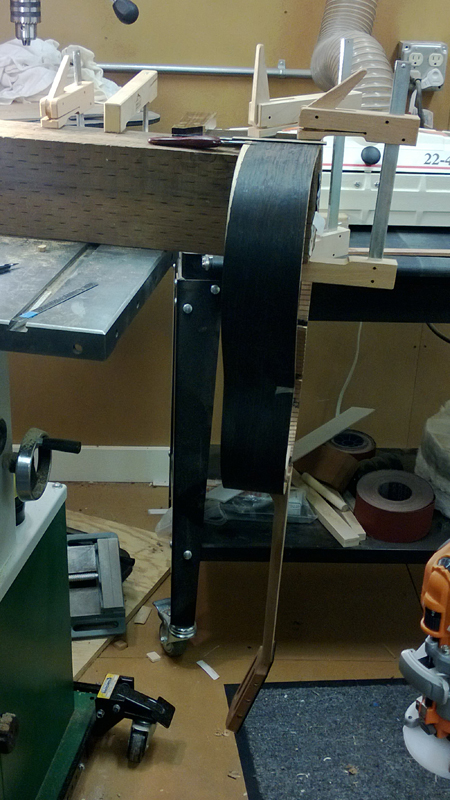
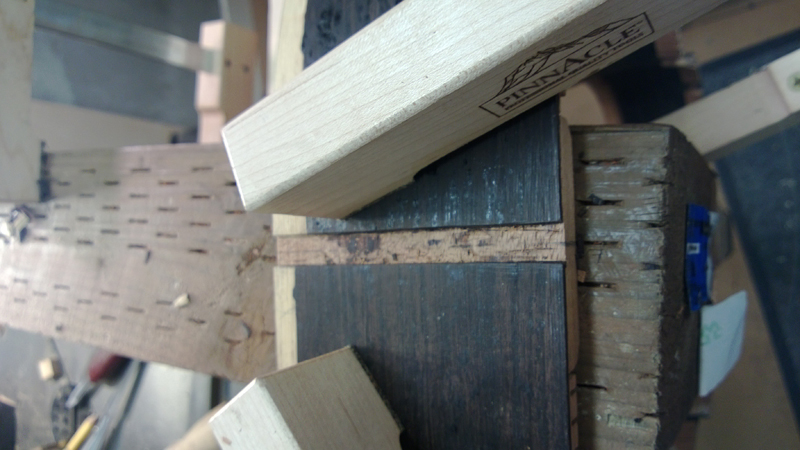
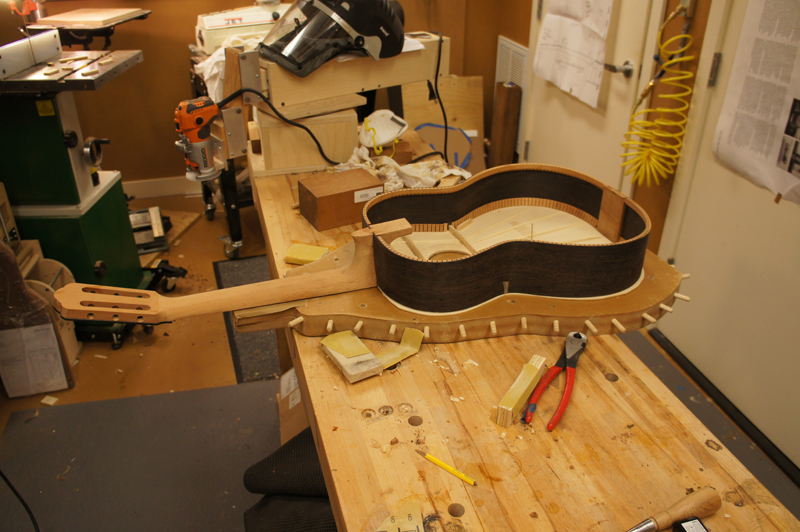
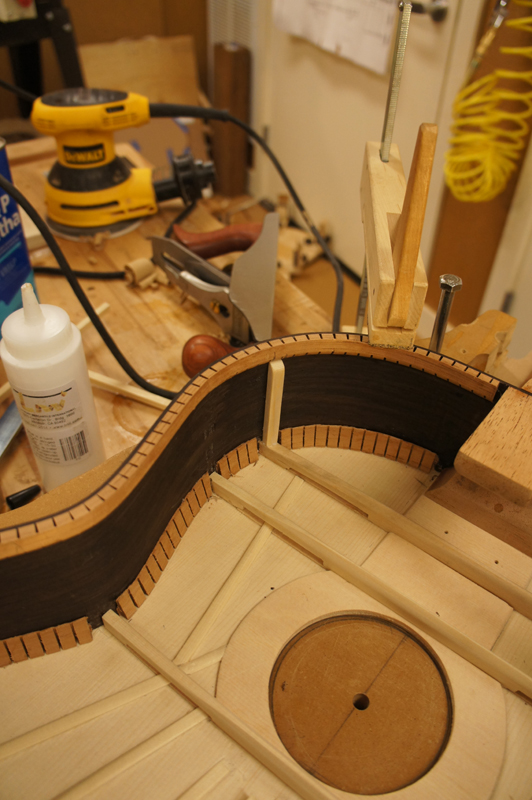
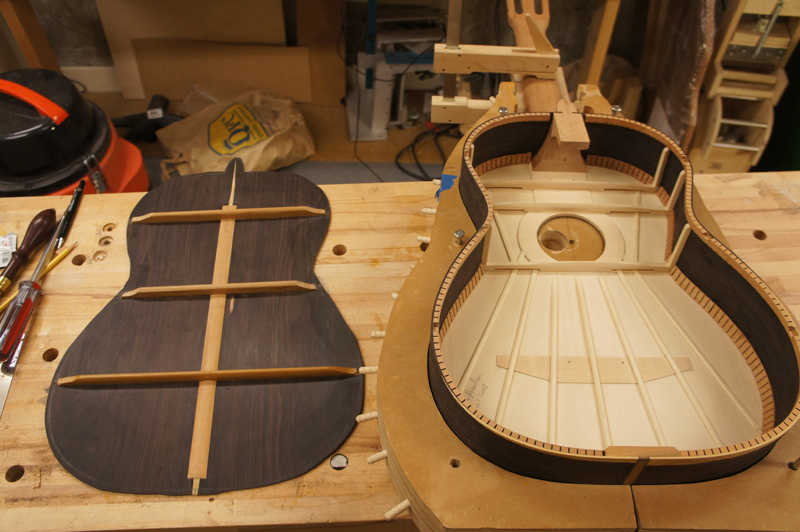
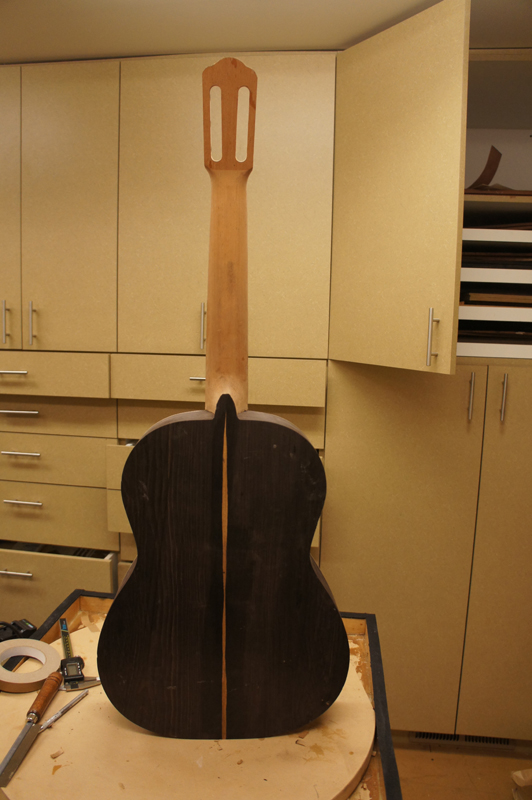
It takes a bit of care to profile the rims to work with the foot of the Spanish heel and an optional fret board patch. You can see in the following picture that there are three steps on the neck\rim assembly. The first step has to be exactly as deep relative to the edge of the rim\kerfed lining as the fret board patch is thick. The next step needs to be the depth of the top thickness so that when glued the top and the neck are level. Here is where I made a mistake. I thought I had everything properly profiled when I noticed that somehow a two inch portion of the top rim had a slight gap. I thought no problem, I carefully used a flat board to sand the rims down perfectly flat. Well given that I had glued the rims in the neck that left the top sitting too low relative to the neck. Whoopsy. Luckily I had only tacked the rims into the neck slots with super glue. I flooded the joints with super solvent and was able to remove the rims from the neck and properly reset them.