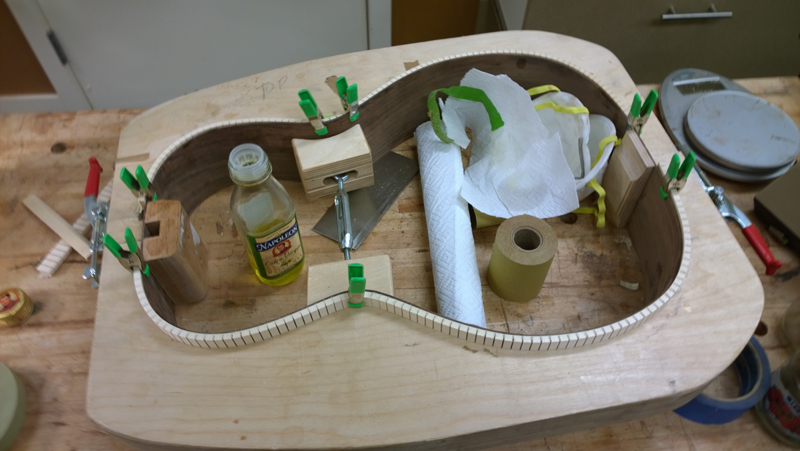
A bit more traditional, I am building a commissioned guitar that is going to be a surprise gift. For this guitar I decided to be a bit more traditional than I have been in my last few guitars. I have built a few of these 00 guitars, but this will be the first that I will use non-scalloped braces. I have sort of been working on while french polishing the 8 string classical (that is why you see shellac and olive oil in the photos).
Here are a few highlite photos from along the way.
Last edited by johnnparchem on Mon Aug 17, 2015 7:32 pm, edited 1 time in total.
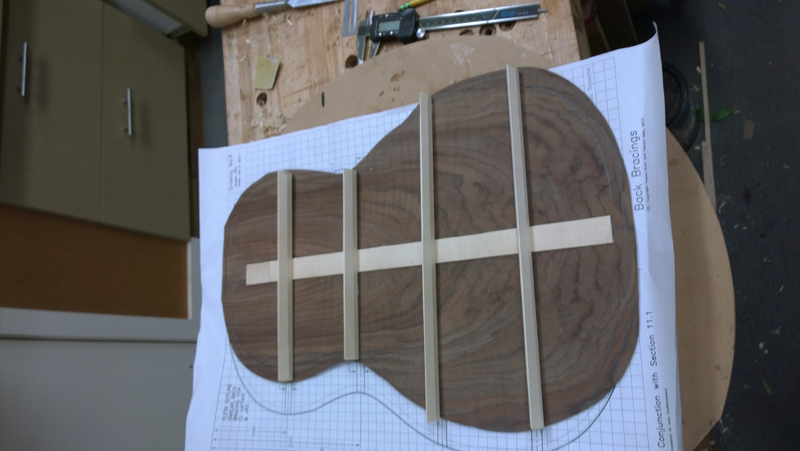
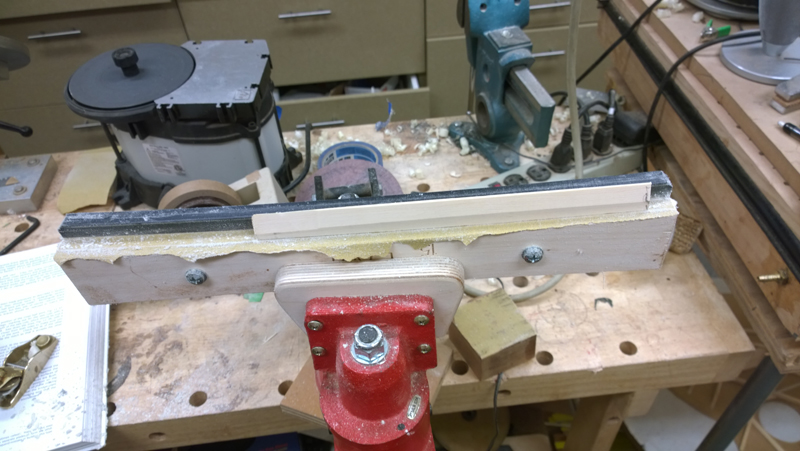
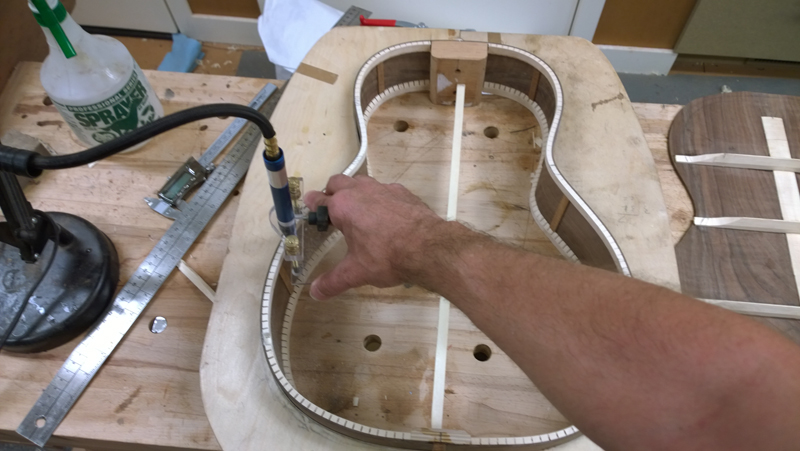
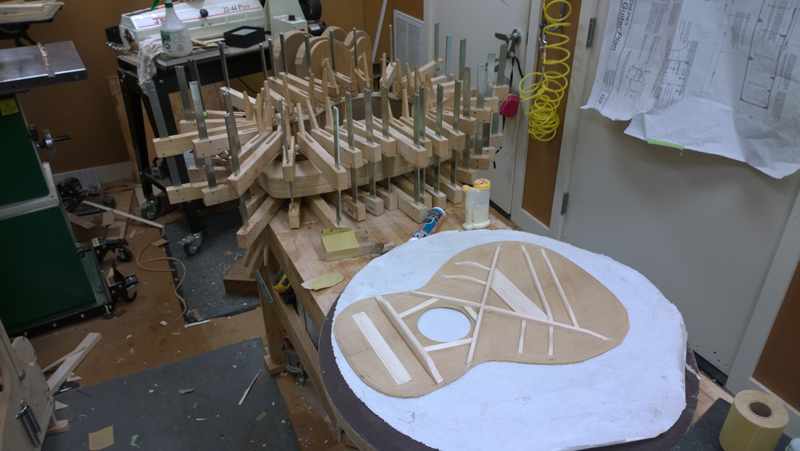
I used a plane and a radiused sanding jig to put a 15' radius on the back braces. Given that the braces were preshaped a bit, I used my vacuum box to clamp the back braces in place.
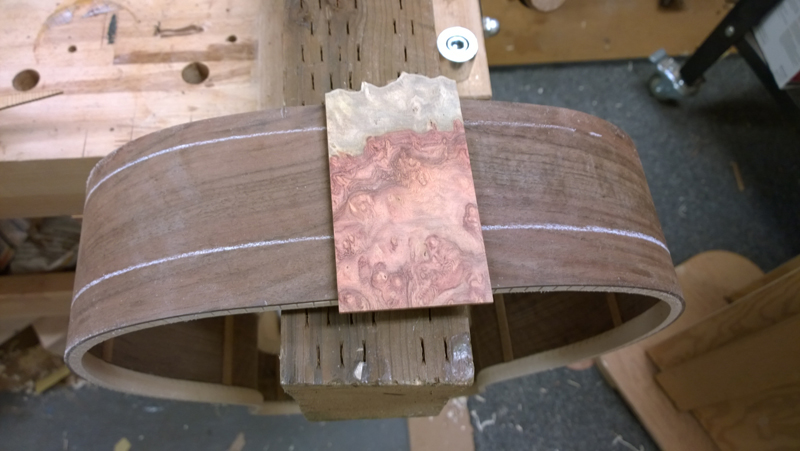
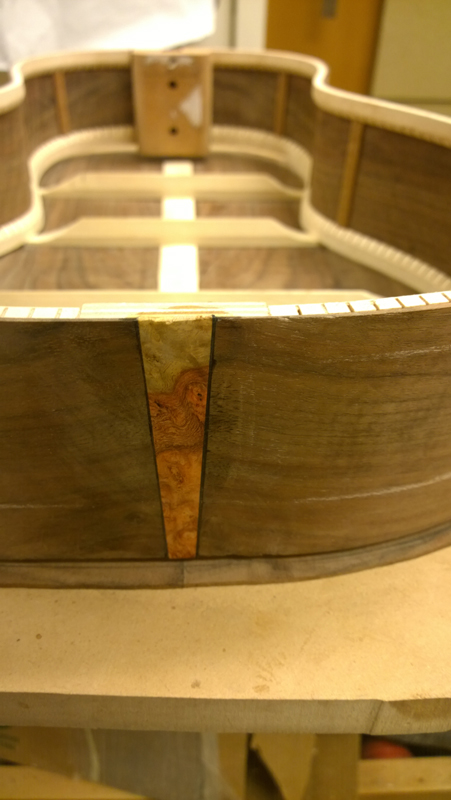
I sliced off a bit of amboyna to use as a tail wedge and installed it with some black fiber strips.
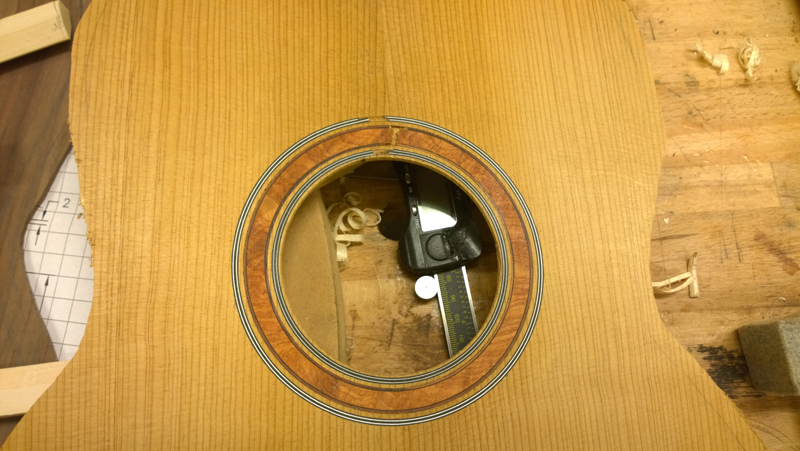
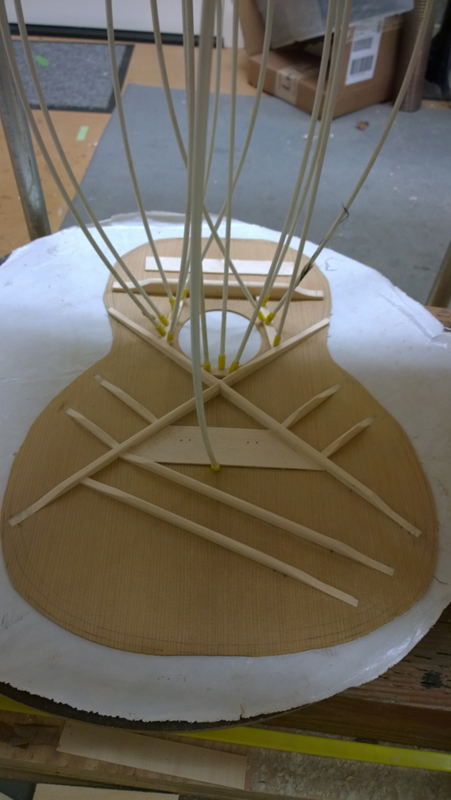
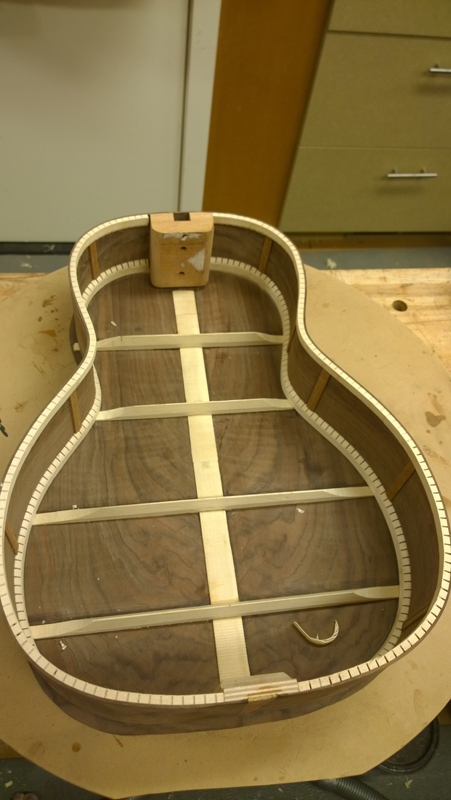
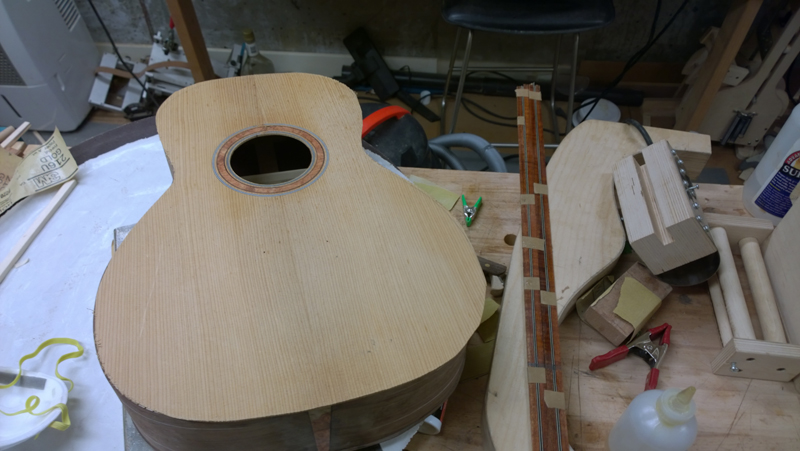
I need to inlet for the braces top and bottom but I am close to being able to assemble the guitar.
I'm enjoying seeing this build. This will be a very nice instrument. Can you comment on the end block design? It looks to be laminated and presents a fairly small top/back gluing surface. Is this typical in 00-sized guitars? Also, I'm curious about the bracing style. What would be the expected tonal difference in scalloped vs uncarved bracing all other variables comparable?
-d.
John Hall
Blues Creek Guitars Inc
Authorized CF Martin Repair Center
president of Association of Stringed Instrument Artisans http://www.bluescreekguitars.com
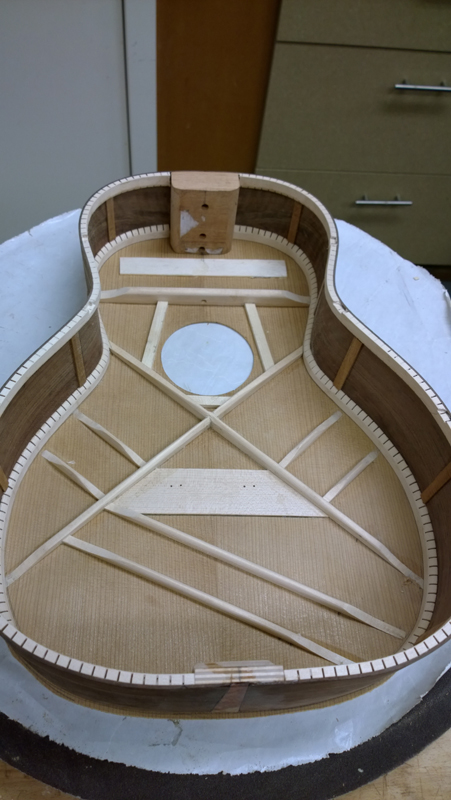
My heel block is a pretty standard sized block (actually on this guitar I purchased it from LMI). I make my tail blocks out of birch plywood. I take the ends down to the size of the linings just to keep a consistent sized gluing surface, hoping to avoid having the tail block show on the top after a bunch of years.
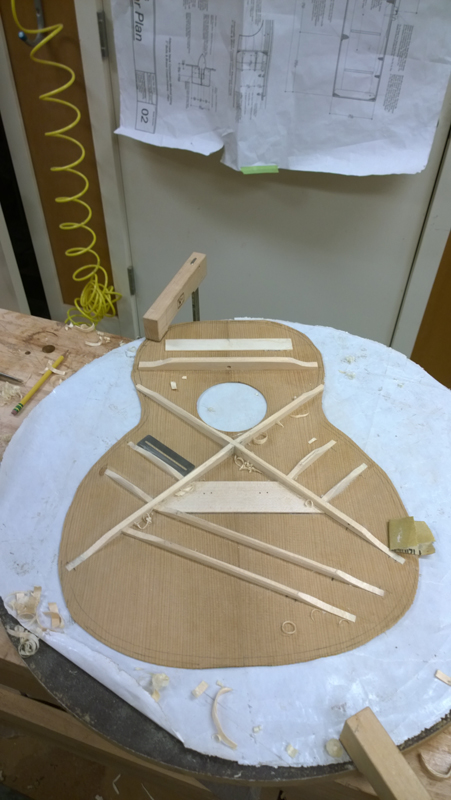
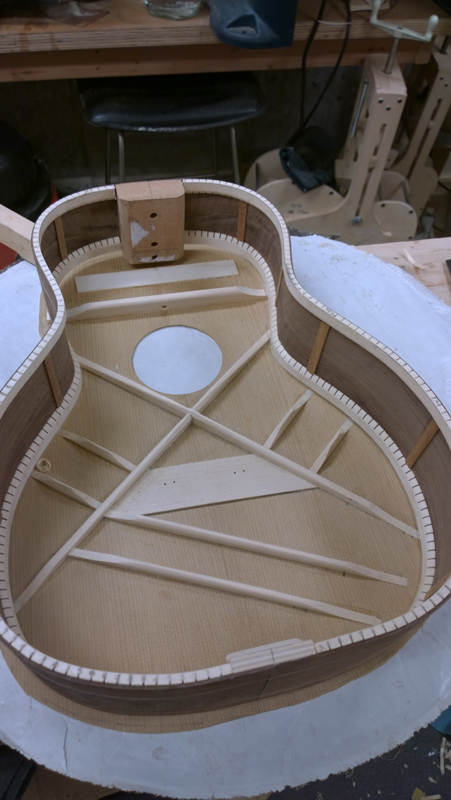
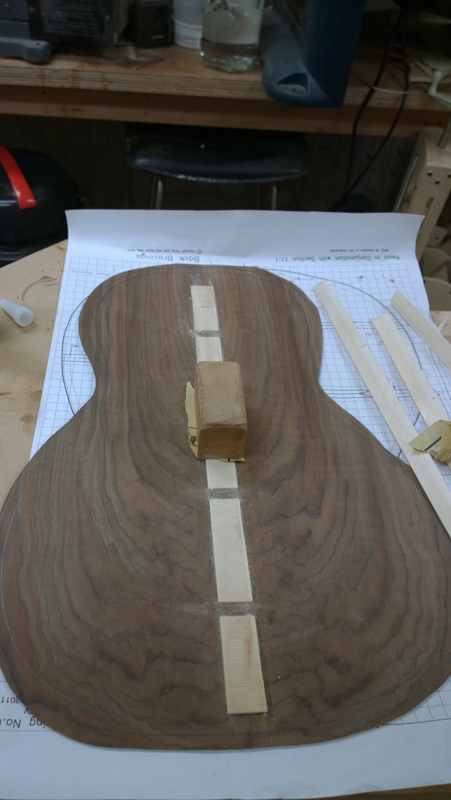
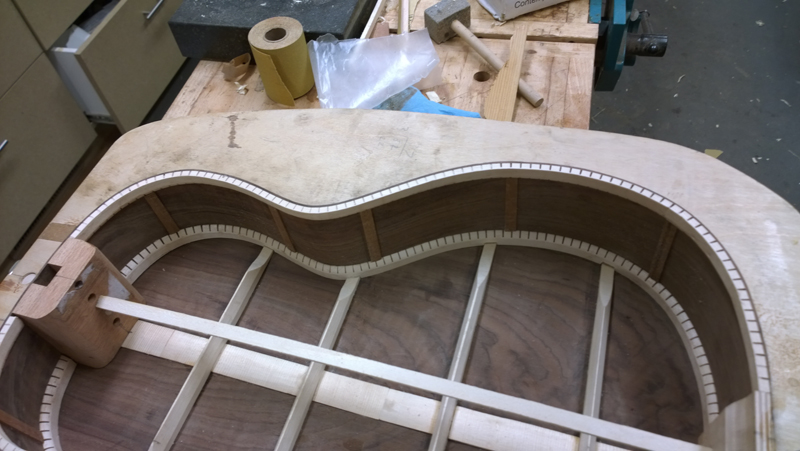
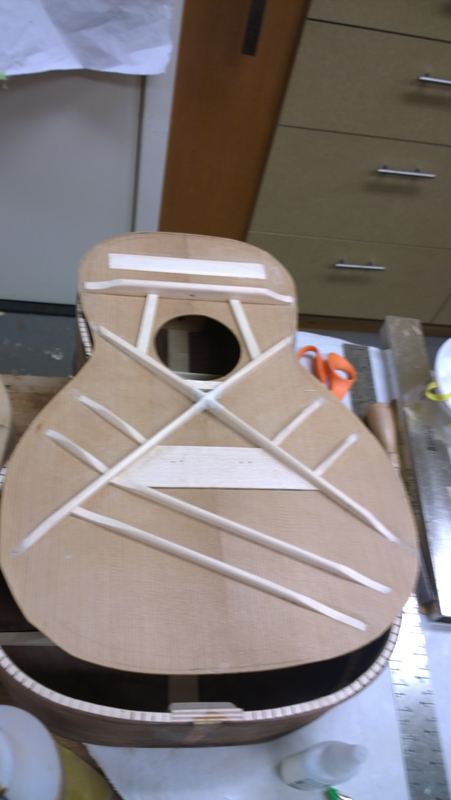
All of my x-braced guitars have been scalloped, but I have been seeing that some very good luthiers do not scallop their braces. The general argument I hear is that non scalloped braces provide more balance across the strings. I also heard they take a bit more effort to get a big sound. I really do not know, but I thought that I would try it. I know that I will end up with a pretty good sounding guitar. This commissioned guitar is a gift for a non player who will probably never be a player, so I though I could experiment a bit from what I usually do.
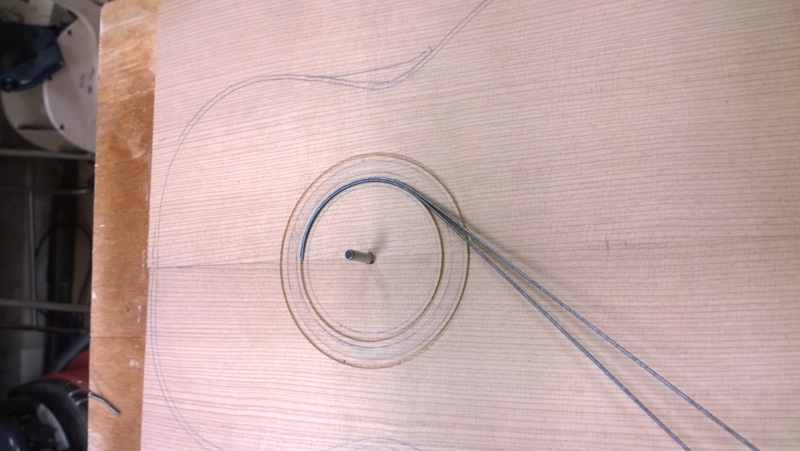
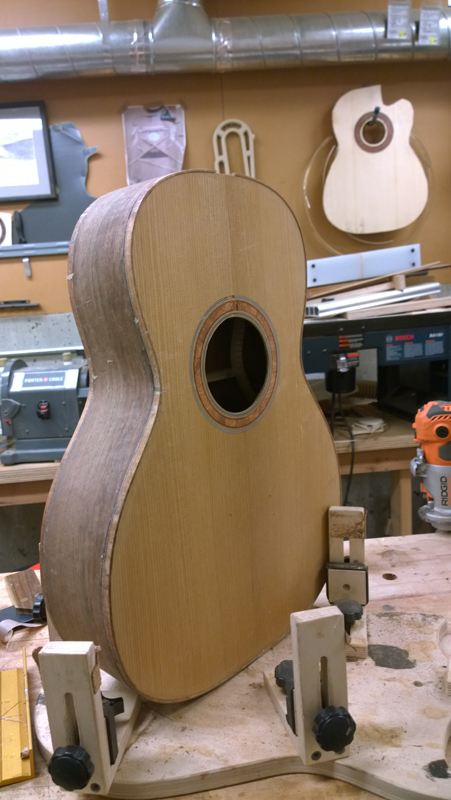
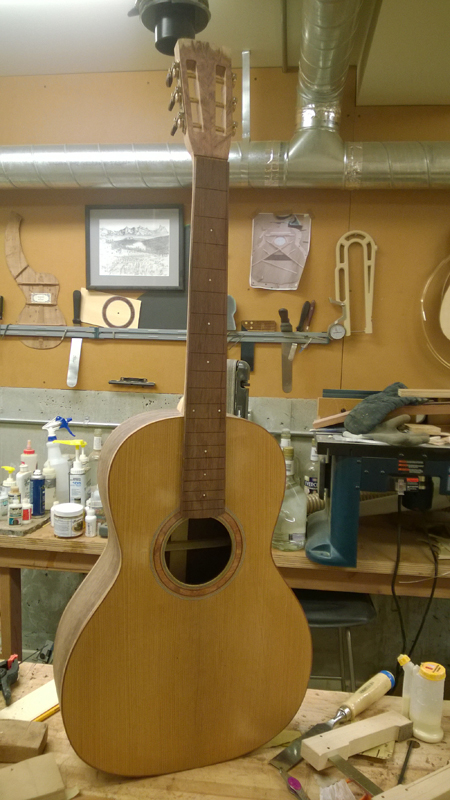
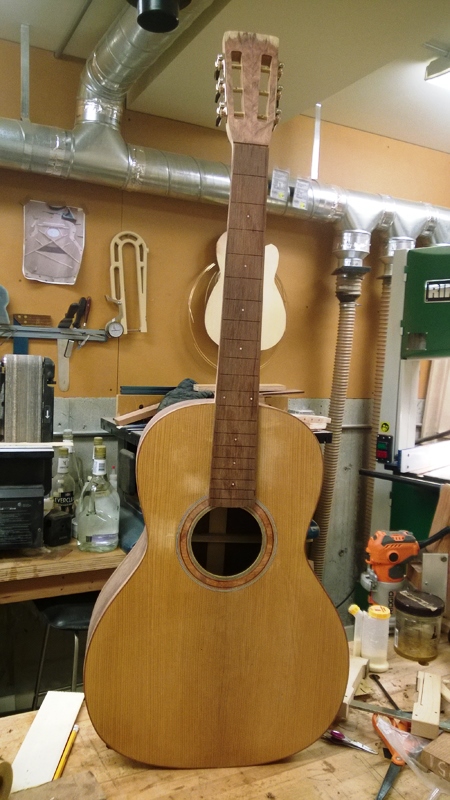
Well by hook or by crook I got the guitar built and I am ready to make and install my hawk and moon logo in the head stock and start finish sanding.
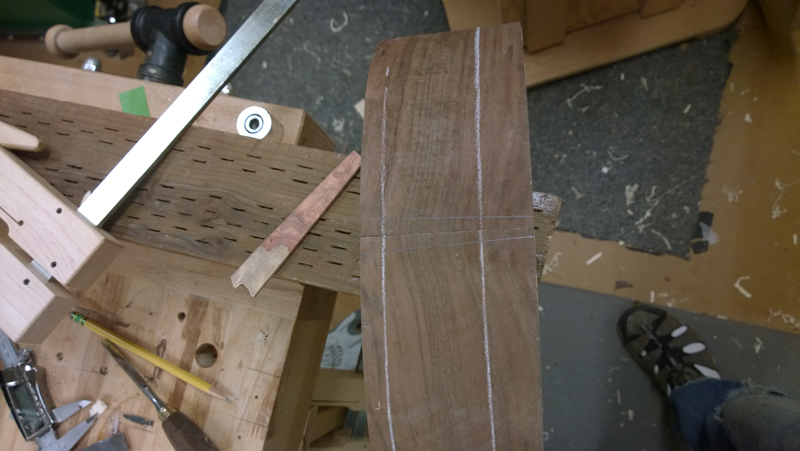
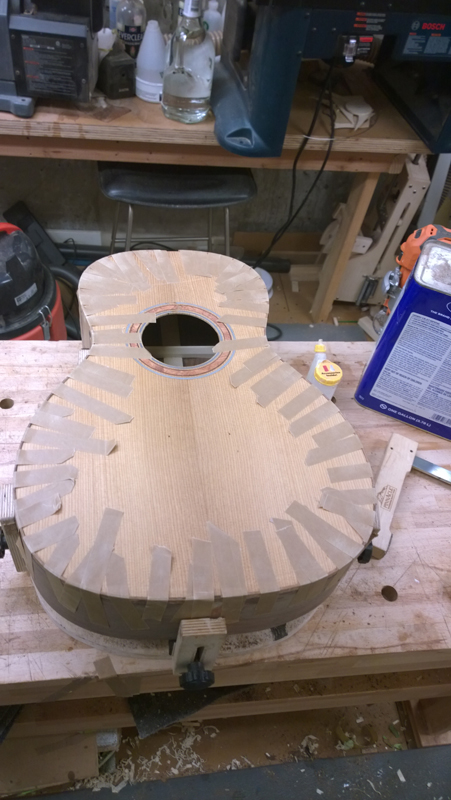
Sanding sides before cutting the rebates
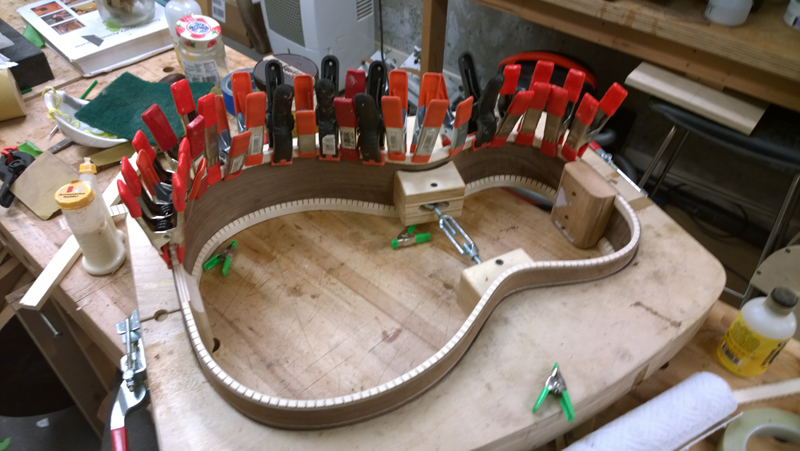
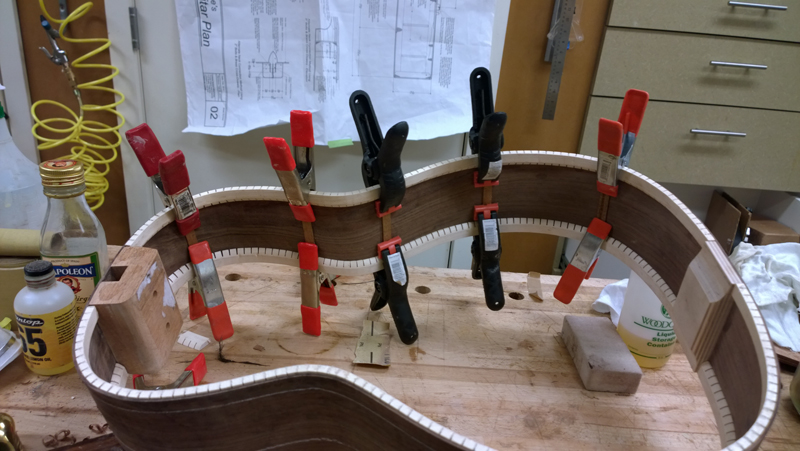
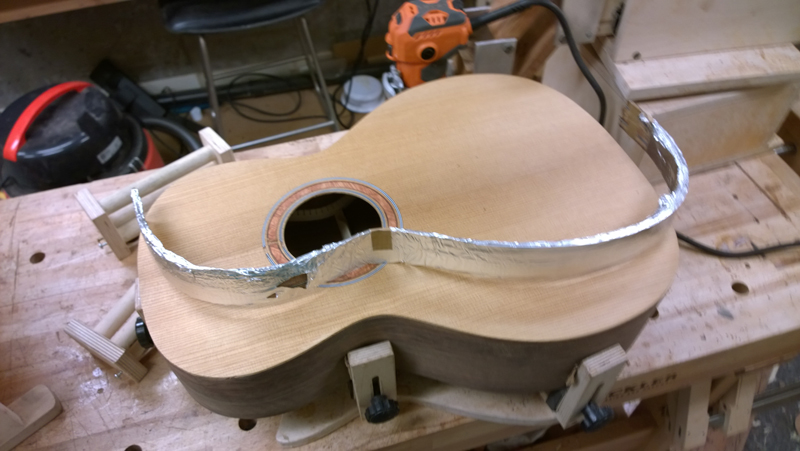
I bent 4 bindings at a time and fit them dry to the guitar
It went well on all sides as I took a bit of time making sure they fit before gluing them on
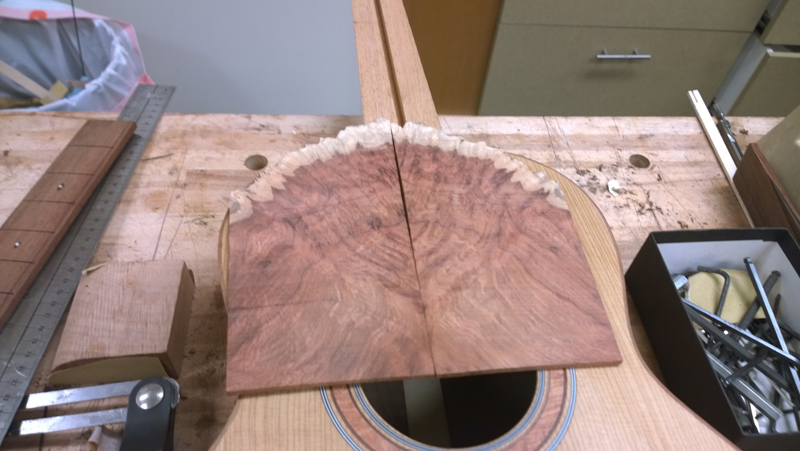
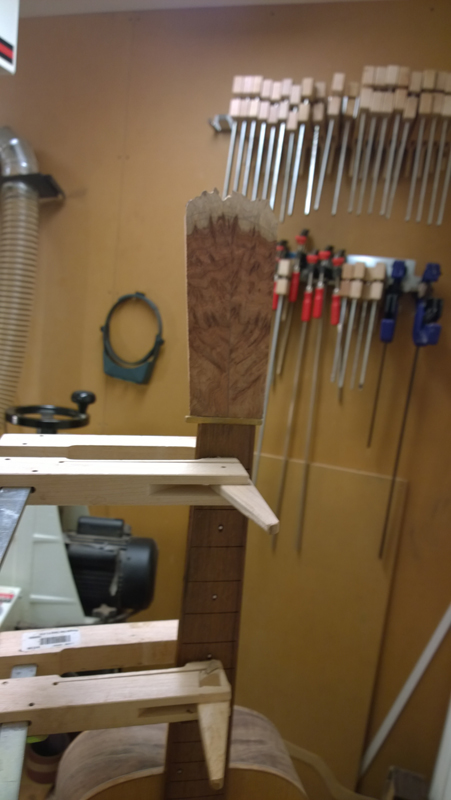
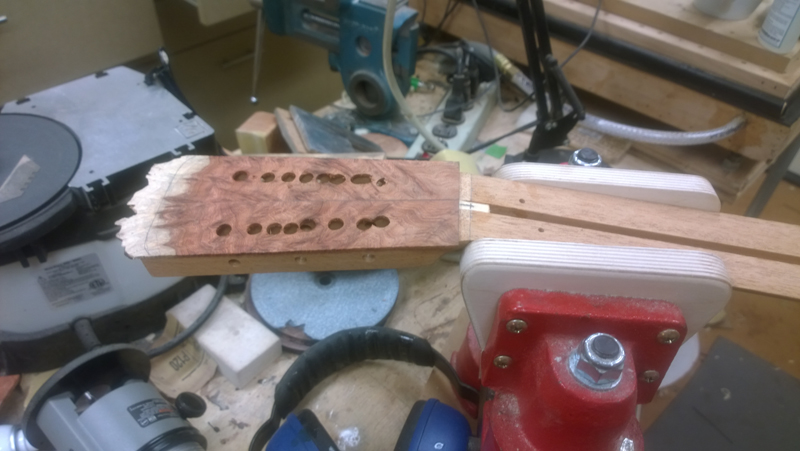
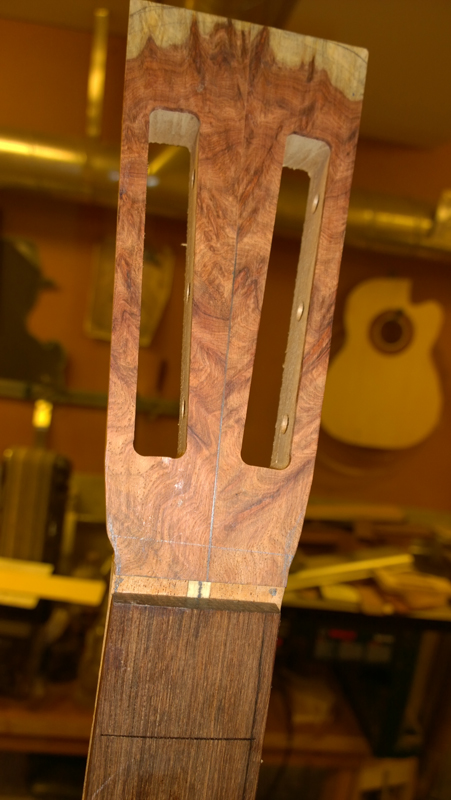
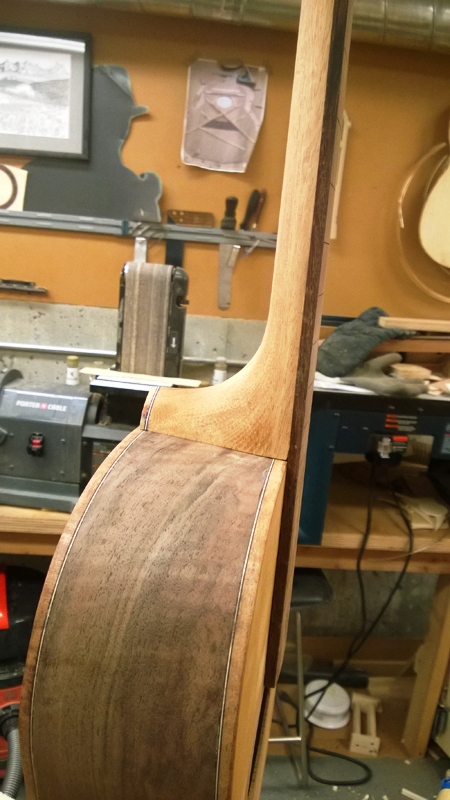
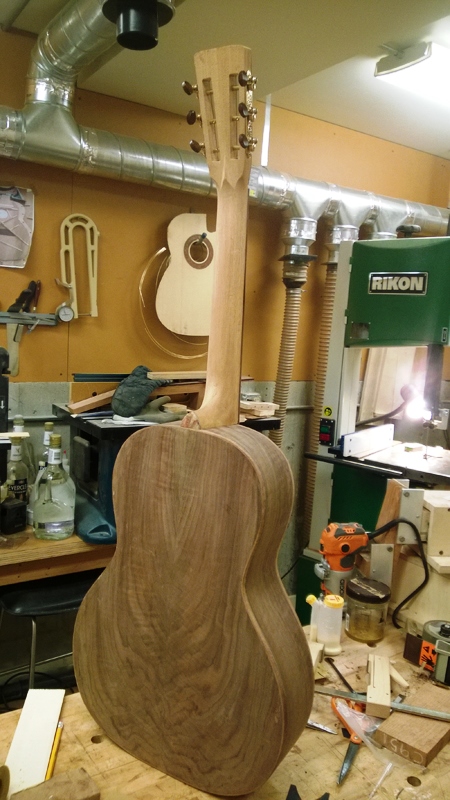
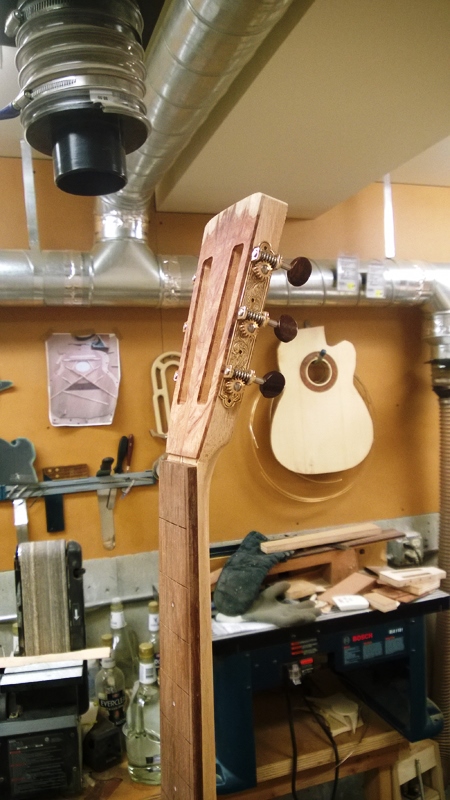
I used a pre-made neck on this guitar so I just had to glue on a veneer and do a bit of finish shaping.
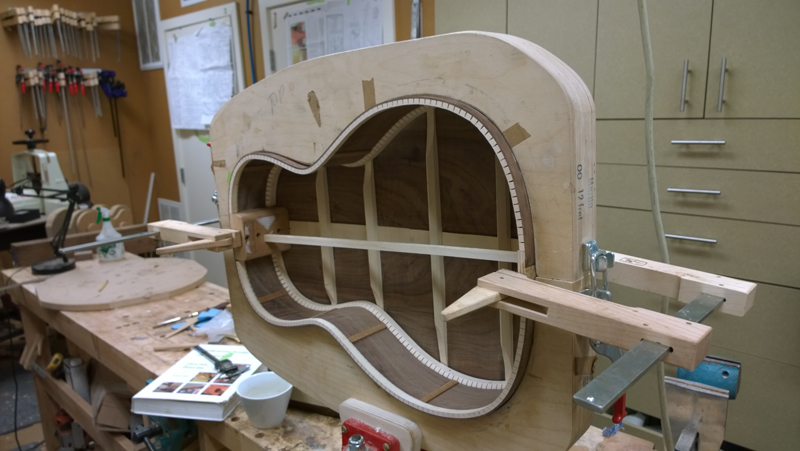
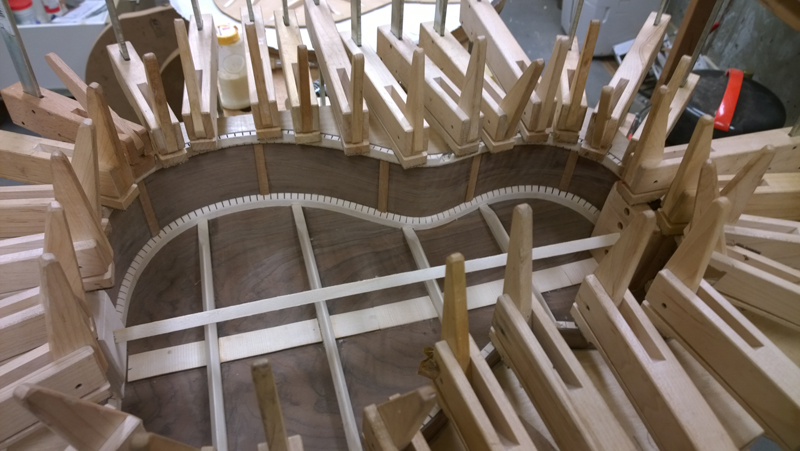
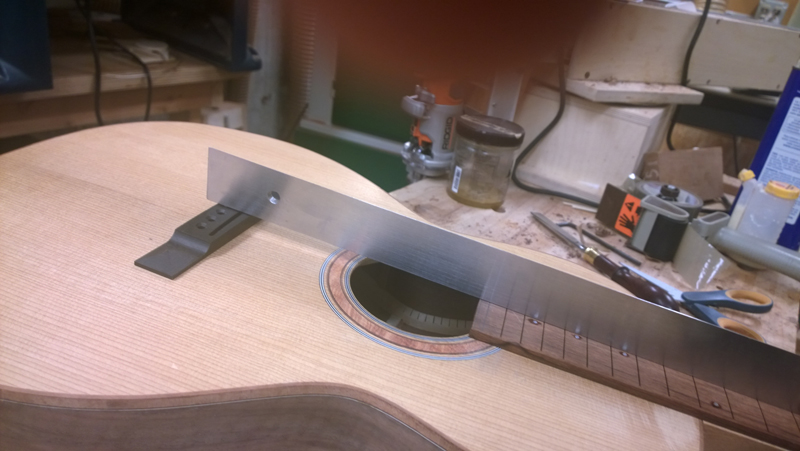
I ended up very happy with the neck angle. I used a 28' radius dish and glued on a radiused transvers brace that had the center 5 inches flattened. I have a matching gluing call for that brace.
I managed not to forget the truss rod. The pre-made slot was a tad deep so I filled the gap with a shim to prevent raddling
I glued on the fret board and installed a heel cap. I put matching BWB fiber under the heal cap to flow with side purfling.