How its done! Purfelings, backstips and inlays
Posted: Thu May 07, 2015 12:06 pm
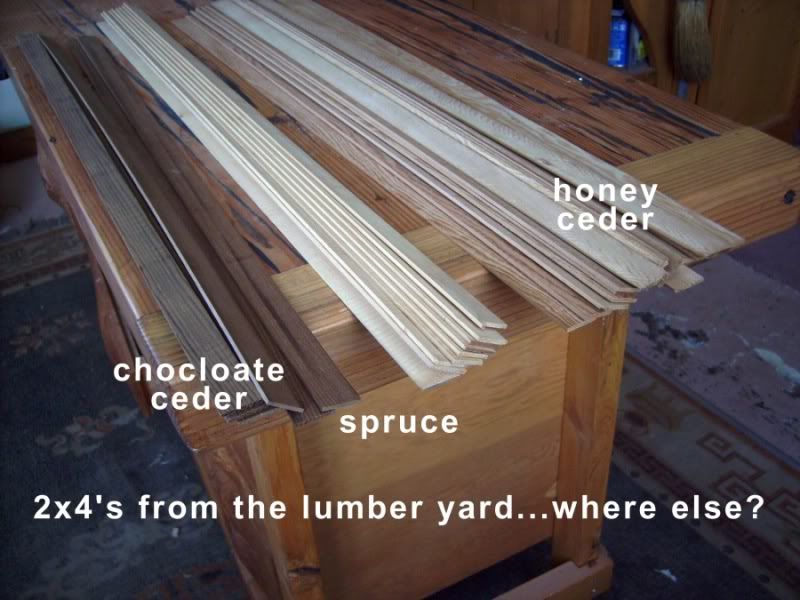
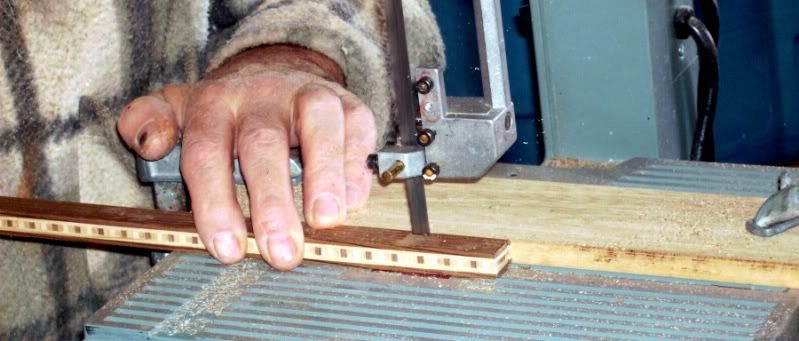
Rip some strips....
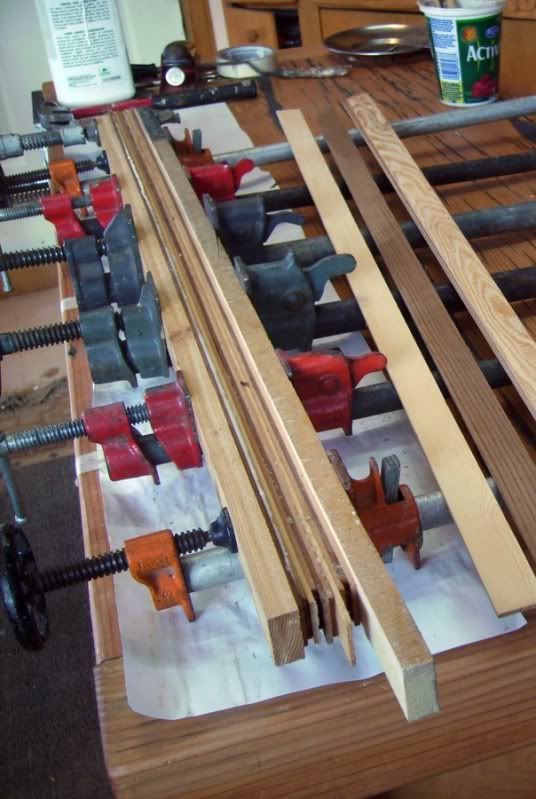
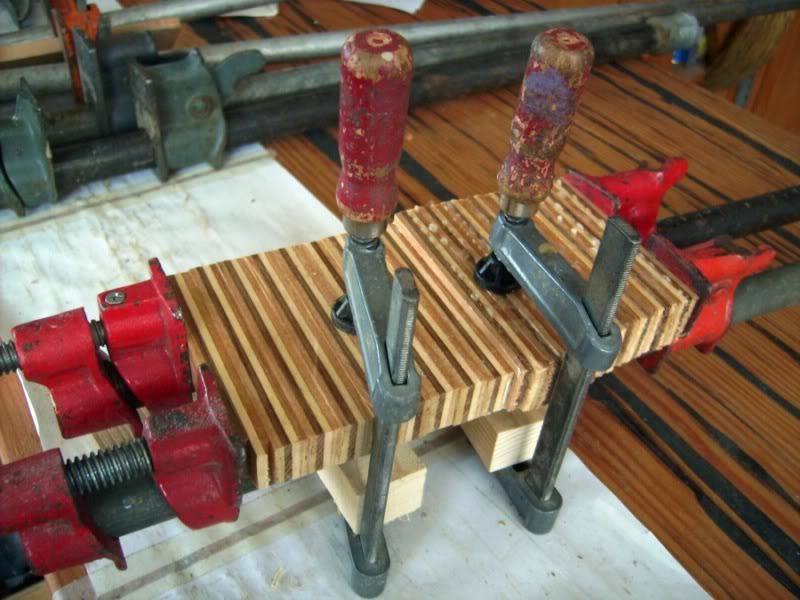
Gloo eh together...
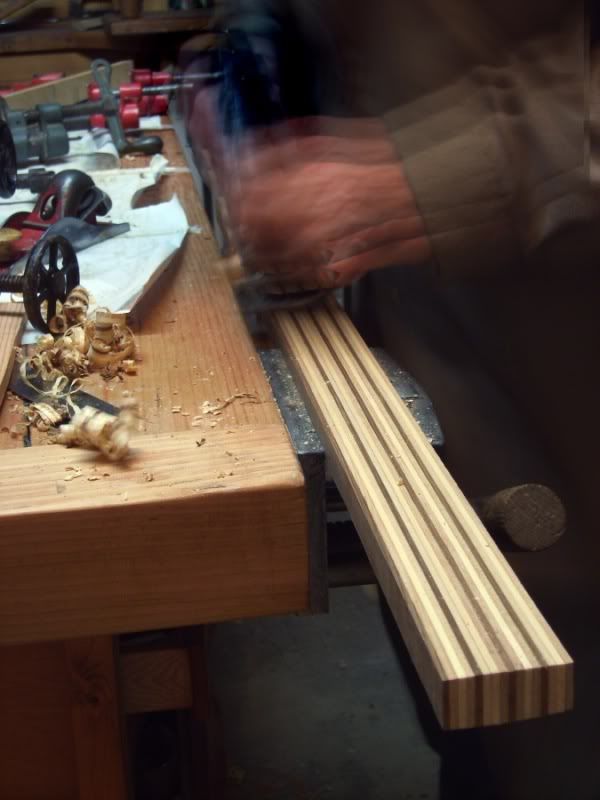
Dress them
Cut them in to chunks and regloo
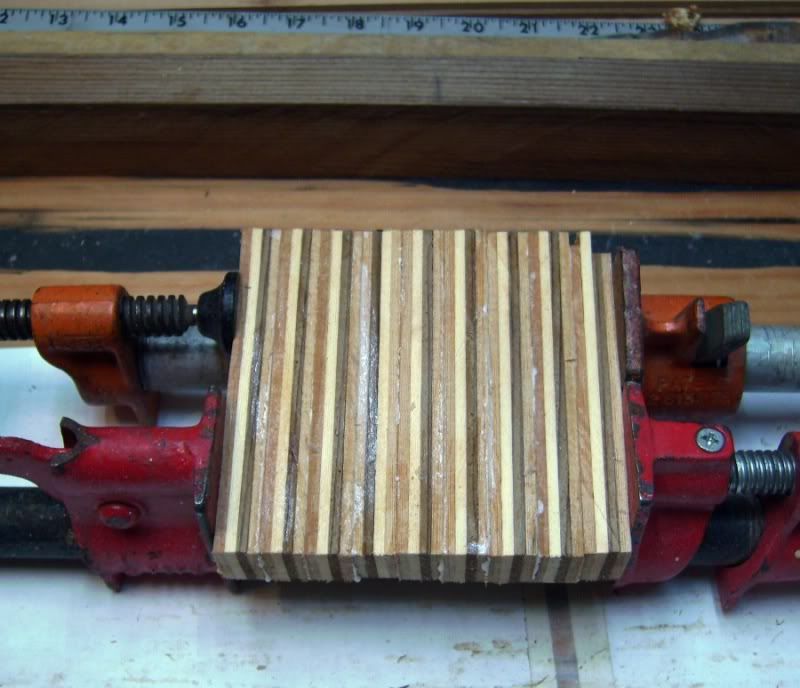
keep reglooin the chuncks till you get the length you after.
Gloo 0n one side. Then do the other side. and redress.
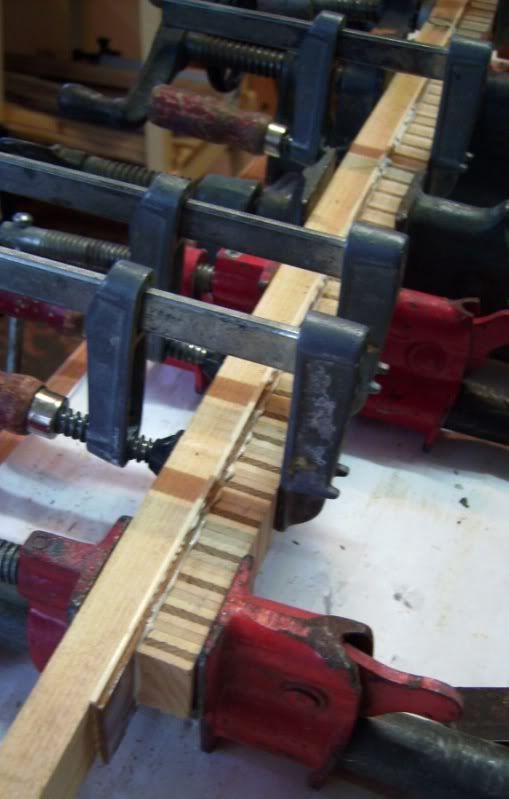
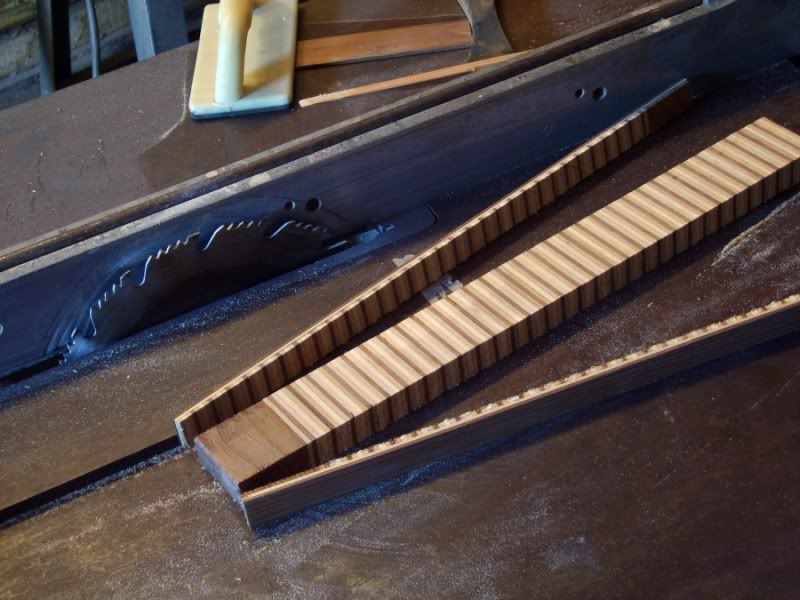
Rip off both sides then re gloo the 4 exposed faces. You now have 2 completed blanks ready for ripping strips off and a big block left to make more strips.
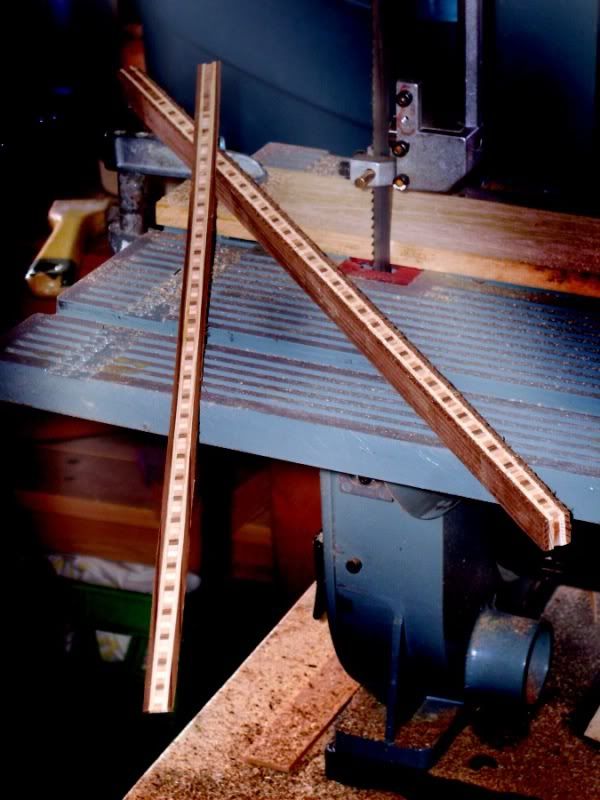

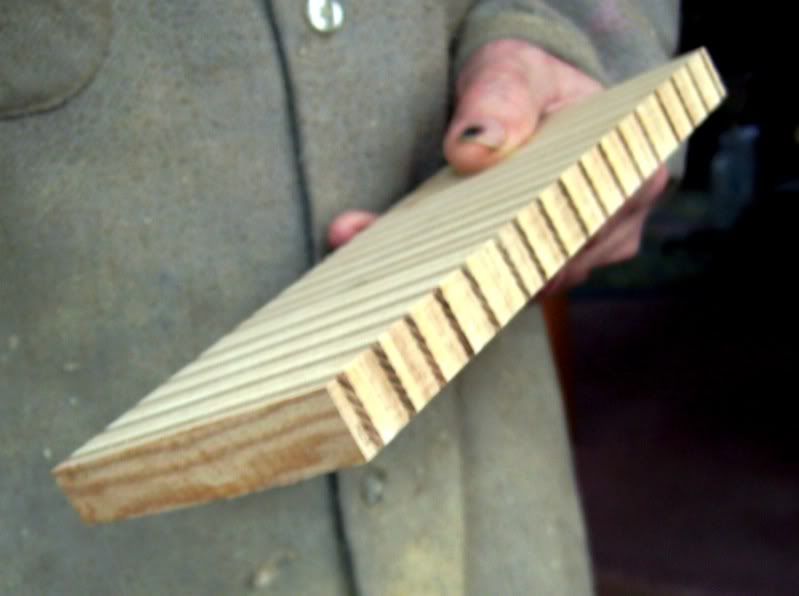
This is a pic of the very first banding me ever ran, ya its a bit chunkie...but me has gotten better at it in me old age...
So me ran whole bunch of them...enough to las me life time....with probably enough left over for trimmin up me coffin.
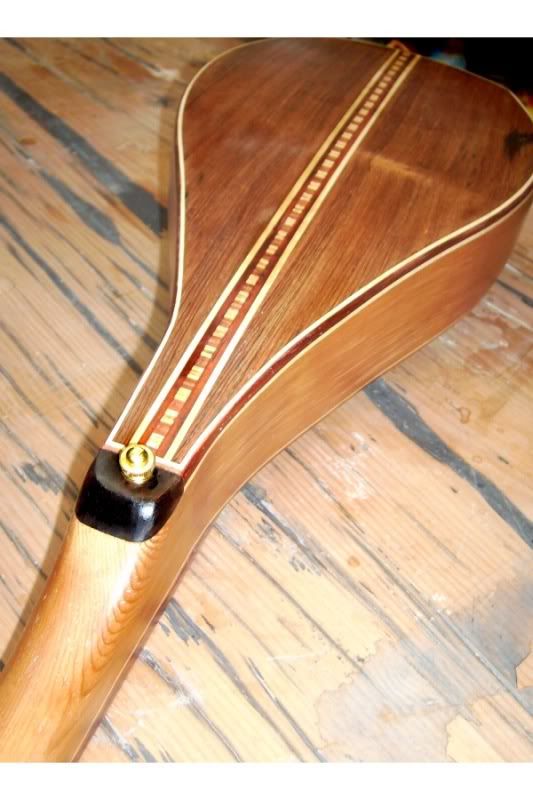
Note: These photos are not meant as an exact tutorial and many procedural photos of the dressing, redressing, gluing and flipping the blanks around are eliminated. Hope you grock the gist of the drift in making these purflings/ inlays.
These pics were for back strip inlays. Same process for purfling, only use veneer and or fish paper. Both available in a wide range of colours too!
Blessings
duh ?adma
Gloo eh together...
Dress them
Cut them in to chunks and regloo
keep reglooin the chuncks till you get the length you after.
Gloo 0n one side. Then do the other side. and redress.
Rip off both sides then re gloo the 4 exposed faces. You now have 2 completed blanks ready for ripping strips off and a big block left to make more strips.
This is a pic of the very first banding me ever ran, ya its a bit chunkie...but me has gotten better at it in me old age...
So me ran whole bunch of them...enough to las me life time....with probably enough left over for trimmin up me coffin.
Note: These photos are not meant as an exact tutorial and many procedural photos of the dressing, redressing, gluing and flipping the blanks around are eliminated. Hope you grock the gist of the drift in making these purflings/ inlays.
These pics were for back strip inlays. Same process for purfling, only use veneer and or fish paper. Both available in a wide range of colours too!
Blessings
duh ?adma