My first use of System 3 silvertip epoxy for a pore fill.
Posted: Thu May 03, 2018 7:03 pm
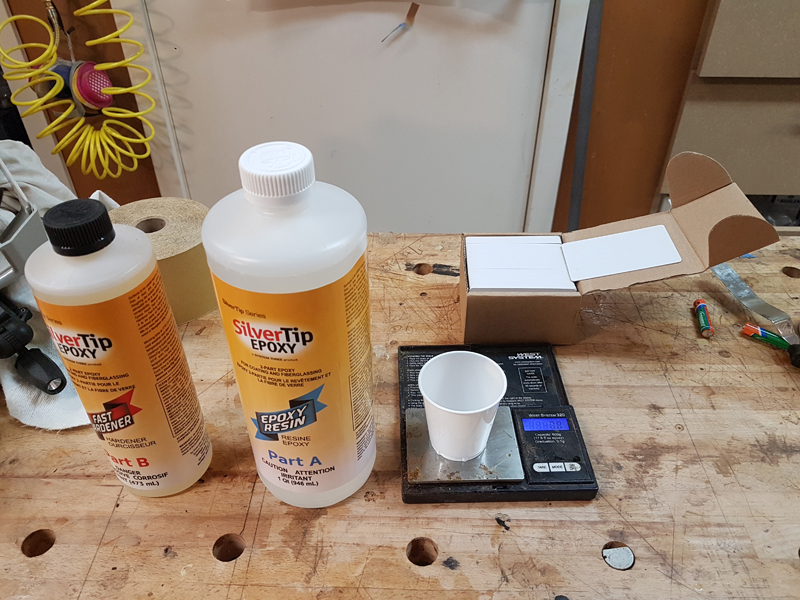
Last month the Seattle Luthiers hosted John Greven a luthier in Portland. He described his pore fill method so I decided to try his recommended product. The epoxy he uses is System 3 SilverTip Epoxy with the fast hardener. He liked it because it was clear, it goes on easily is made to work on bare wood and wets the wood well. This is mostly a boat building epoxy. The other item he recommended was getting a box of blank credit cards to use as a scraper.
White Blank PVC Plastic Cards. I got 100 for less than $13 at amazon https://www.amazon.com/gp/product/B007M413BC.
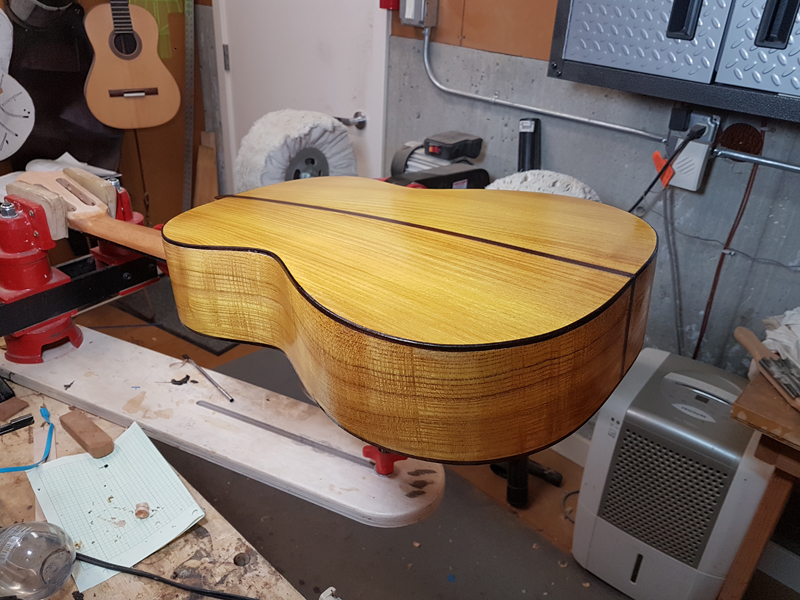
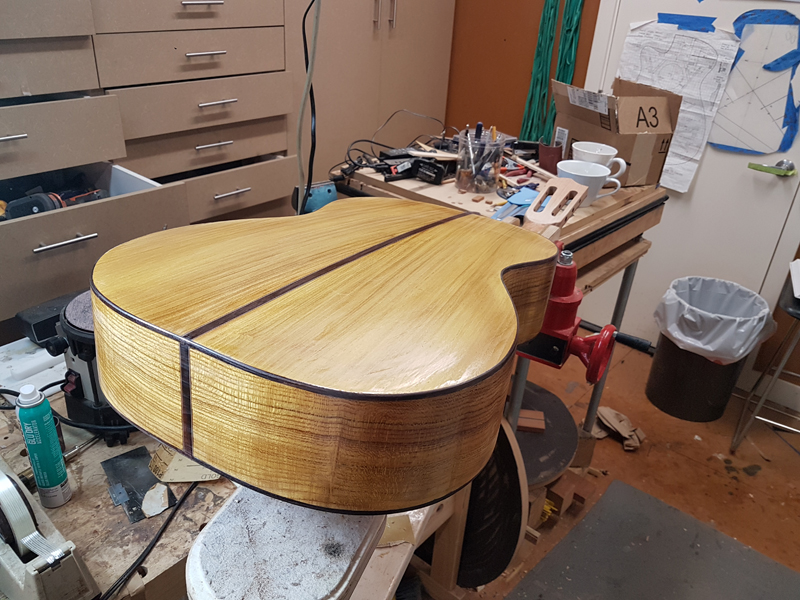
I applied a little at a time and used the card to apply and then squeegee most of it off. With the fast hardener I will sand most of it off this afternoon and reapply. I always use the first application of epoxy to find areas that need more prep because it shows up flaws just like a finish.
I am surprised that I am really liking how the Osage Orange looks. Also I am told that it darkens with age.
Day 2
The epoxy seems fully cured in about five hours. So you can apply multiple coats in a day. The instructions say you have a 20 minute working time with the fast hardener which is plenty for me.
With this epoxy I wanted to try a new process for me where I come out of the pore fill with completely level surfaces and any required drop fills dealt with. I have gotten late into the finish process on guitars and have sanded through the finish, pore fill and\or the seal coat to wood when leveling the final finish. I am trying to avoid that.
So far the system 3 silverTip is easy to work with, it is clear not as thick as zpoxy, it does not seem to foam and I can leave on a very thin wetted coat.
This morning I leveled the finish with many sand throughs, checked for low areas. found a few places to drop fill and applied a second coat of epoxy.
About five hours later I used a sharp scraper and a razor blade to level the cured second coat. I found a couple of missed drop fills, which I fixed with gluboost this fit and finish CA and applied what I hope is my final coat of epoxy. I plan to repeat the above until I have a perfect coat as there is no harm at this point in the process of sanding through.
After I leveled th epoxy
with a fresh coat.
Day 3
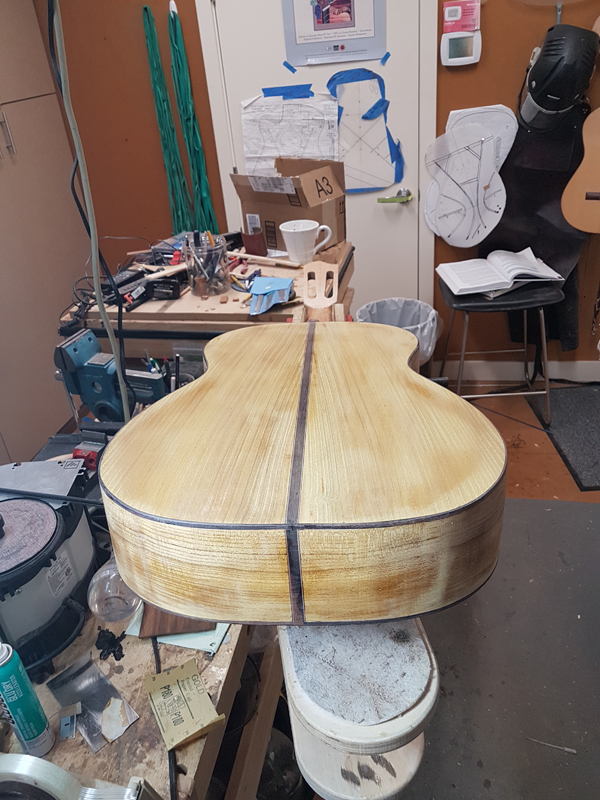
Just to close this off using a utility blade and a scraper I scraped most of the epoxy off. I was close but still had a low spot in one of the sides, and there were a couple of places I sanded down on the back as I saw some scratches through the finish.
In any case I put one more very thin layer of epoxy down (I spread an amount about the size of a quarter across the entire back and use one of the plastic cards to scrap most of that off.)
About five hours later, I scraped a couple ridges and drips toward the edges off with a utility blade (it just peels off in a very even ribbon).
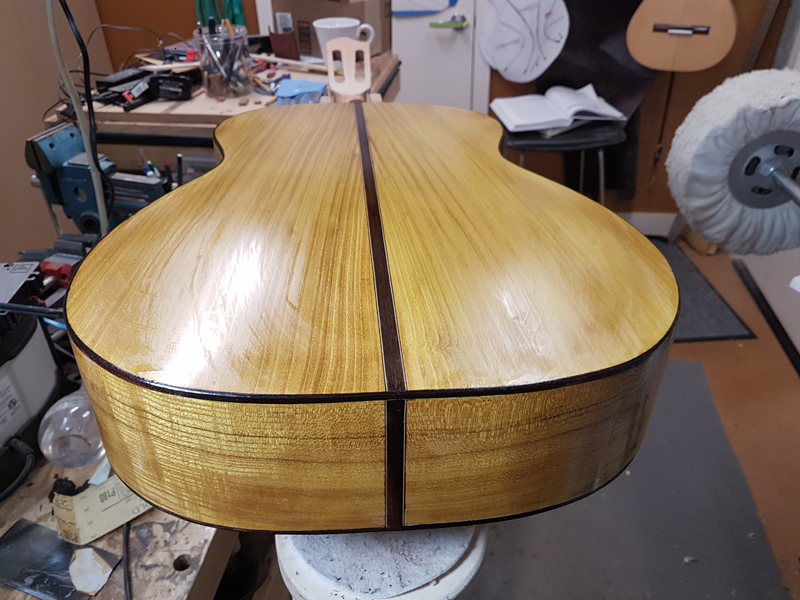
After I had it level to my eyes I used a 800P Wet and Dry paper with mineral spirits as a lubricant. Here were the results after wet sanding

I put on 3 or 4 wipes of diluted Seal Coat (really 1 lb shellac) and called the pore fill on the body done.
To close I could of done this in a long day (2 or 3 applications) if I had properly prepared the body for finish. I have a hard time seeing all the flaws even with a naptha wipe. They do show up after wet sanding the epoxy though.
White Blank PVC Plastic Cards. I got 100 for less than $13 at amazon https://www.amazon.com/gp/product/B007M413BC.
I applied a little at a time and used the card to apply and then squeegee most of it off. With the fast hardener I will sand most of it off this afternoon and reapply. I always use the first application of epoxy to find areas that need more prep because it shows up flaws just like a finish.
I am surprised that I am really liking how the Osage Orange looks. Also I am told that it darkens with age.
Day 2
The epoxy seems fully cured in about five hours. So you can apply multiple coats in a day. The instructions say you have a 20 minute working time with the fast hardener which is plenty for me.
With this epoxy I wanted to try a new process for me where I come out of the pore fill with completely level surfaces and any required drop fills dealt with. I have gotten late into the finish process on guitars and have sanded through the finish, pore fill and\or the seal coat to wood when leveling the final finish. I am trying to avoid that.
So far the system 3 silverTip is easy to work with, it is clear not as thick as zpoxy, it does not seem to foam and I can leave on a very thin wetted coat.
This morning I leveled the finish with many sand throughs, checked for low areas. found a few places to drop fill and applied a second coat of epoxy.
About five hours later I used a sharp scraper and a razor blade to level the cured second coat. I found a couple of missed drop fills, which I fixed with gluboost this fit and finish CA and applied what I hope is my final coat of epoxy. I plan to repeat the above until I have a perfect coat as there is no harm at this point in the process of sanding through.
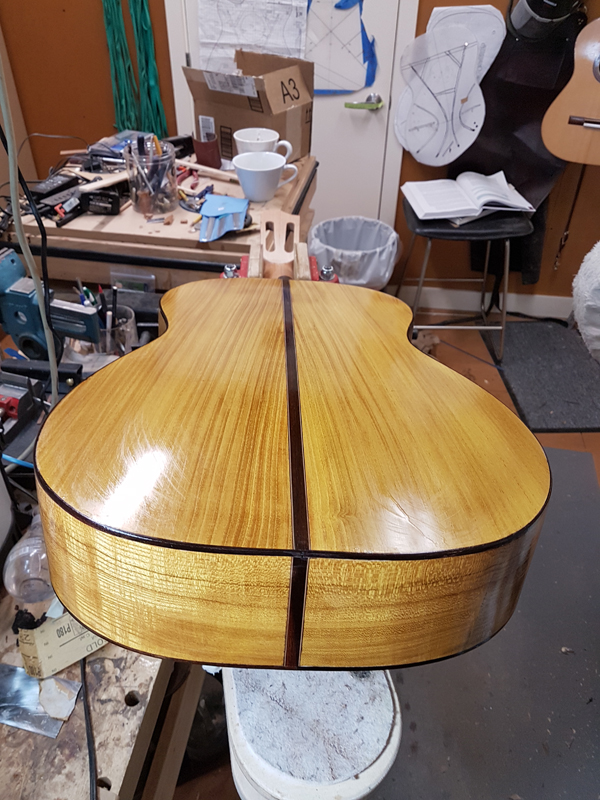
After I leveled th epoxy
with a fresh coat.
Day 3
Just to close this off using a utility blade and a scraper I scraped most of the epoxy off. I was close but still had a low spot in one of the sides, and there were a couple of places I sanded down on the back as I saw some scratches through the finish.
In any case I put one more very thin layer of epoxy down (I spread an amount about the size of a quarter across the entire back and use one of the plastic cards to scrap most of that off.)
About five hours later, I scraped a couple ridges and drips toward the edges off with a utility blade (it just peels off in a very even ribbon).
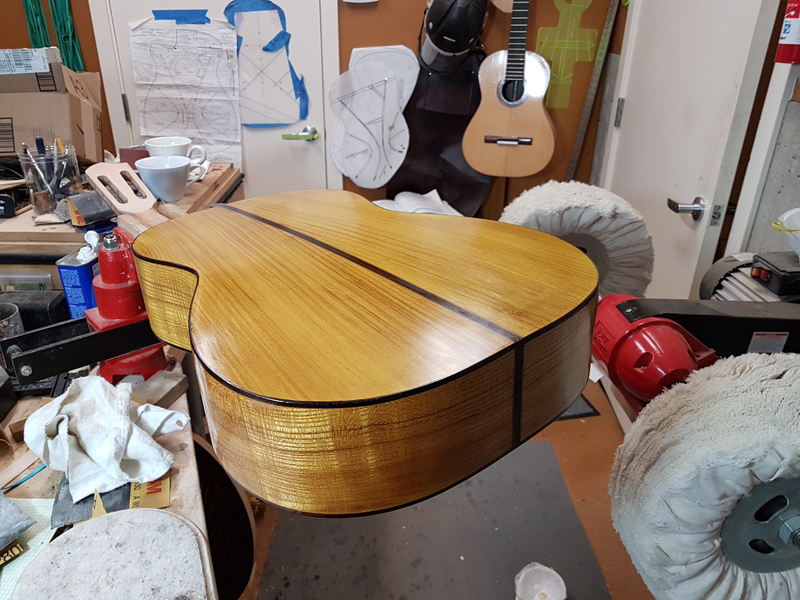
After I had it level to my eyes I used a 800P Wet and Dry paper with mineral spirits as a lubricant. Here were the results after wet sanding
I put on 3 or 4 wipes of diluted Seal Coat (really 1 lb shellac) and called the pore fill on the body done.
To close I could of done this in a long day (2 or 3 applications) if I had properly prepared the body for finish. I have a hard time seeing all the flaws even with a naptha wipe. They do show up after wet sanding the epoxy though.