Second Falcate Classical with strings!

What're You Doing?
johnnparchem
Posts: 2354
Joined: Sat Apr 10, 2010 10:50 pm
Location: Seattle
Contact:

Re: Second Falcate Classical

Post by johnnparchem »

Sorry I have been a bit behind posting. I have had a busy summer with a few twists and turns. In any case I got the neck close to finish ready and I am in the process of sanding prep before finish.

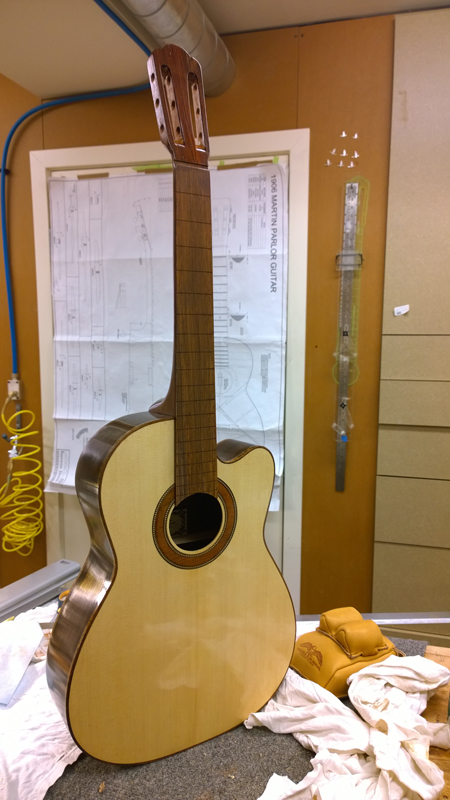
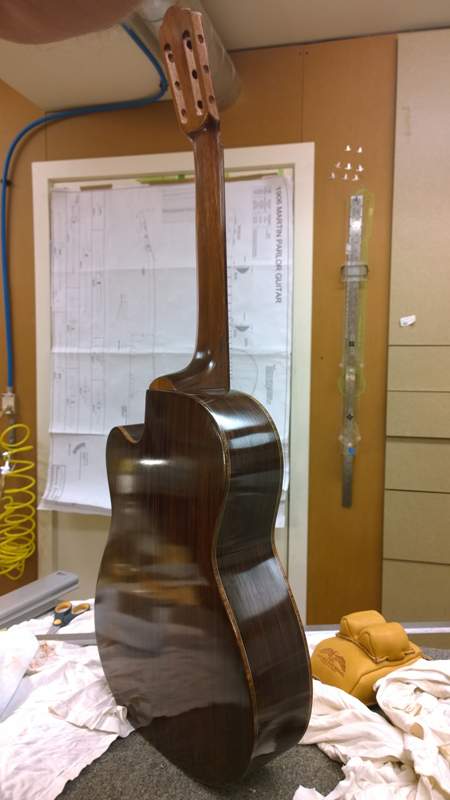
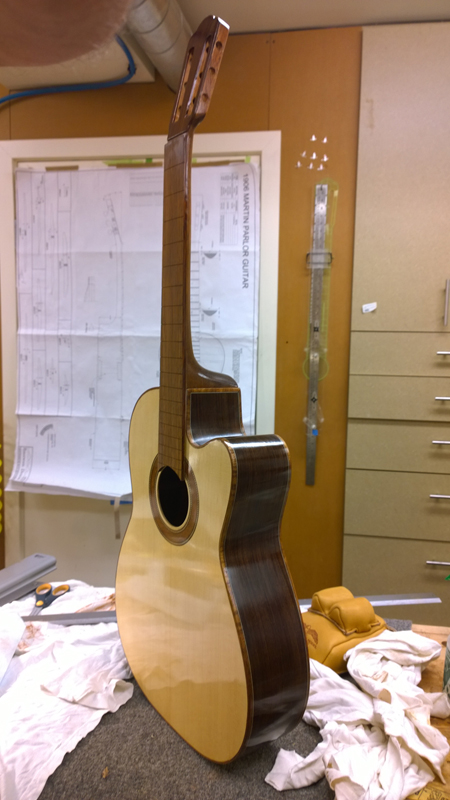
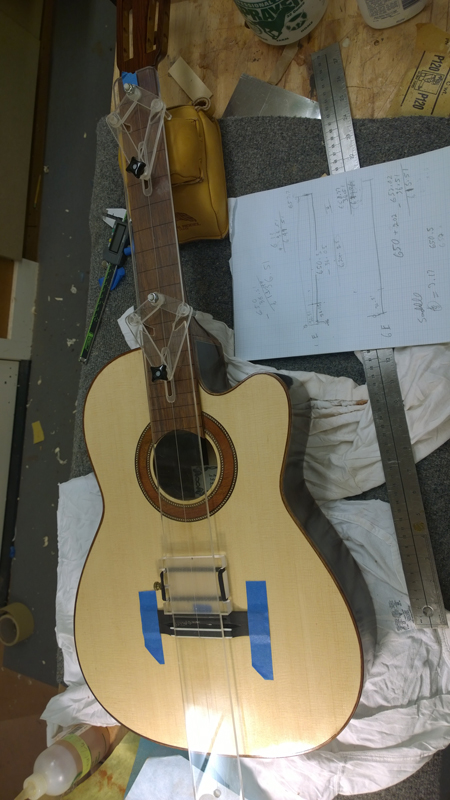
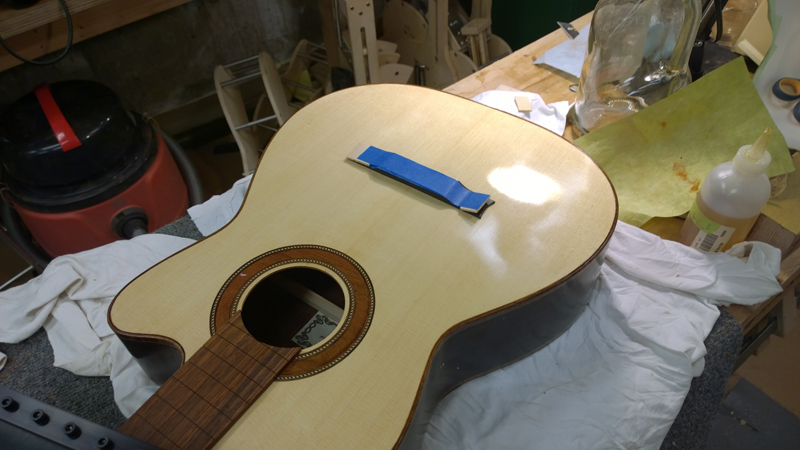
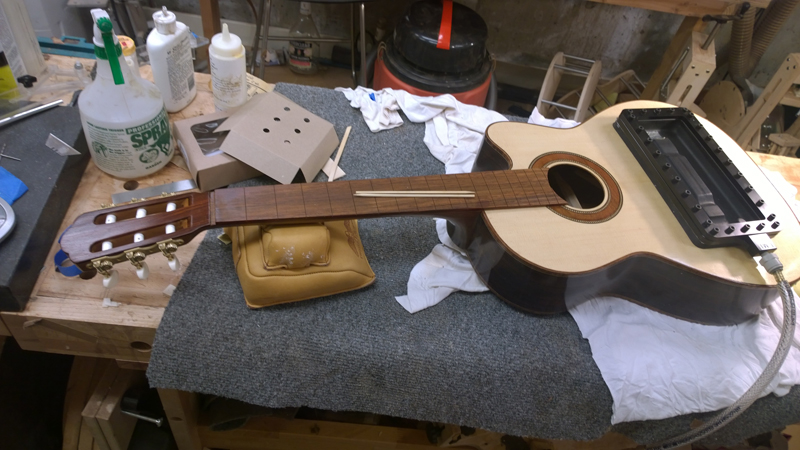
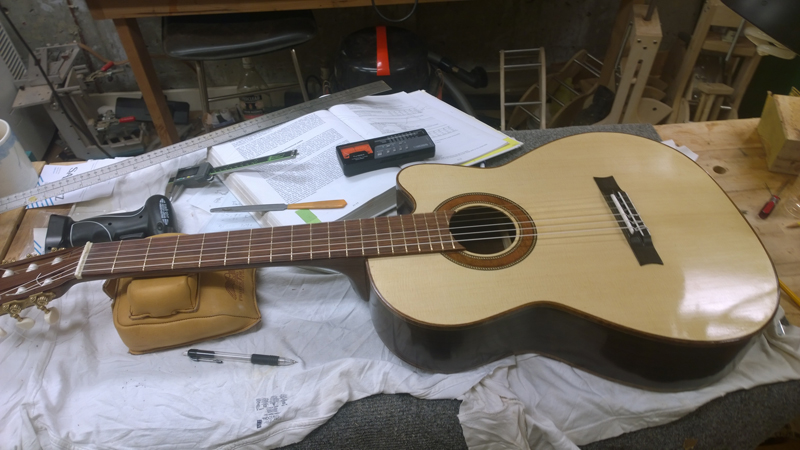
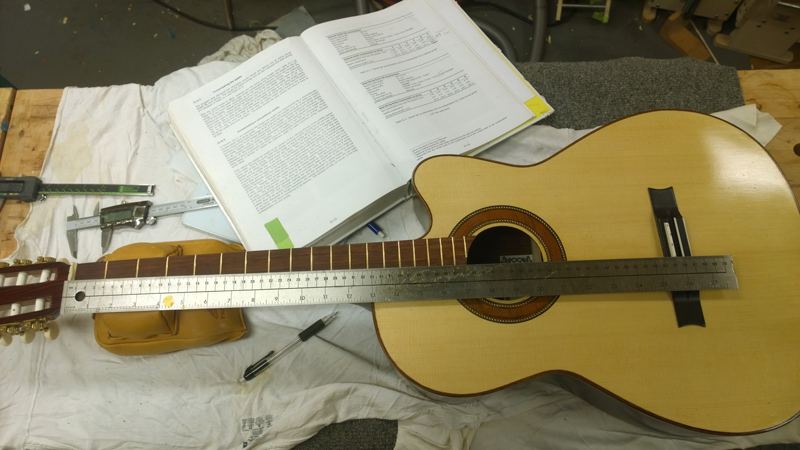
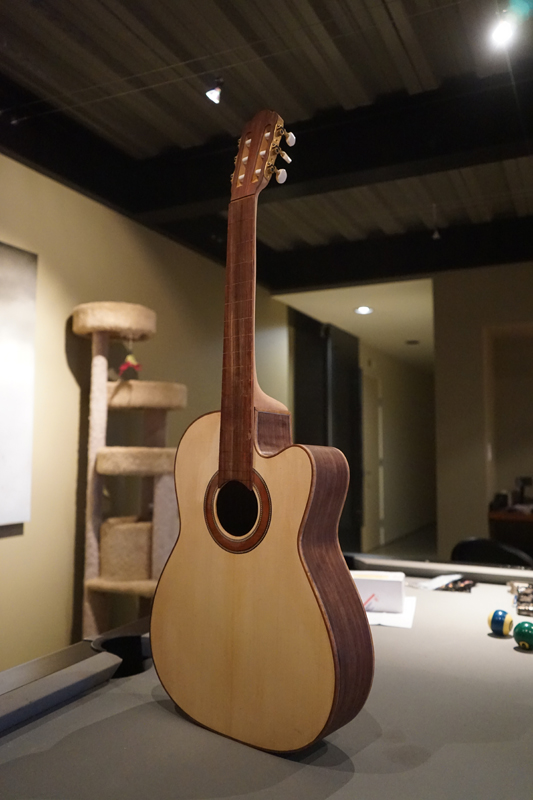
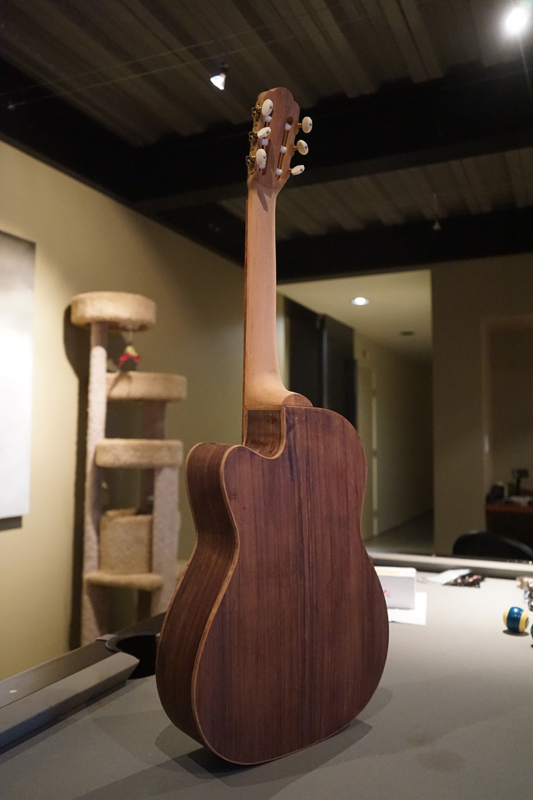
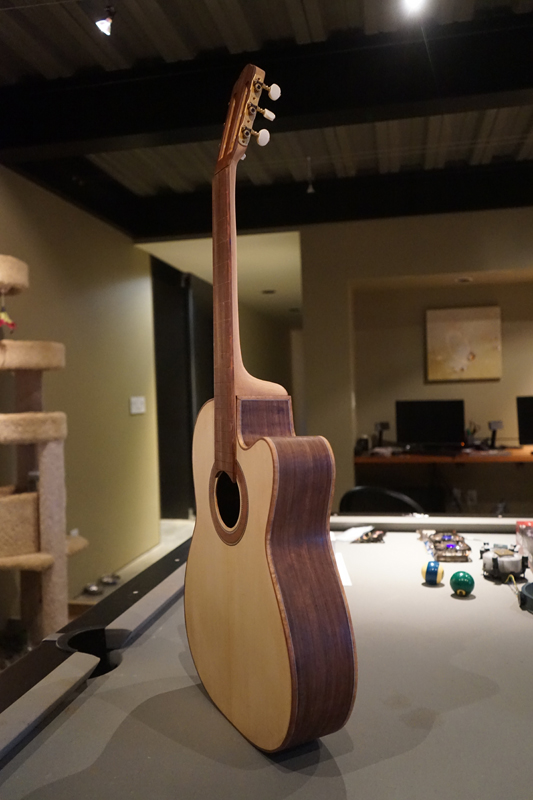
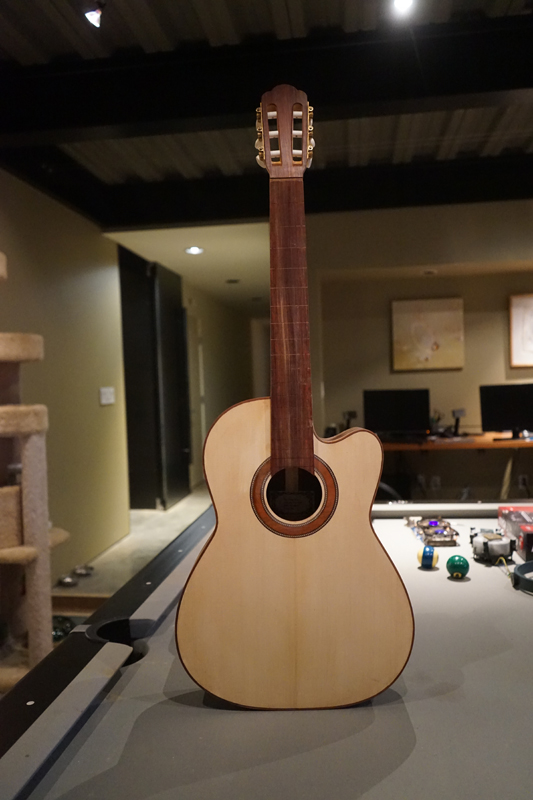
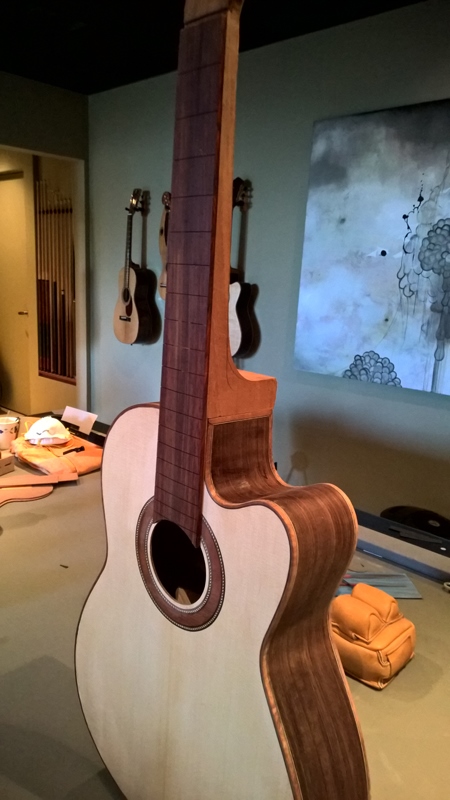
Here is where I am at now

Image

Image

Image

Image

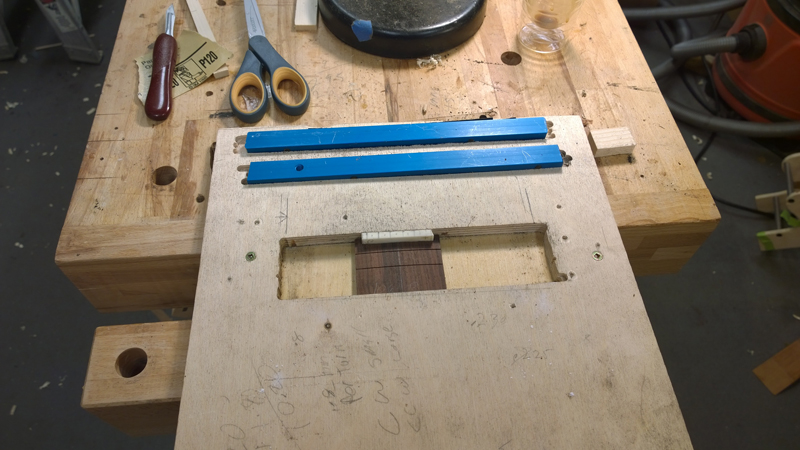
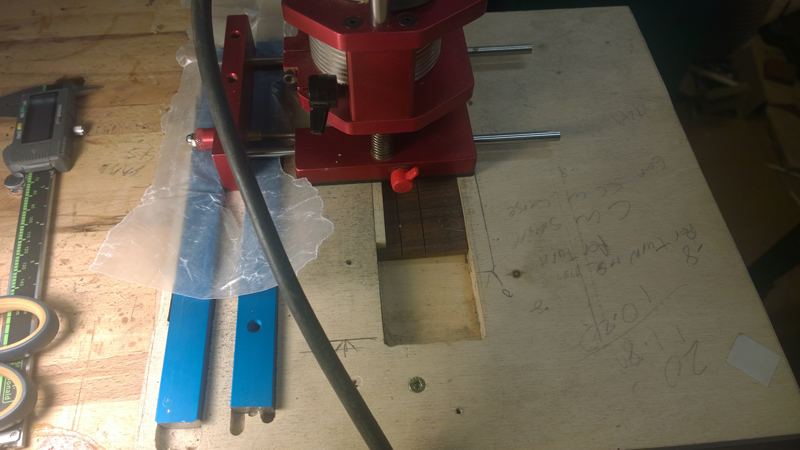
I will not make a detailed log of making the bolt on bolt off classical neck but I have a more detailed log in my first falcate classical build log. viewtopic.php?f=67&t=7105&start=10. I have included a few pictures. Also for the first time I used my 20" radius bit to put a radius on the fret board. I got the bit from sje tools.

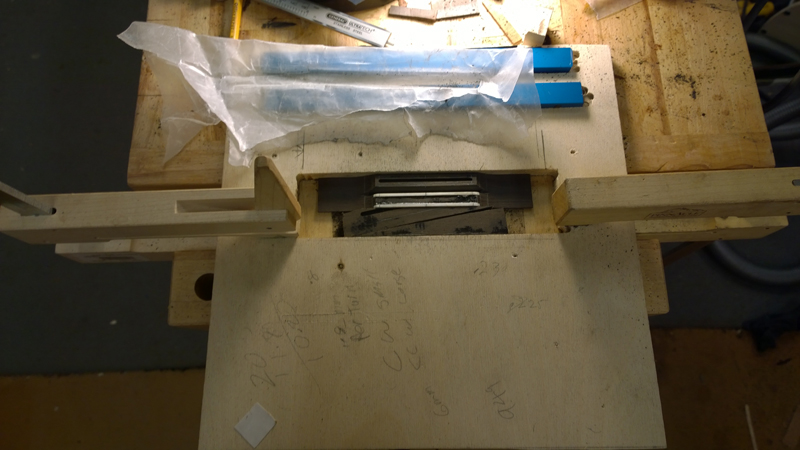
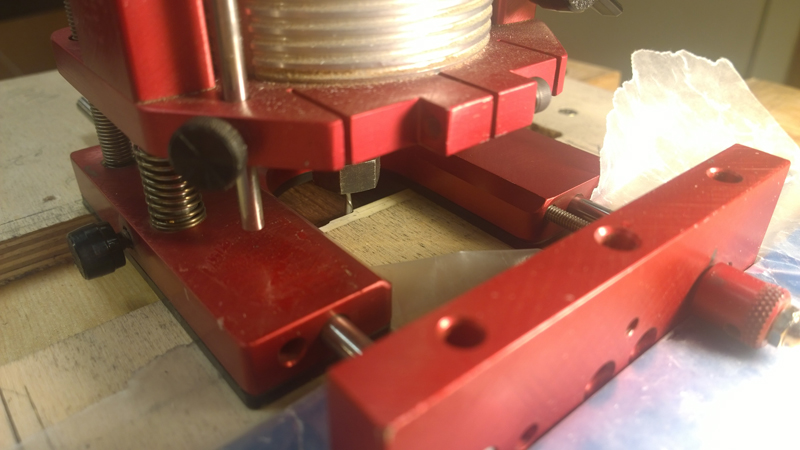
Radiusing the fret board:

Image

Image

Image

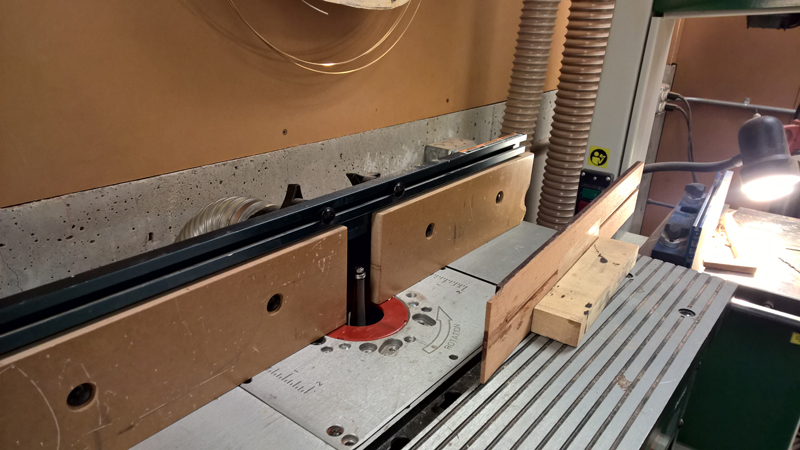
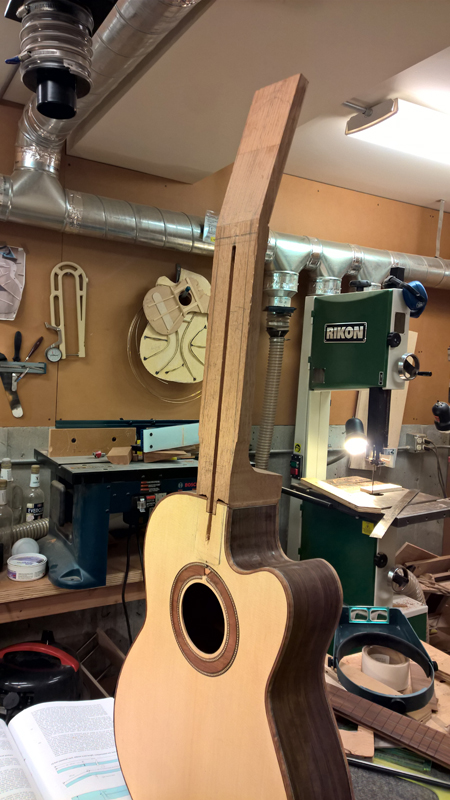
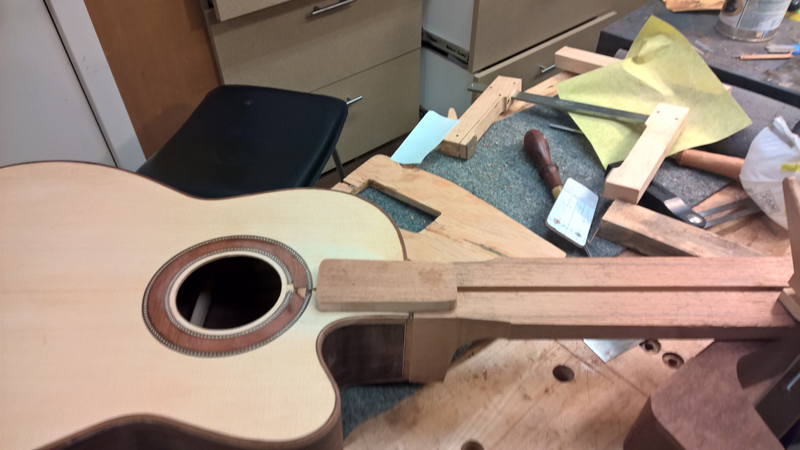
Bolt on bolt off neck

Image

Image

Image

Image

Image

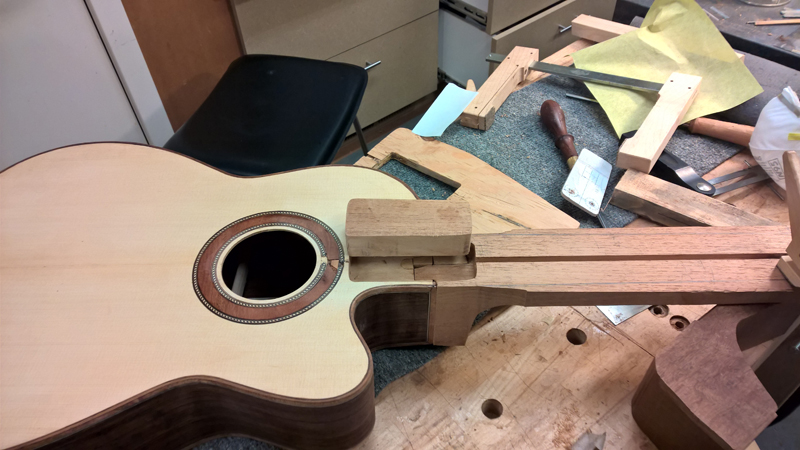
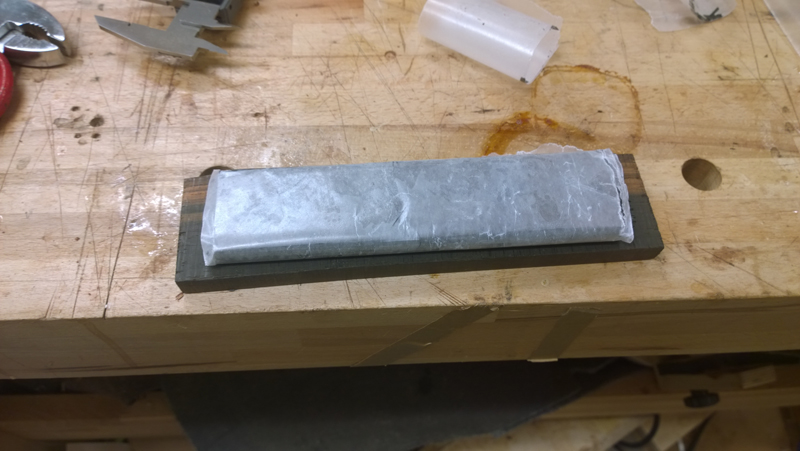
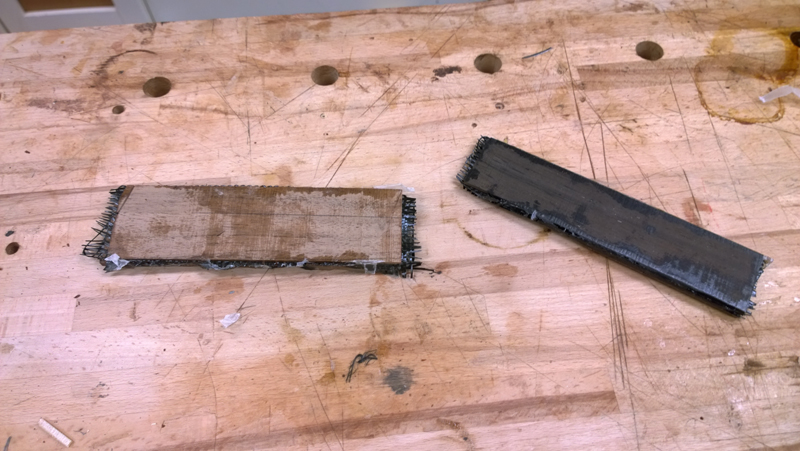
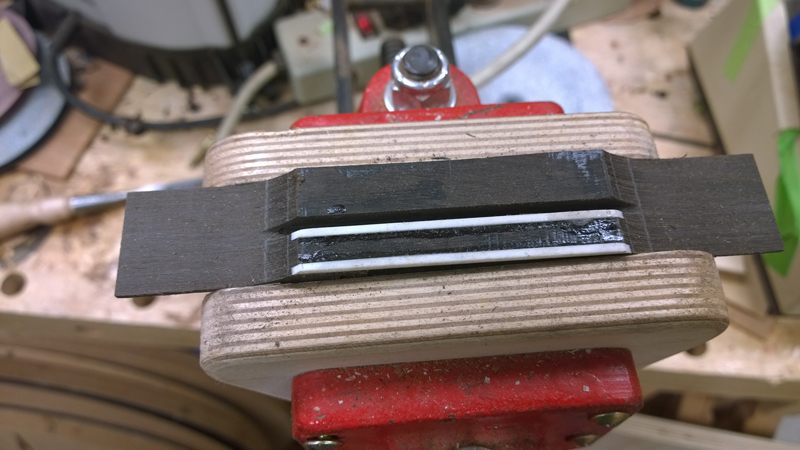
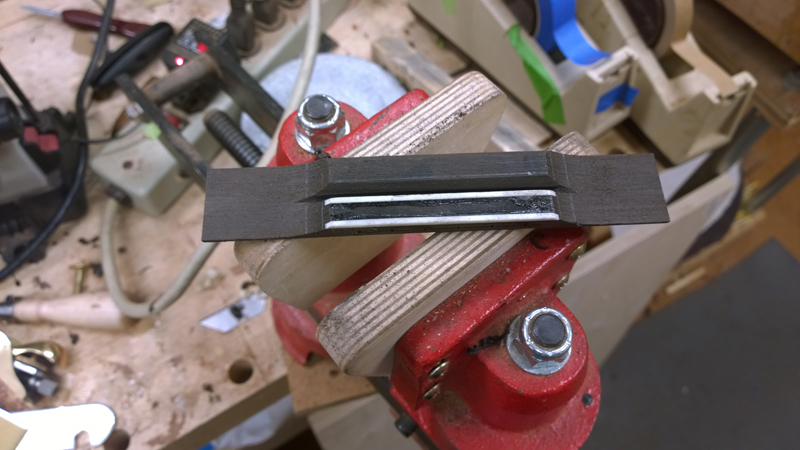
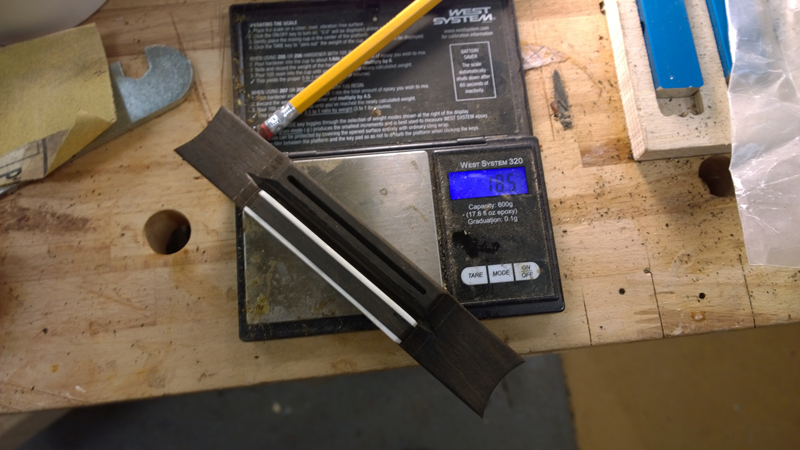
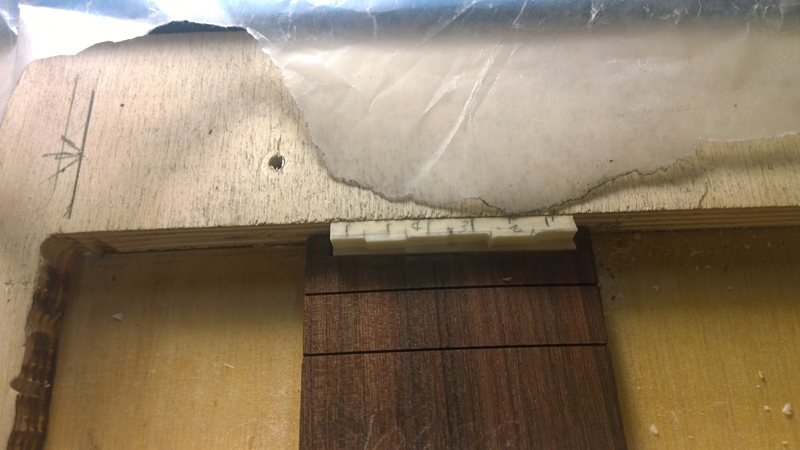
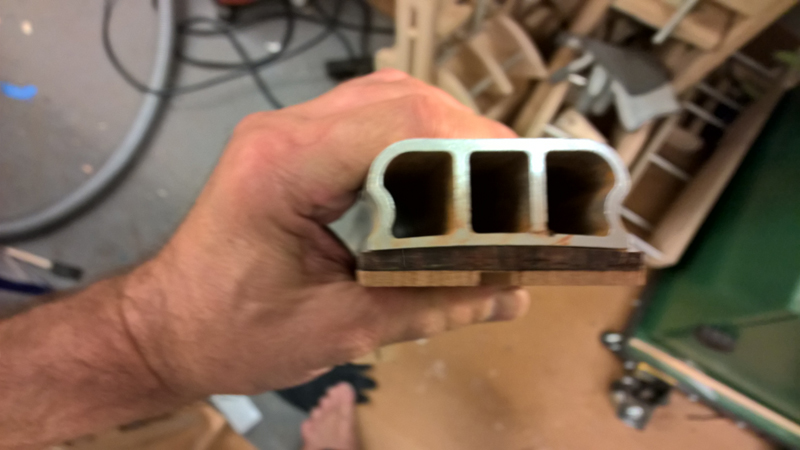
note how the mahogany glued to the fret board is sloped 4mm to 0 mm to give fret board a negative slope

Image

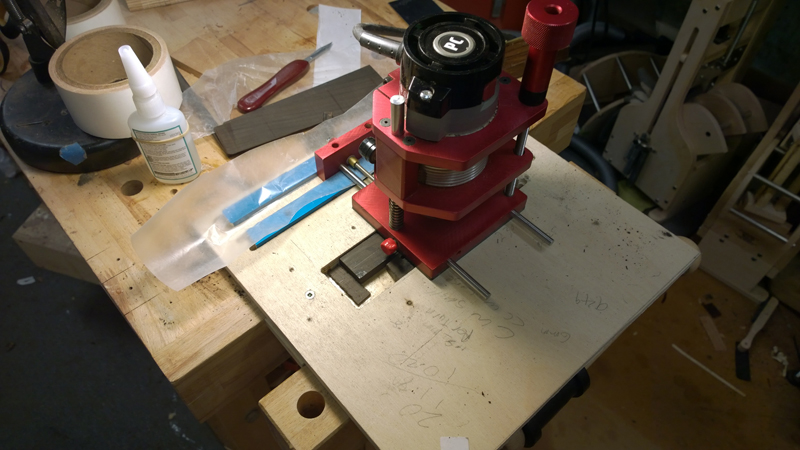
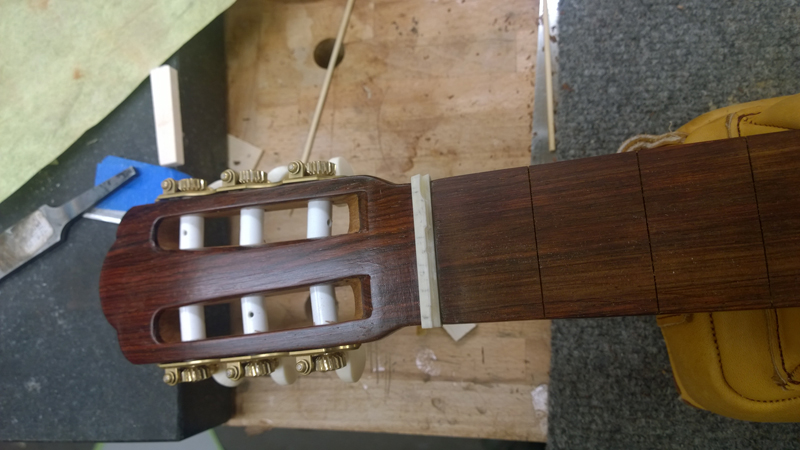
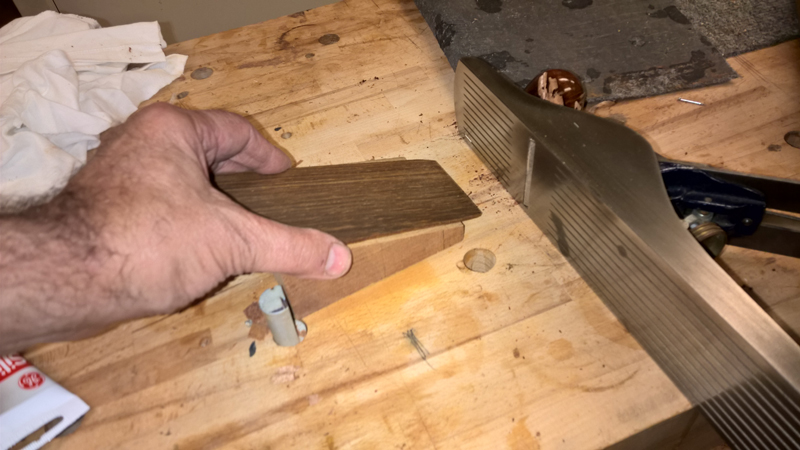
Trim the head stock veneer for the head stock angle:

Image

When the fretboard and wedge is glued back to the neck the glue line disappears.

Image

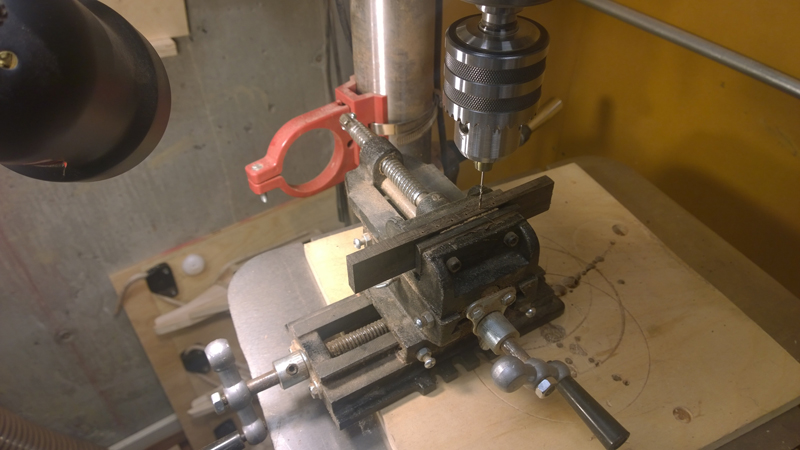
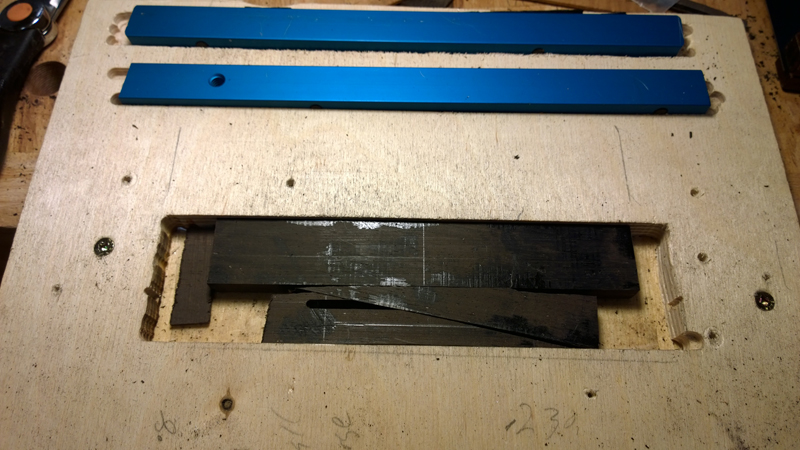
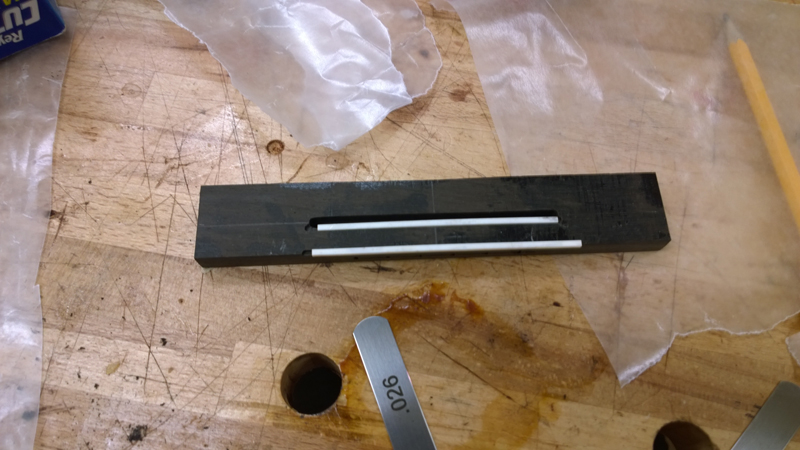
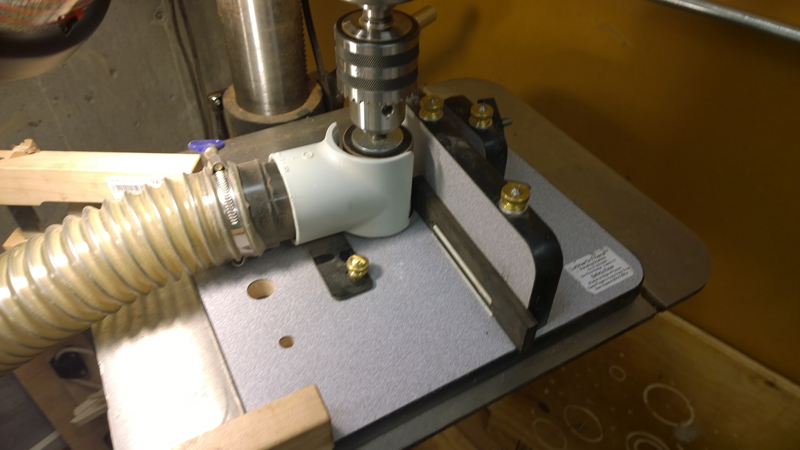
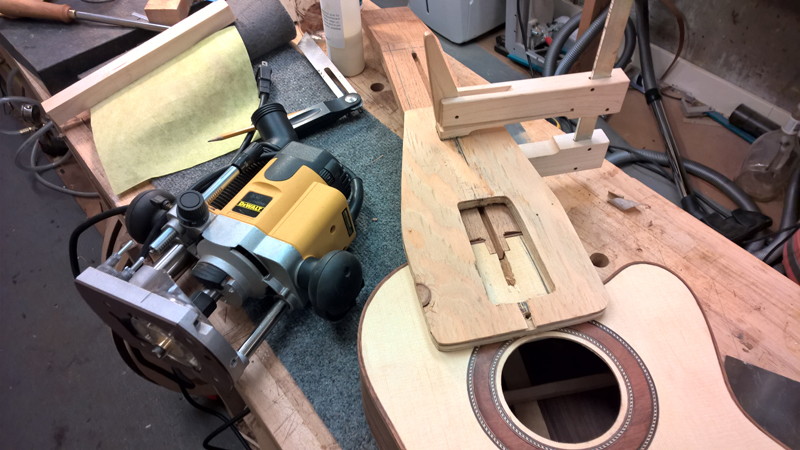
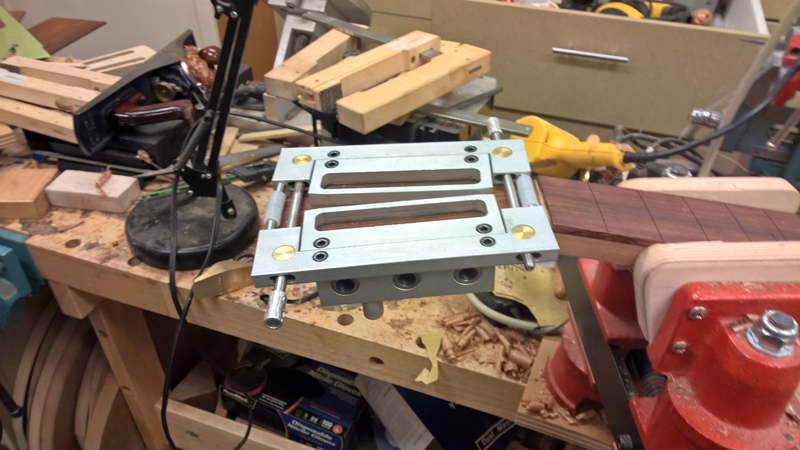
Luthier tool jig to route slots and drill tuner post holes.

Image

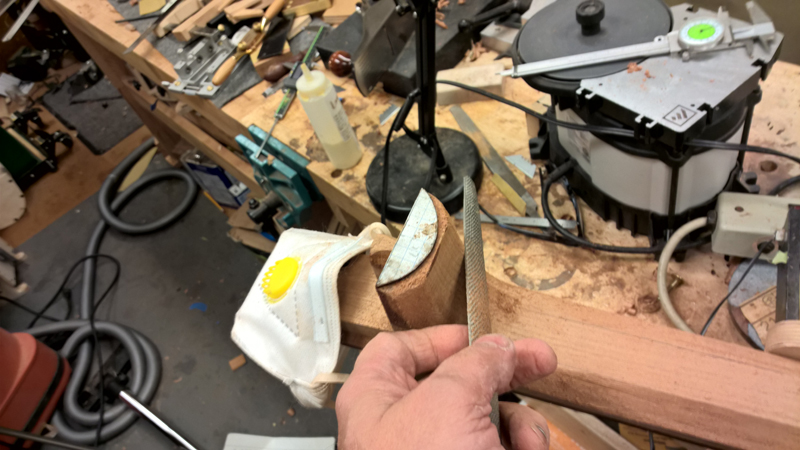
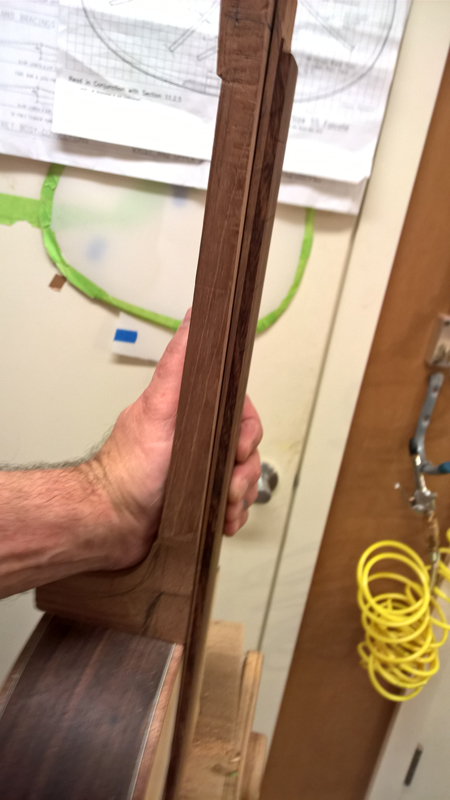
I used a spoke shave to remove most of the wood when shaping the neck. I measure out facets to guide the shape.

Image

I use a rasp to shape the heel

Image
johnnparchem
Posts: 2354
Joined: Sat Apr 10, 2010 10:50 pm
Location: Seattle
Contact:

Re: Second Falcate Classical

Post by johnnparchem »

I started the finish process. So I should be finished in a few weeks. I thought I would post one change I made to my zpoxy process a couple of instruments ago. When working with rosewood and white purfling lines I mix a small amount of zpoxy up, dilute it with alcohol and seal the bindings and purflings. The stuff drys to tack within an hour or so. At that time I zpoxy the rest of the instrument.

Image

Image
johnnparchem
Posts: 2354
Joined: Sat Apr 10, 2010 10:50 pm
Location: Seattle
Contact:

Re: Second Falcate Classical

Post by johnnparchem »

I used royal-lac shellac to finish the back and sides and neck and I did a true french polish shellac finish on the top. I have not yet done any sanding or buffing but it looks pretty good now. I am going to let the guitar sit a week to allow the shellac to cure a bit before finishing it.

Image

Before finishing the top I looked for glue on the top with a black light. Yup I had some smears in the center and some along the bindings. You can see the bright spot in the lower bout especially along the edges. This is after I though I had the top clean.

Image

Image
johnnparchem
Posts: 2354
Joined: Sat Apr 10, 2010 10:50 pm
Location: Seattle
Contact:

Re: Second Falcate Classical

Post by johnnparchem »

I made one of two possible bridges Gore style bridges for this instrument. The first one I made is made out of Brazilian rosewood, the second will be made out of walnut and ebonised. I think the walnut will be a lighter bridge. they both are reinforced with two separated layers of CF fabric. I used a very dark block of BRZ.

In the first set of photos you can see me ready to put the block together. I resawed the bridge blank I had into three strips 2mm, 3mm and 4 mm. These are put together such that the 2 mm is on top and 4 mm is on the bottom. The carbon fiber fabric will be separated by the middle 3 mm slice. As shown in the picture I used west system 105\206 epoxy for the lamination.

Image

Image

Image

While waiting for the epoxy to cure I found some interesting mushrooms in my yard. These might cause a bit of delay. :)

Image

I had a previous walnut layup that I made when I made my last falcate classical guitar. They sort of look a mess until they are trimmed to size.

Image

I marked out the tie holes on the blank and drilled them in the drill press. I attempted to make a nice aluminium jig for the tie holes but had trouble drilling the holes the twist bits I had did not cut it in the aluminium. I did not use the cross vice as a cross vice. I had punched the holes and just moved the vice in place for each hole.

Image

I mounted the blank (actually the second attempt) in my routing jig. In the first attempt I relied only on double stick tape and it did not stick. I cut that spoiled bridge diagonally and made the wedges that you can see in the photo.

Image

I do four passes in this jig. The first pass with a bull nose 1/8" veining bit is to separate the tie and saddle block. This is done to the depth of the wings. I switch to a straight edged 1/8" bit and create 1.5 mm x 1.5 mm rebates on the tie block for bone strips. The last uses the same bit to cut the saddle slot. The Gore\Gilet book describes on additional cut with a 45 degree bevel bit to slope the inside channel toward the saddle. I do this with a chisel. I used a Luthier Friend jig do shape the wings.

Image

Image

Image

Image

Image

Image

Here it is just needing a bit of finish sanding.

Image
johnnparchem
Posts: 2354
Joined: Sat Apr 10, 2010 10:50 pm
Location: Seattle
Contact:

Re: Second Falcate Classical

Post by johnnparchem »

I finished applying shellac last week. To position the bridge I bolted on the neck. A perfect time for some encouraging photos. I still have yet to level sand or polish the royal-lac back and sides or the French Polished top. It looks good in the pictures, but it definitely has a hand applied finish look.

Image

Image

Image

I set the fret board nut location to have a nut compensation as well as saddle compensation. I really spent a lot of time calculating and triple checking the location of the saddle. I did all of the measurements from the first slot as the fret board is about 3 mm short of the zero slot location. After it was taped in place I also checked the location against my other falcate classical (I could have thought about this first) and I had located it exactly in the same location.

Image

I drilled a couple of 1/16" holes in the saddle slot and used the drill bits as location pins.

Image

With the bridge in place using a new scalpel blade I carefully scored the finish and used a utility blade (actually three by the time I finished) to scrape the shellac under the bride.

Image

Image

Image

I glued the bridge in place. Added a couple of shims to the wings to help push them down and fired up my vacuum clamp to clamp the bridge. After about 6 minutes I stop the clamping and removed the still soft squeeze-out. It has been clamping for about an hour now so I can head back down.

Image

Image

Image
johnnparchem
Posts: 2354
Joined: Sat Apr 10, 2010 10:50 pm
Location: Seattle
Contact:

Re: Second Falcate Classical with strings!

Post by johnnparchem »

I made the compensated nut and saddle and strung the guitar up. The sounded sounded great about a half an hour after I put the first set of strings on. I am really excited to hear how it sounds over the next week. My target for the top was 190 Hz, almost got it. I ended up at 94.2 Hz for the T (1,1)1 188.4 for T (1,1)2 and 236.5 for the T(1,1)3. Graph below. I still need to clean up the nut and saddle buff out the finish, do a final set up in a couple of days. Also I will add a small dot on the side of the fret board at the 7 fret.

Image

Image

I sort of cheated on the compensation as I used the same scale length and the same strings that are in the classical guitar example in the book. I did not have to run the calculations. I made the compensated nut and then measured the active string length for each string and marked the saddle. I make the compensated nut a little differently than Trevor's method in the Book. I used my saddle slotting jig and my Bishop Cochran router base as a little milling machine. One turn of the set screw for the fence is equal to .8 mm. It is really easy to see it hit 1/8ths of a turn so I can cut with an accuracy to .1 mm or so. I leave a little extra compensation on the nut and fine tune once I have the nut mounted. I use a sharp chisel to nail the compensation numbers.

Image

Image

Image

Image

Image

The Book has a table and tells how to make a table to calculate nut and saddle compensation based on scale length, strings and action. As I mentioned, I was able to use the example in the book. The table includes the active string length for each string. I used that measurement from the nut to mark out the saddle compensation.

Image
Diane Kauffmds
Posts: 3255
Joined: Sun Mar 09, 2014 8:13 pm

Re: Second Falcate Classical with strings!

Post by Diane Kauffmds »

Absolutely beautiful work John. I hope one day I can approach this level of building. I learn a lot from your posts. I need to replace the top on the 40 year old classical guitar that my husband's daughter left me when she passed. The original top had the simple 5 brace fan design. I've been looking at alternate bracing schemes and I like the scheme that you've used in this guitar.

The back bracing pattern is the typical ladder pattern. I'm using spruce for the bracing. My questions are, what is the advantage to the top bracing pattern that you've used in this build, and do you think it would work on a guitar with a ladder back bracing pattern? It seems to me that I could go a little thinner on the top with a bracing pattern like yours. I had originally earmarked some beautiful engelmann for my cherry 00, but I thinned it to .085" thickness. I was afraid to use it on a steel string guitar, so I put it aside for her classical.
Diane Kauffmann
Country Roads Guitars
countryroadsguitars@gmail.com
johnnparchem
Posts: 2354
Joined: Sat Apr 10, 2010 10:50 pm
Location: Seattle
Contact:

Re: Second Falcate Classical with strings!

Post by johnnparchem »

Thank you for your kind comments,

The falcate brace pattern for the top would work fine for a ladder braced back I used it to retop a an 8 string classical viewtopic.php?f=53&t=7425.

The advantages of this bracing scheme for a classical: Carbon Fiber does not cold creep so the top should keep its shape longer and removing the transverse brace under the sound hole puts more of the top into play sound wise. Structurally this pattern is closer to an X brace than a fan brace scheme.

The disadvantages: Having to work with epoxy and carbon fiber, to bend spruce braces they need to be laminated out of bendable thickness strips, the falcate brace pattern does not have lateral support in the center so a stiff bridge is required (I use CF reinforced bridges) the need to face the scorn of classical guitar purists. I think right now there are two camps for the classical sound one more contemporary think Greg Smallman and the richer sounding Torres style guitars like Hauser 37 or 42. The falcate sort of lands somewhere in between.

If this has a Spanish style neck, care must be taken when gluing on the top that the neck angle is correct as it will be set when the top is glued back on.
Diane Kauffmds
Posts: 3255
Joined: Sun Mar 09, 2014 8:13 pm

Re: Second Falcate Classical with strings!

Post by Diane Kauffmds »

Thanks John.
Diane Kauffmann
Country Roads Guitars
countryroadsguitars@gmail.com
Post Reply