Number 13 - EIR\Sitka Drednought -Finished

Take us through building your guitar step by step. Post pictures and tell us what you're doing.
johnnparchem
Posts: 2354
Joined: Sat Apr 10, 2010 10:50 pm
Location: Seattle
Contact:

Number 13 - EIR\Sitka Drednought -Finished

Post by johnnparchem »

I am just starting my first commission, a East Indian Rosewood and Sitka Spruce Martin style D28. I have not done all that much but I have worked with my customer to nail down the wood selection. This one will not have a bevel or be a cutaway, rather it will be a more straight forward guitar.

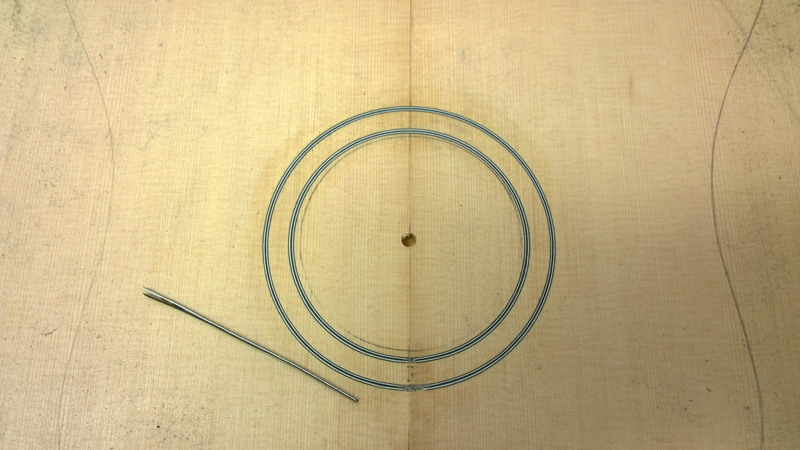
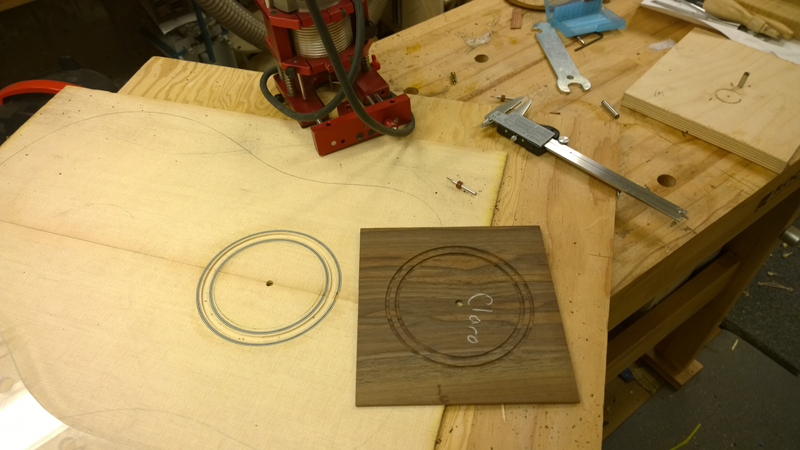
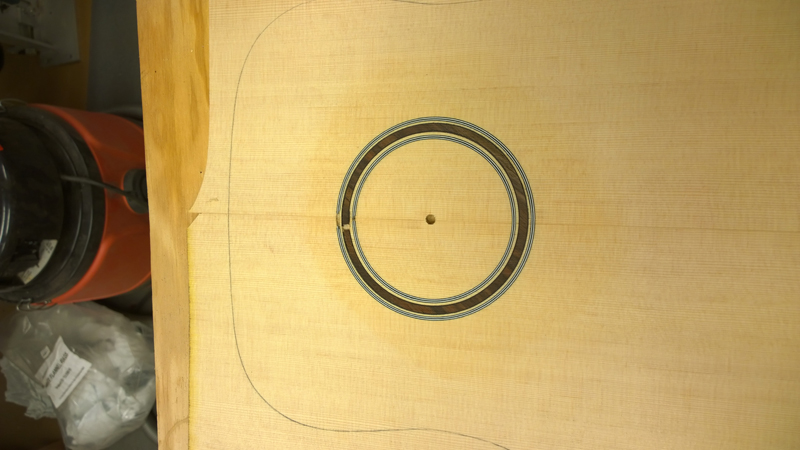
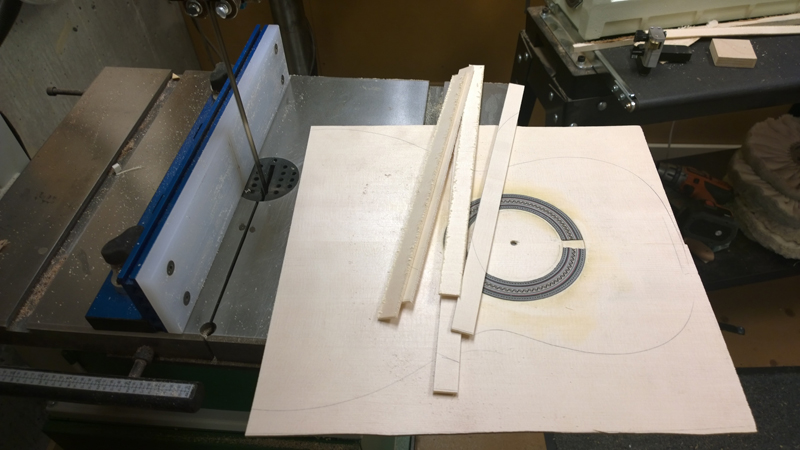
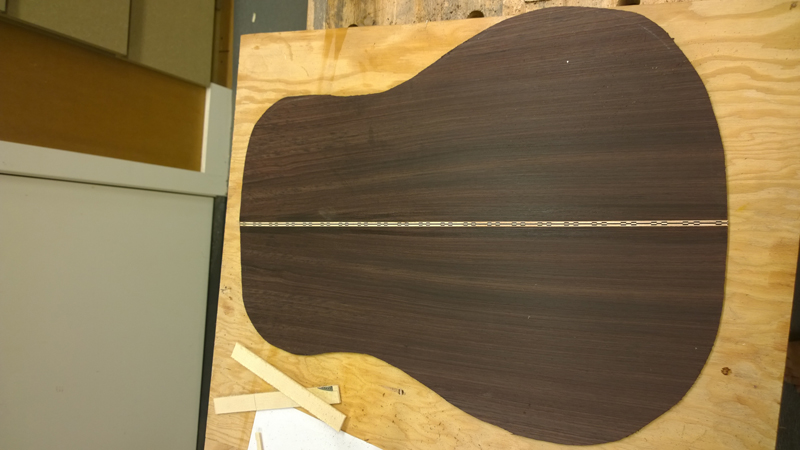
My plan right now besides the EIR and Sitka is to have curly maple bindings, herringbone prufling on the top, a zippered back strip. The Rosette will harken to Martin with a ring design the outside rings will be a bwbbwb pattern the inner ring will be a thin ring of walnut with black purflings inside and out. I have BRW for the fretboard, headstock veneer and the bridge.

Image

This is the third guitar that I will be documenting the wood's measured characteristics and building influenced on those measurements. I am hesitant to include this information as it mostly has meaning with in the context of Gore\Gilet Contemporary Acoustic Guitar Design book. The authors spent a bunch of time and effort describing the theory and methodology; I am not sure I can do the work justice but there may be interest. In any case here goes ...

My purpose for doing this is two fold:
1 - Documentation of the characteristics of the plates before I build
2 - A deterministic way to determine a target final thickness for the top and back. Basically a methodical and repeatable way to do tap tuning.

The method used is to combine a bunch of measurements of the wood and the guitar to be built with a user input of a target vibrational stiffness (really a target frequency). The book states that they found a set of values that they use for target vibrational stiffness by taking the information from a set of representative sounding guitars and back calculating a target frequency. This is important to note that they are not saying that there is a magical target frequency, rather they are saying that if you build to a consistent target frequency you will get more consistent results. A higher target will give a thicker plate and lower target will give a thinner plate. I started with their numbers. As I build more guitars and I want to change my sound I may deviate from where I started.

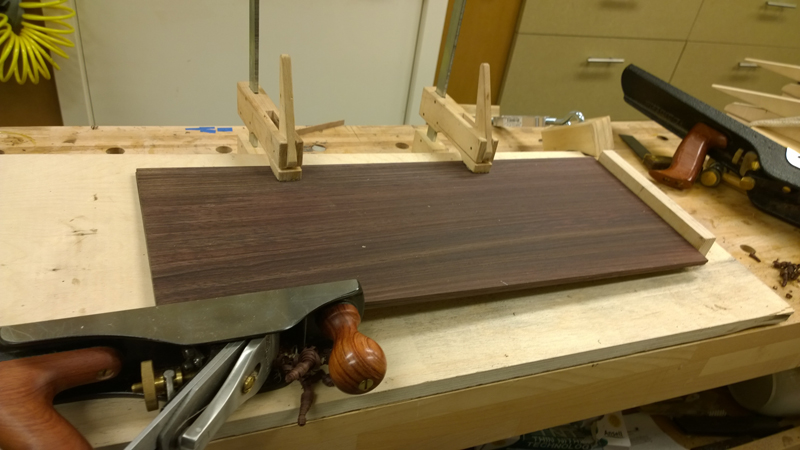
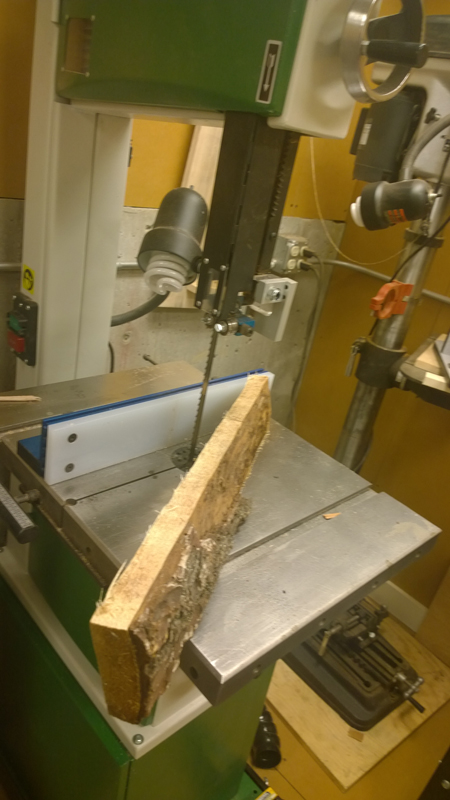
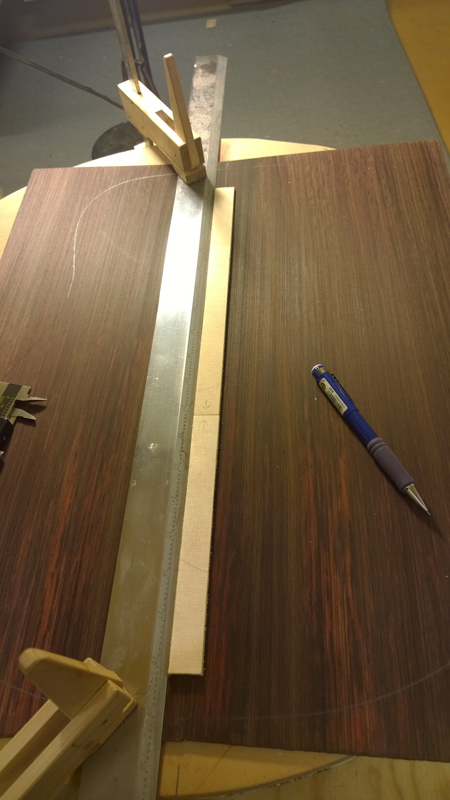
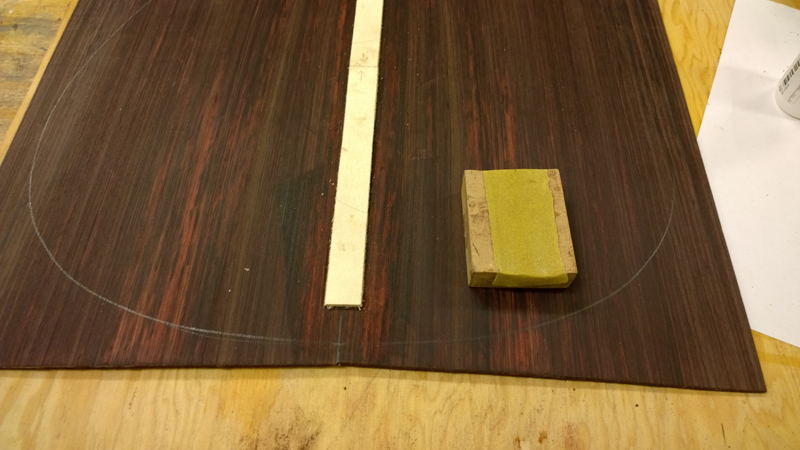
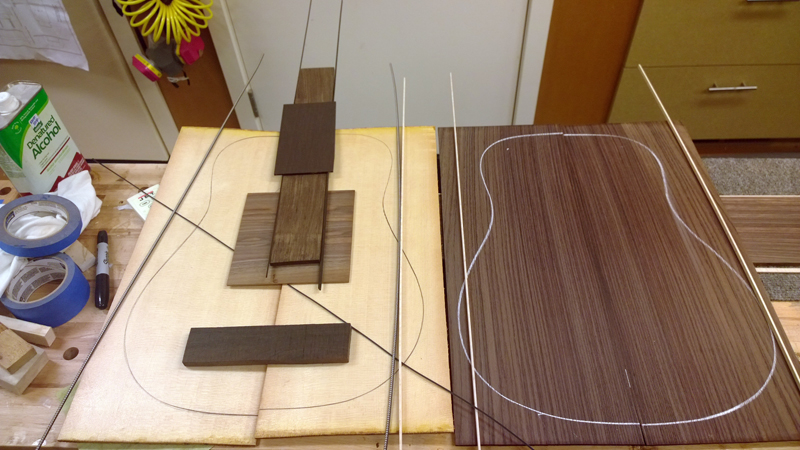
Before doing anything I used my thickness sander to take them to 4 mm. At this time both sets of plates had even thickness as I sanded past the saw cuts. The 4 mm is not important it was a thickness where I ended up with clean plates.

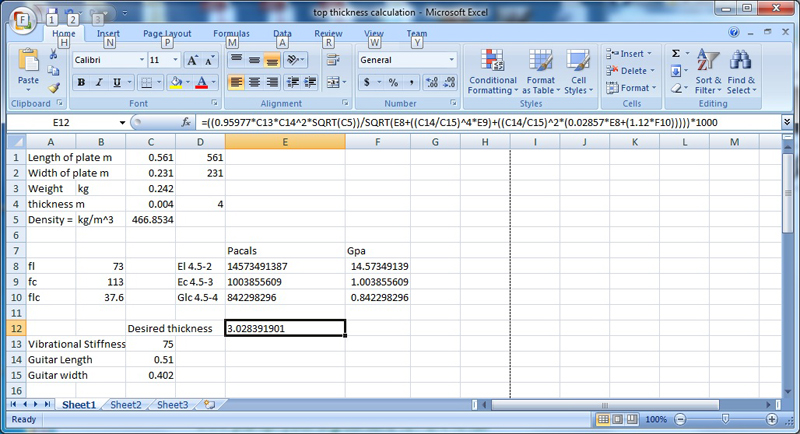
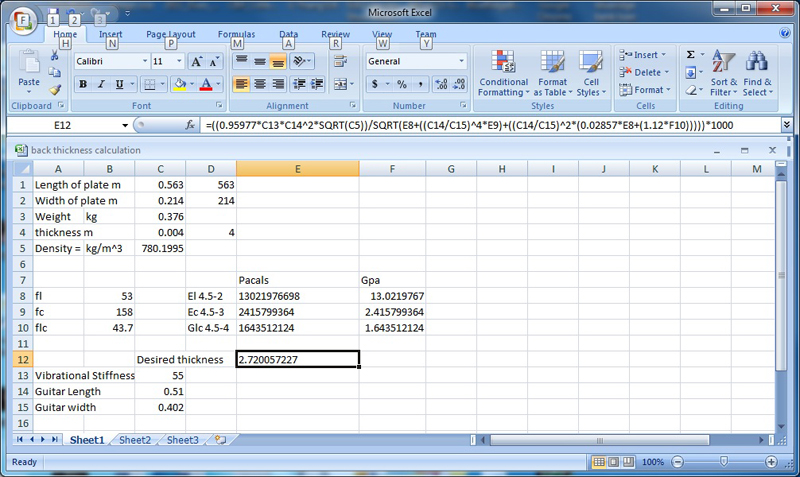
My first set of measurements were to record the height, width, thickness and weight of the top and back plates and to use that information first to calculate the woods density. ( just the weight divided by the product of the height, width and thickness.

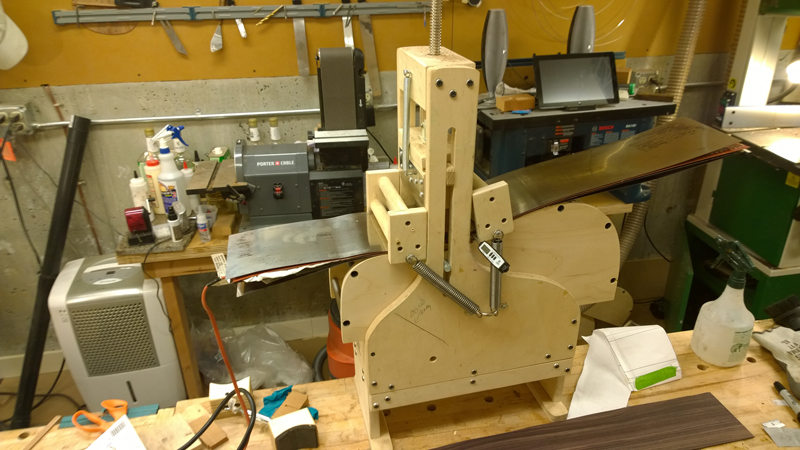
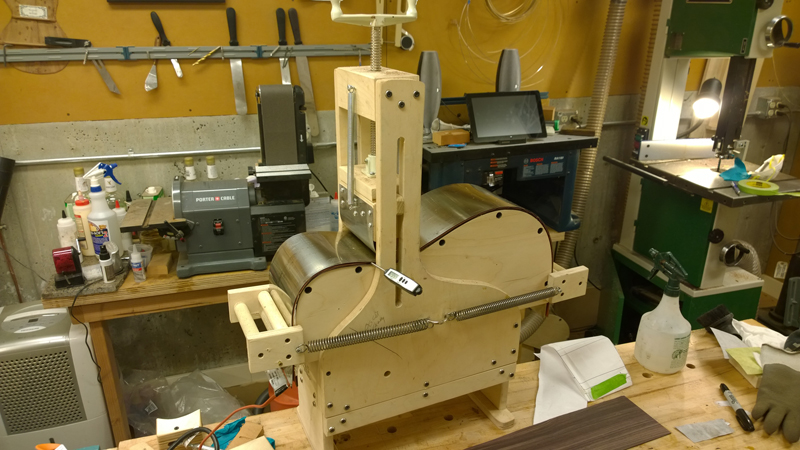
With each of the plates I use a set of measurements to determine the long, cross and diagonal stiffness of the plates. I used a free product Visual Analyzer to sample and display a spectrum graph of the tap tones obtained by holding the plates at three different nodes and tapping on corresponding anti nodes of the plate. This gave 3 charts like the one I have below.

Image


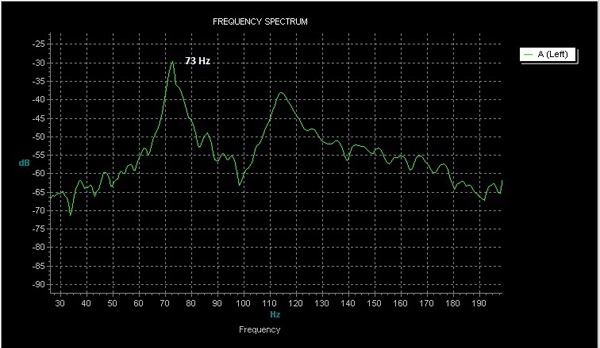
This graph is for the long grain vibrational mode of the top. The first peak 73Hz is a clear indication of the long grain frequency. One can also see the cross grain frequency with the peak around 113. I have another graph I used to determine the cross grain mode where I held and tapped in locations that suppressed the long grain vibrational mode.

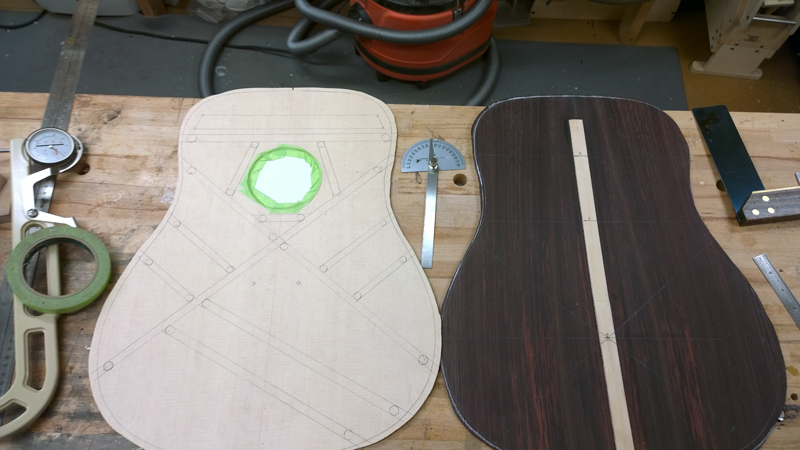
I entered all of the above mentioned measurement and my target vibrational stiffness into a spread sheets that I made from the information in the book and ended up with a target thickness of 3 mm for the top and 2.7 for the back. You can see the two examples I have for the Sitka top and the EIR back.

Image

Image
Last edited by johnnparchem on Thu Mar 20, 2014 5:42 pm, edited 4 times in total.
Kevin Sjostrand
Posts: 3721
Joined: Sat Feb 09, 2008 8:06 pm
Location: Visalia, CA

Re: Number 13 - EIR\Sitka Drednought

Post by Kevin Sjostrand »

Wow John that is really getting technical.
Some pretty EIR. Is that AAA grade?
johnnparchem
Posts: 2354
Joined: Sat Apr 10, 2010 10:50 pm
Location: Seattle
Contact:

Re: Number 13 - EIR\Sitka Drednought

Post by johnnparchem »

Kevin Sjostrand wrote:Wow John that is really getting technical.
Some pretty EIR. Is that AAA grade?
If nothing else the technical stuff keeps a retiring engineer busy:)

I got the EIR from LMI, they call it 1st grade which is below their premium grade. So I think it relates to others AAA.
johnnparchem
Posts: 2354
Joined: Sat Apr 10, 2010 10:50 pm
Location: Seattle
Contact:

dup

Post by johnnparchem »

whoops clicked twice
Last edited by johnnparchem on Mon Dec 30, 2013 7:03 pm, edited 1 time in total.
johnnparchem
Posts: 2354
Joined: Sat Apr 10, 2010 10:50 pm
Location: Seattle
Contact:

Re: Number 13 - EIR\Sitka Drednought

Post by johnnparchem »

I made a bit more progress this weekend. Both of my kids are back off to college so it is quiet in the house. I do miss them already.

Relative to my last guitar this is a fairly straight forward guitar build. After all of that highly figured wood I have been using the East Indian Rosewood is really easy to bend. I cycle the heat twice on each side and the sides came out with virtually no spring back. They just dropped into the mold.

Image

Image

Image

I glued the end blocks on. I have had a long scale neck in my shop for awhile with a heel block so I am going to use it for this guitar. I cut the tail block out of 1/4 birch plywood.

Image

Image

I profiled the top and the back (28' for the top and 15' for the back) with sanding disks both before and after I put the kerfed linings on.

Image

I did get new clamps for the kerfed linings. I have a variety of small wimpy clamps. On the last guitar while futzing with them to get the linings rims I decided to get a bunch of bigger clamps. These guys clamped the kerfed linings right down.

Image


I had some strips of Koa trimmed off the sides of a previous project so I used it to reinforce the sides.

Image

Image

For the first time I was able to use my shooting board and a plane to get a clean joint while jointing the plates. Usually I need to clean up a little with sandpaper. I am not sure what happened, it may be the lack of figured wood or the fact that the plane is fairly well tuned. I was going to put in the zipper strip but the back was so nicely book matched that I am considering leaving it out. I will route a rebate if I decide to add it later.

Image

Image

Image
Last edited by johnnparchem on Sun Jan 05, 2014 10:13 pm, edited 1 time in total.
darren
Posts: 794
Joined: Sun Apr 19, 2009 9:26 pm
Location: Williams Bay, Wi
Contact:

Re: Number 13 - EIR\Sitka Drednought

Post by darren »

beautiful work as always John, you've got a lucky customer there.
Darren
johnnparchem
Posts: 2354
Joined: Sat Apr 10, 2010 10:50 pm
Location: Seattle
Contact:

Re: Number 13 - EIR\Sitka Drednought

Post by johnnparchem »

Thanks Darren,

I put in the Rosette this morning. For the outer rings I jammed two of the BWB purfling into each of the slots I routed making bwbbwb. I then routed a rebate for a claro walnut ring framed with black fiber strips. With the rings I wanted to suggest a martin rosette, but using a wood ring rosette more in my style.

Image

Image

Image
SKBarbour
Posts: 193
Joined: Fri Oct 01, 2010 5:19 pm
Location: Glen Burnie Md

Re: Number 13 - EIR\Sitka Drednought

Post by SKBarbour »

Looks great John. I enjoy watching your build threads. Great craftsmanship.
kyle
Kevin Sjostrand
Posts: 3721
Joined: Sat Feb 09, 2008 8:06 pm
Location: Visalia, CA

Re: Number 13 - EIR\Sitka Drednought

Post by Kevin Sjostrand »

And he is off and running!!!!
Good start.
johnnparchem
Posts: 2354
Joined: Sat Apr 10, 2010 10:50 pm
Location: Seattle
Contact:

Re: Number 13 - EIR\Sitka Drednought

Post by johnnparchem »

I ordered some tops from Mario at Sprucetonewood and he sent along a split piece of Lutz sapwood bracewood. I sliced it up into braces (he would of had me spilt them for no run out) and they feel pretty good so I am going to use them on this guitar.

Image

Image

I inlayed the zipper strip, nothing exciting here.

Image

Image

Image

Back strips
I saw a post with a picture from the martin factory where they were cutting up a reject top to make a back reinforcement strip and I thought I have a top I goofed up. So now I have a good supply of master grade back strips!

I glued the strips on close to the correct thickness and then sand them down with a sanding block I made with a 4 inch radius (or whatever the drum is on my drum sander) curve.

Image

Image

Image

Image

Image

I bought a bunch of poster boards so that I could make protective covers for the top. $1.50 each. I have the top sanded to 120 and it is very close to the final thickness. Before taping on the poster board, I checked to make sure I have the top rim has the correct angle. I clamp the top to the rims and then I use a straight edge and roll a 2.5 mm drill bit right to the saddle location. That is the height I want to start with.

Image

Image

I drew the bracing patterns on the back and the top. You can see in the first picture I taped off the sound hole to keep bits of wood from being trapped and pressed into the top. I really want to make a top with no dings this time. We will see.

I put a 28' radius on the bottom of the braces I wanted to use for the X-brace and have them just a touch more than my final height at the joint. I copied the desired angle onto my protractor like tool and then to my braces. Make sure one brace is up and one is down if you are cutting them out at the same time like I do. I can not tell you how many times I forgot this. Even today, luckily I caught the error before I cut.

The joint is really tight and at the correct angle. I sanded the xbrace a bit more in the radius dish to make sure the assembled brace fit nicely in the dish. As I write I am waiting for the gluing up of the brace using my go bar deck to cure.

Image

Image

Image

Image

Image

Image

Image
Post Reply