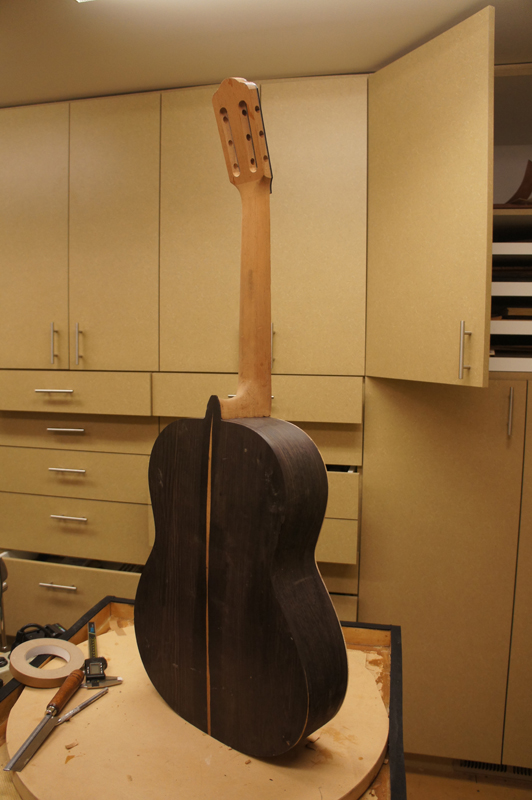
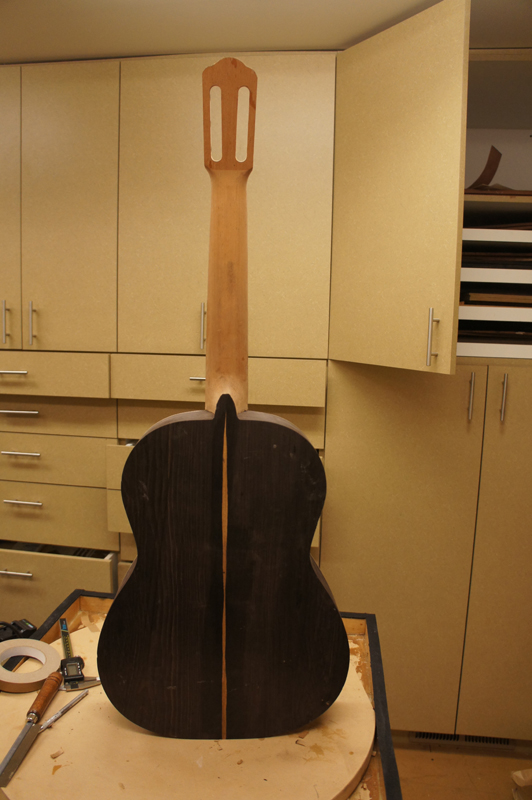
Classical guitar Body FP finished

Take us through building your guitar step by step. Post pictures and tell us what you're doing.
johnnparchem
Posts: 2354
Joined: Sat Apr 10, 2010 10:50 pm
Location: Seattle
Contact:

Re: #11 a Tores\Hauser\Jeff Elliott style Classical guitar.

Post by johnnparchem »

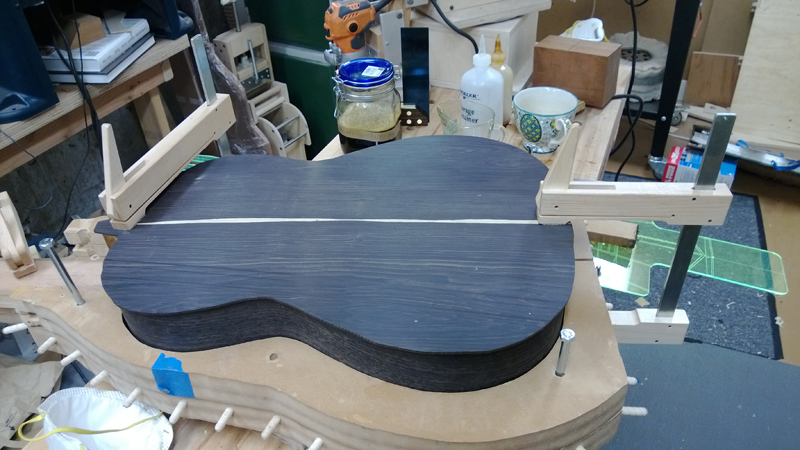
Back from Turkey and Greece ready to spend Memorial Weekend on my classical guitar project.

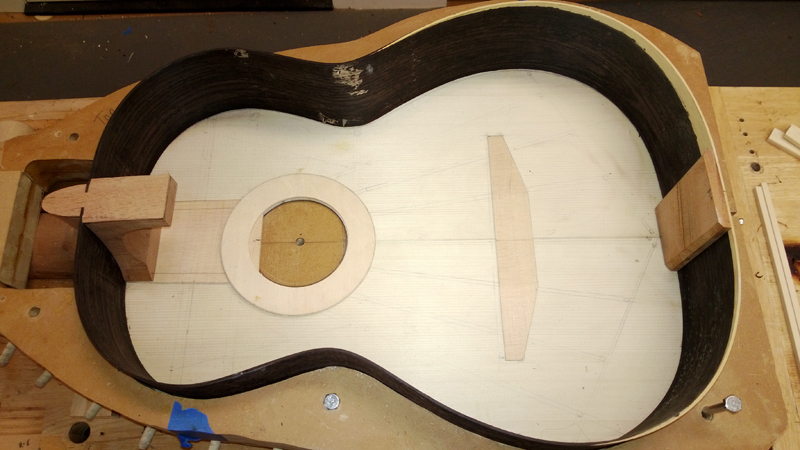
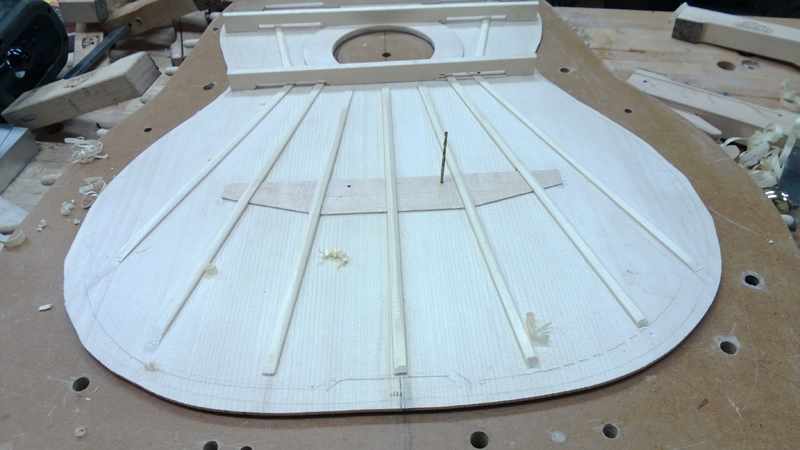
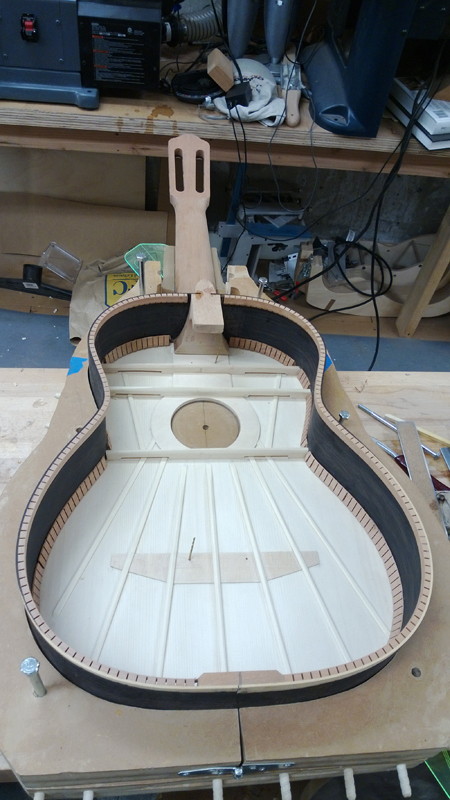
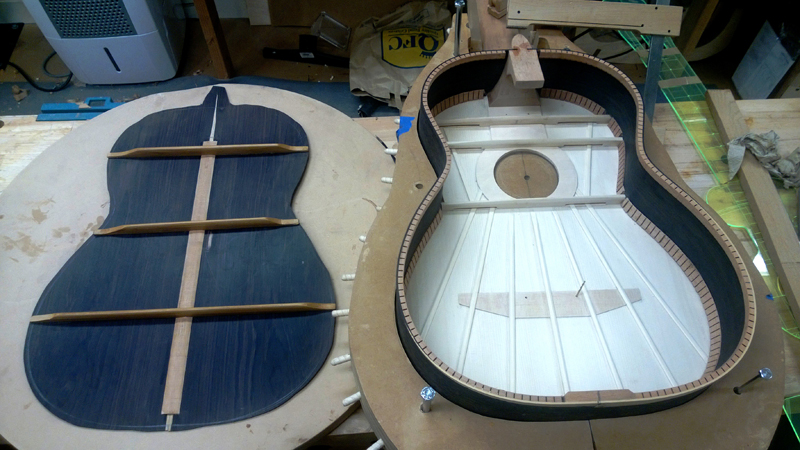
My plan is to finish the rims by adding the kerfed lining and start to brace the top. Having previously prepared the fret board patch the sound hole doughnut and the bridge plate. I am moving on to preparing to brace the top.

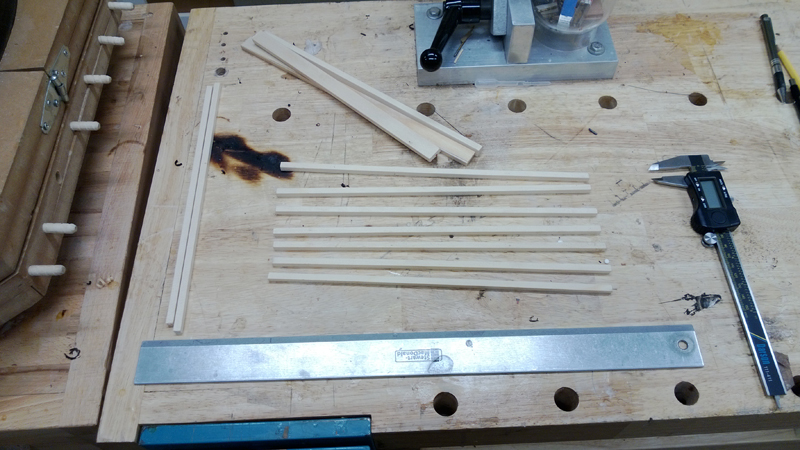
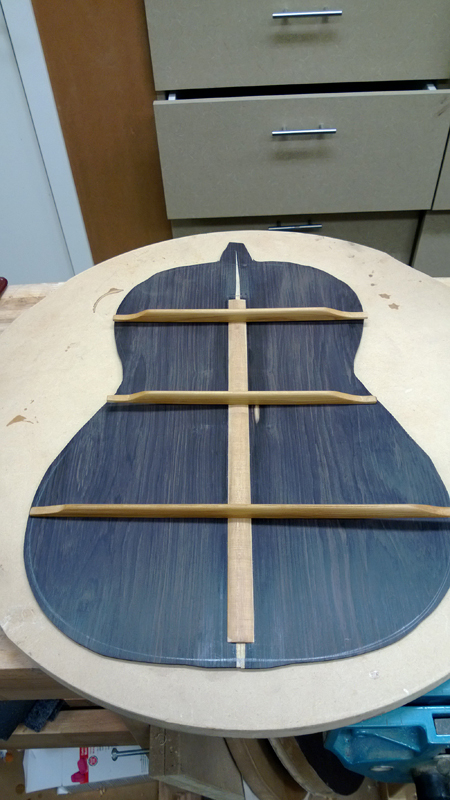
I made sure I had a complete set of rough dimensioned braces for the top. My fan braces at this point are all exactly the same length and 6x6 mm. I sorted the set of braces by stiffness about 3 or four times. The Idea is to put the stiffest brace in the center the next two stiff braces on either side of the center until I end up with the least stiffest fan braces on the outside. In a small way this provides some symmetry and provides the most stiffness where the top needs the most support. Also this method is complementary to the edge thinning of the top that classical guitar makers often do. I will further enhance this process when carving the fan braces, by leaving the center brace height at 6 mm the two on either side of the center at 5mm the next two outside braces at 4 mm ... and the out side braces at 3 mm.

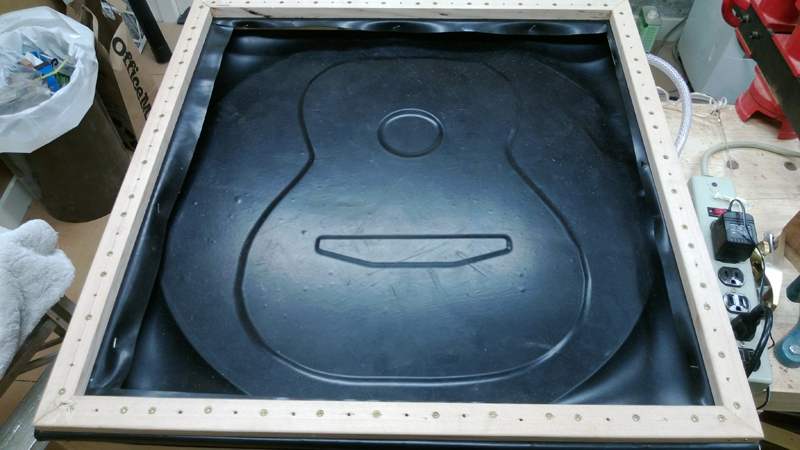
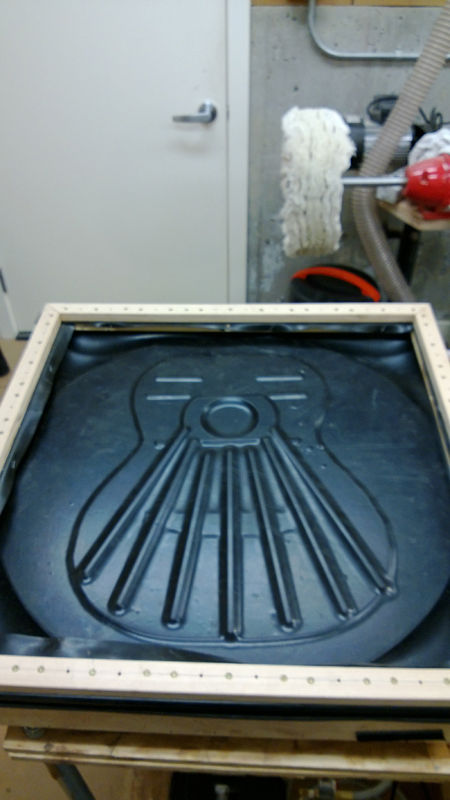
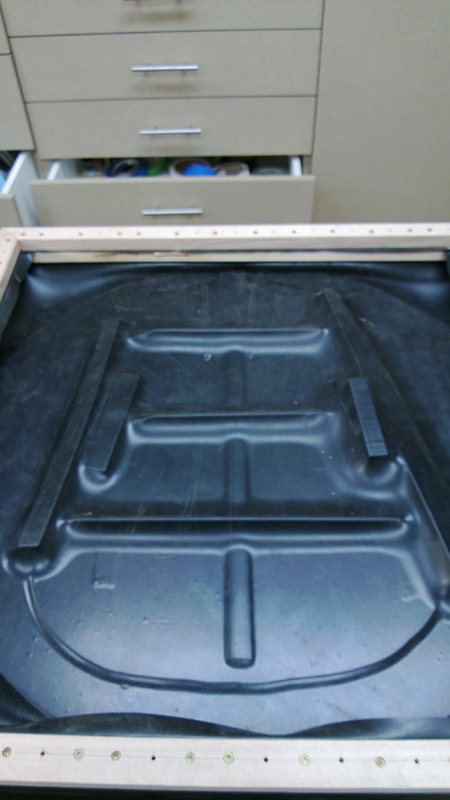
Before fitting the fan braces I needed to glue on the bridge plate giving me an opportunity to try out my new vacuum box for the first time.

Image

Image

Image
johnnparchem
Posts: 2354
Joined: Sat Apr 10, 2010 10:50 pm
Location: Seattle
Contact:

Re: #11 a Tores\Hauser\Jeff Elliott style Classical guitar.

Post by johnnparchem »

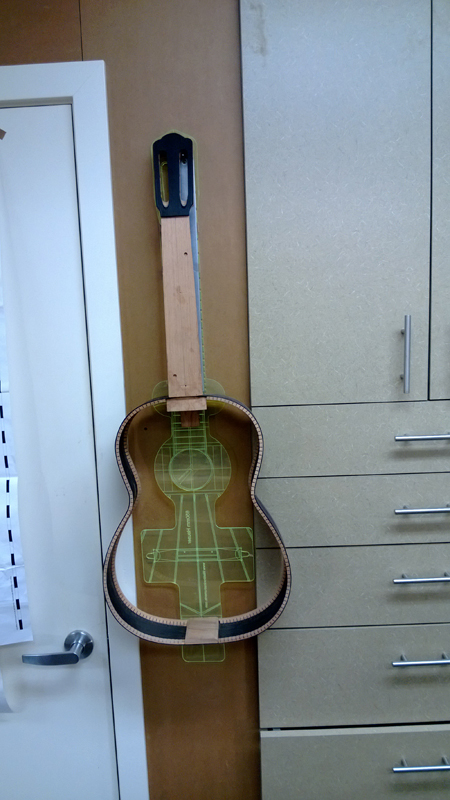
I have the neck and the rims finished including having the kerfed linings in and properly profiled. I did have one minor screw-up I will describe later in the post that I was thankfully able to fix with no damage.
Image

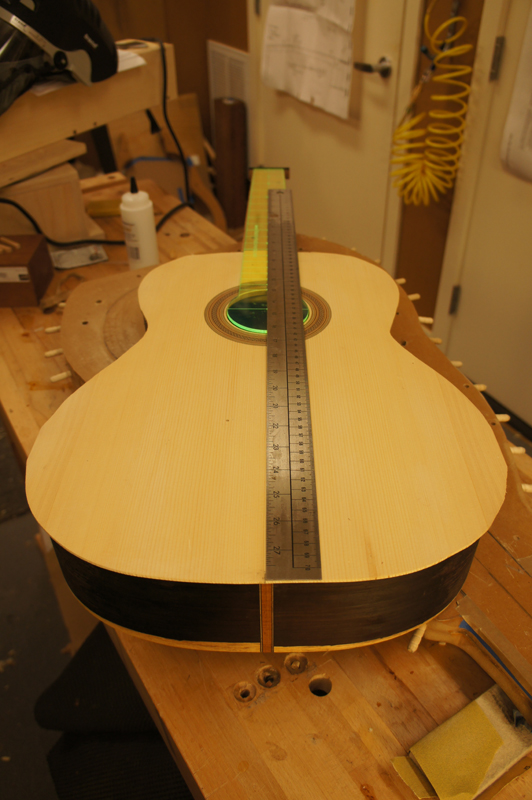
A classical guitar has a different neck\body geometry than a steel string. There are 2 reasons that I can tell for this difference. The first is that a classical guitar typically has the strings lower at the saddle position than a steel string guitar (10 mm vs. 14 mm.) Also, especial on the bass side, the classical guitar has a higher nominal action than a steel string guitar. For some easy to see calculation lets pick a 6 mm thick fret board with a 3 mm desired action at the 12th fret. One needs 2 x the action at the saddle (6 mm) plus a 6 mm thick fret board plus a 1 mm fret it is easy to see that with no angle on the neck I am already too high, 13 mm instead of 10 mm. So if one was using a straight edge on the neck without the fret board the straight edge would have to go inside of the body at the saddle for the correct angle. On the SS it is about 1.5 mm above the top at the same location.

Classical guitar builders use a variety\combination of methods to create the correct geometry: tilting the neck toward the top so that the nut end of the neck is a couple of mm higher than the plane of the body, or planning the angle into the fret board; both methods are often combined with a dome only on the lower bout.

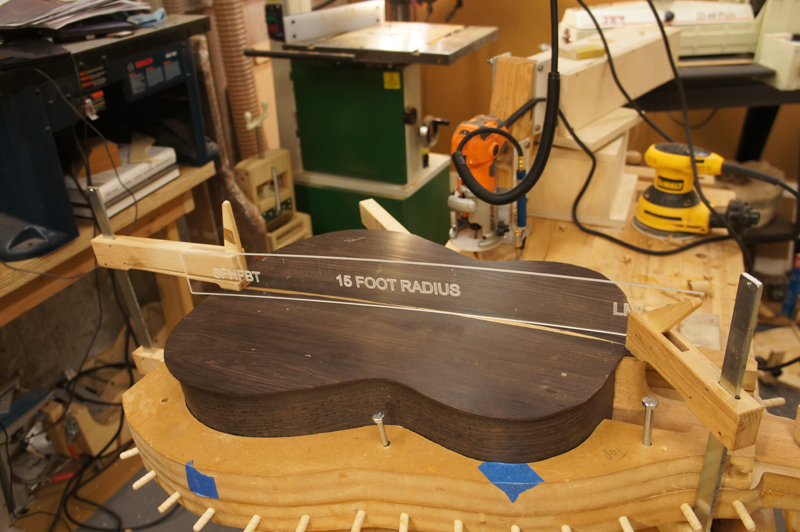
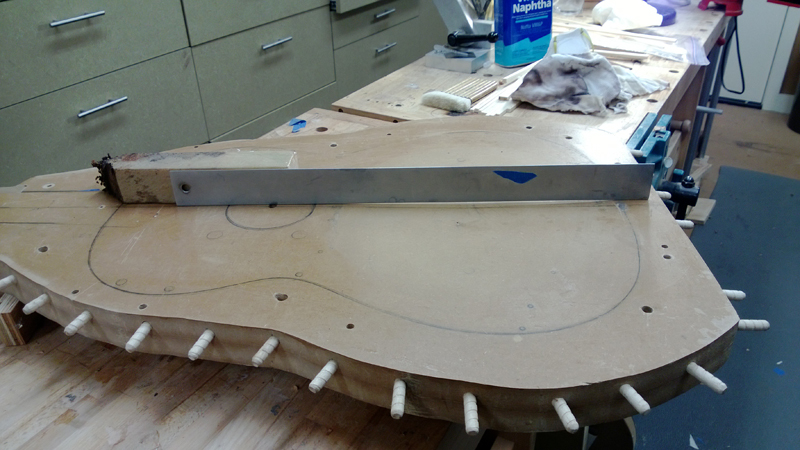
I keep the neck flat to the body and plane the desired angle into the fret board and make a dome. If you look at the picture of my solera you can see that I can use it to create the flat neck angle and the dome. Looking at the straight edge in the picture, you can see that the straight edge is in the dome with a flat neck angle.
Image

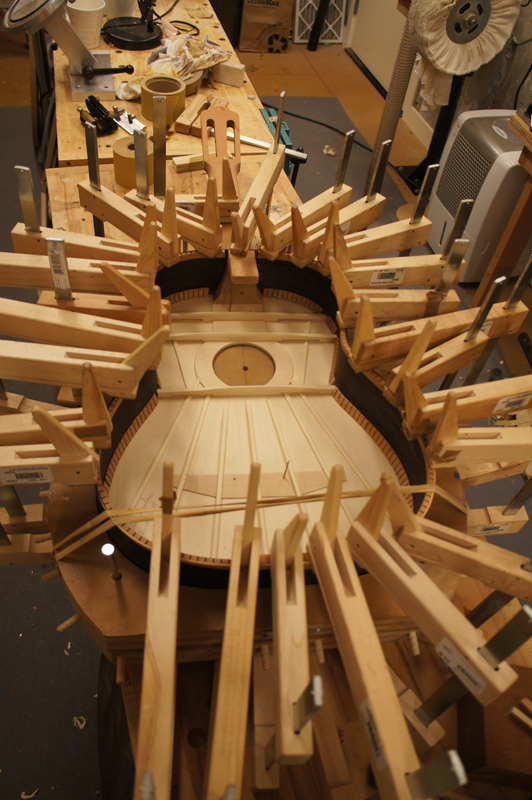
The neck angle in a classical with a Spanish heel is not fixed\set until the back is glued on. To close the box I will make sure the is top properly indexed in to my solera, I will first glue on the neck and rims on to the top. I also have index pins in the solera for the neck so I am sure that the top and neck are properly positioned as I clamp the rims to the top. I will have the neck clamped tight against the solera through this whole process. Leaving the body on the solera I will then clamp on the back. The solera keeps everything properly aligned while closing the box.

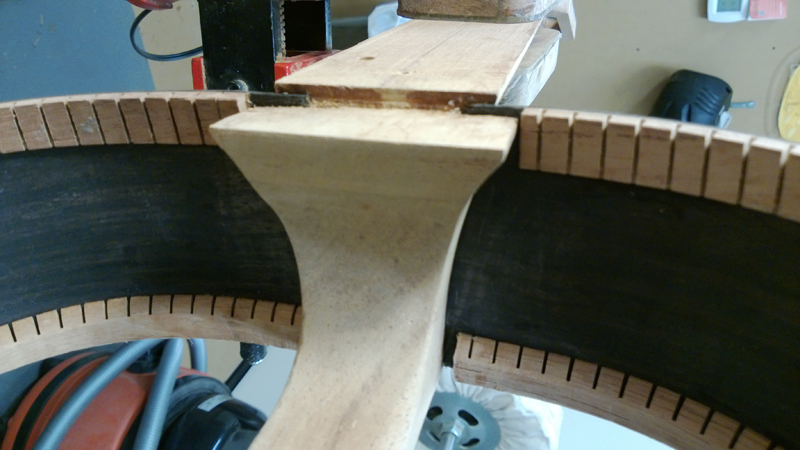
It takes a bit of care to profile the rims to work with the foot of the Spanish heel and an optional fret board patch. You can see in the following picture that there are three steps on the neck\rim assembly. The first step has to be exactly as deep relative to the edge of the rim\kerfed lining as the fret board patch is thick. The next step needs to be the depth of the top thickness so that when glued the top and the neck are level. Here is where I made a mistake. I thought I had everything properly profiled when I noticed that somehow a two inch portion of the top rim had a slight gap. I thought no problem, I carefully used a flat board to sand the rims down perfectly flat. Well given that I had glued the rims in the neck that left the top sitting too low relative to the neck. Whoopsy. Luckily I had only tacked the rims into the neck slots with super glue. I flooded the joints with super solvent and was able to remove the rims from the neck and properly reset them.
Image

Image
johnnparchem
Posts: 2354
Joined: Sat Apr 10, 2010 10:50 pm
Location: Seattle
Contact:

Re: #11 a Tores\Hauser\Jeff Elliott style Classical guitar.

Post by johnnparchem »

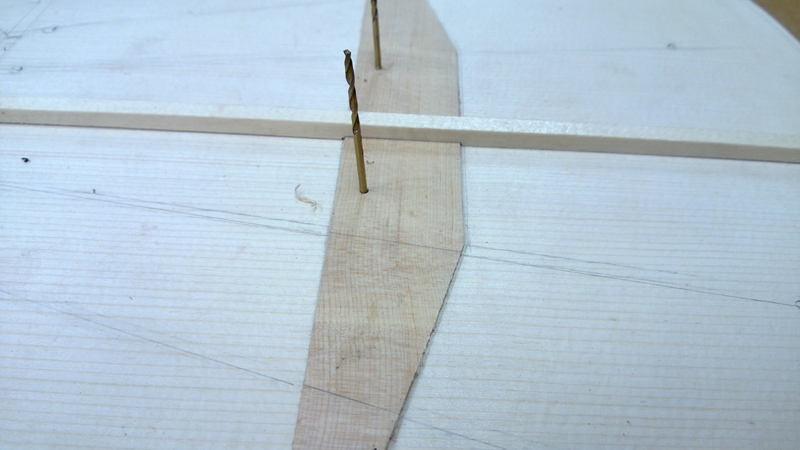
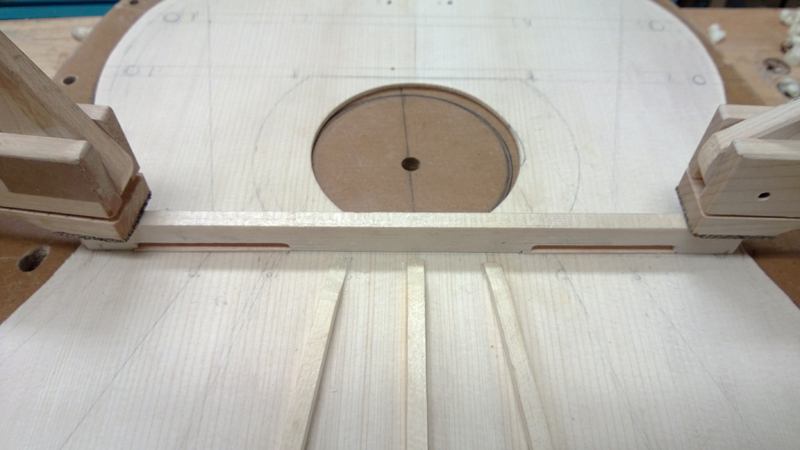
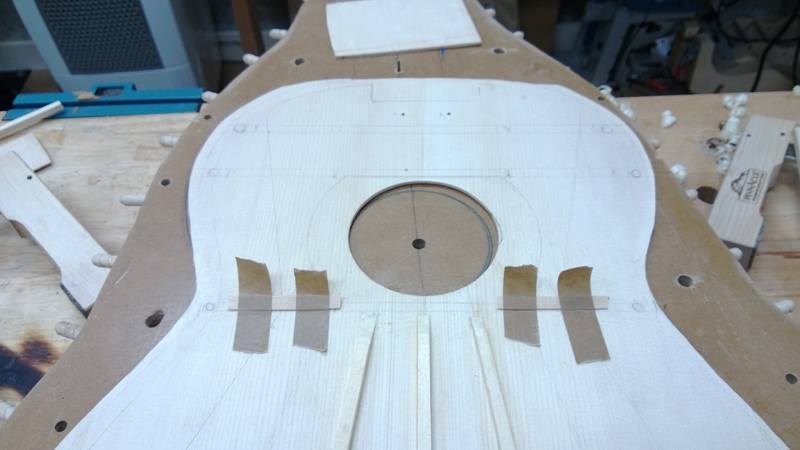
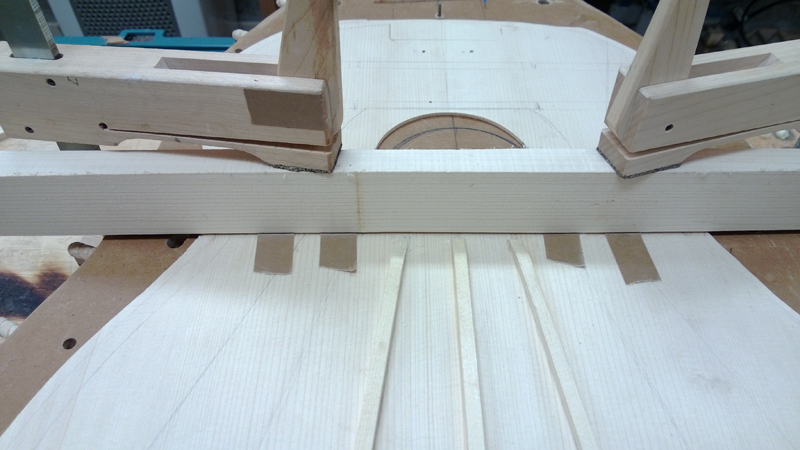
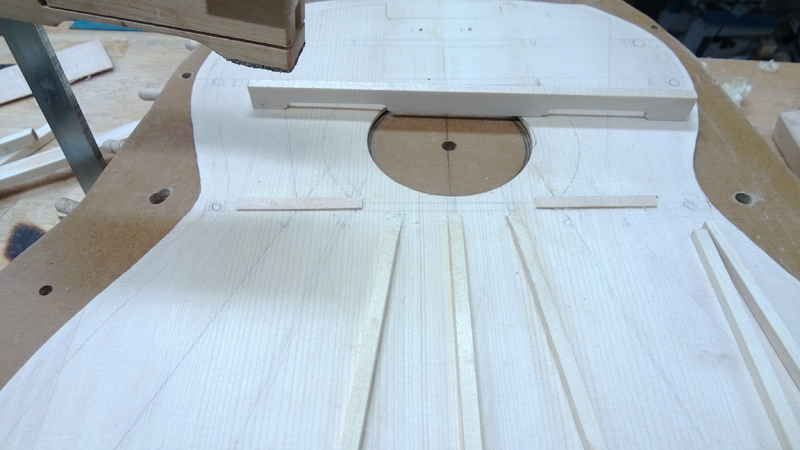
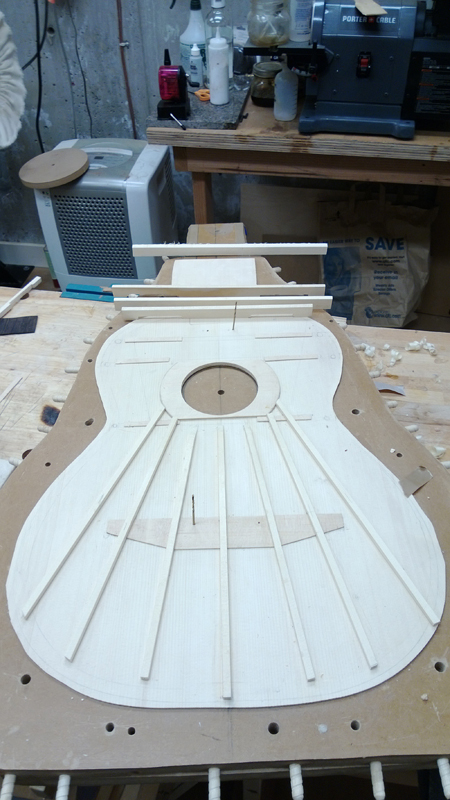
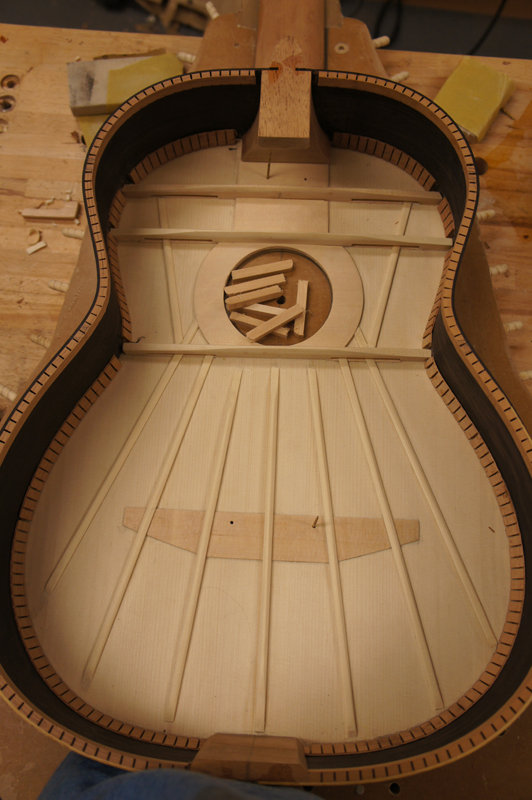
I am making good progress on the top. The bracing pattern I am using is a modified Hauser 43 plan that I learned in Jeffrey Elliott top voicing class. The interesting thing about this pattern is that it uses open transvers braces to open up the top. To avoid cracking I am gluing 1mm think straps of wood to bridge the openings in the transverse braces. The middle fan brace is 6mm tall the next outside braces are 5mm then 4 mm and the outside braces are 3 mm tall. Not in the picture there will be two 3 mm fan sixed braces in the upper bout to help against cracks and Jeffrey Elliott thought his guitars sounded better with it on.

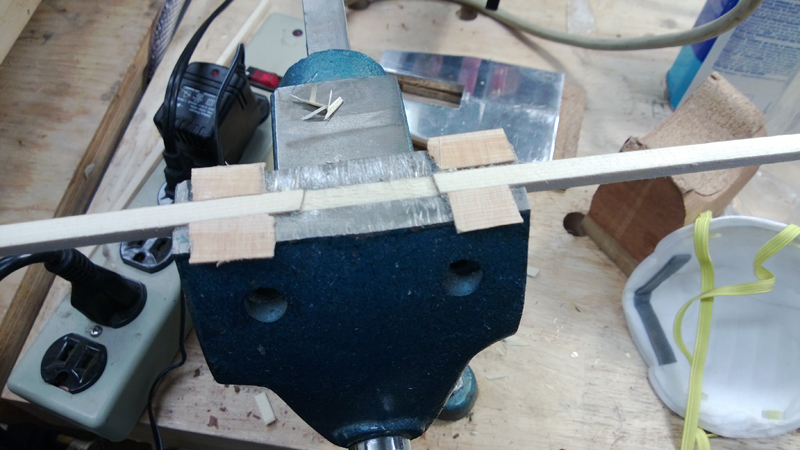
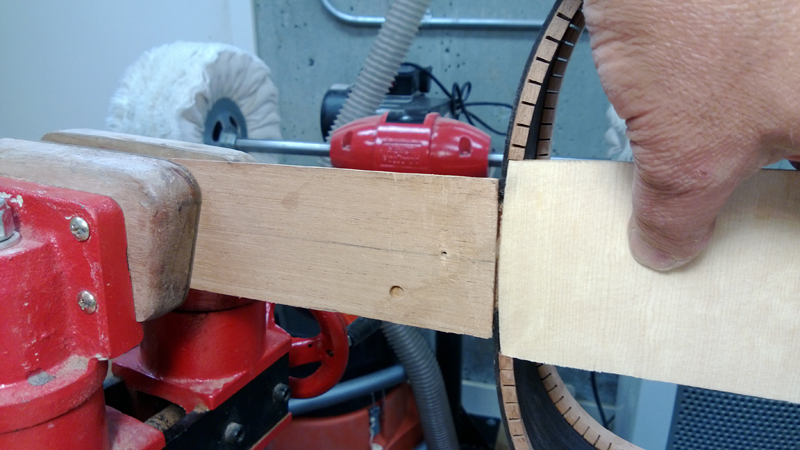
I used a plane to put close to a 25 ft radius on all of the lower fan braces. I used to use a dish but it is so easy to sand an angle on the bottom that I now use a plane and use the dish to check the fit. Using a block plane I sort of established a planning pattern that resulted in close to the correct radius. I glued some cut off from my sound board patch to my vise and used it to gauge the correct depth to provide relief for the sound board patch and on the outer braces the strap underneath the transverse brace opening.


Image

Image

Image

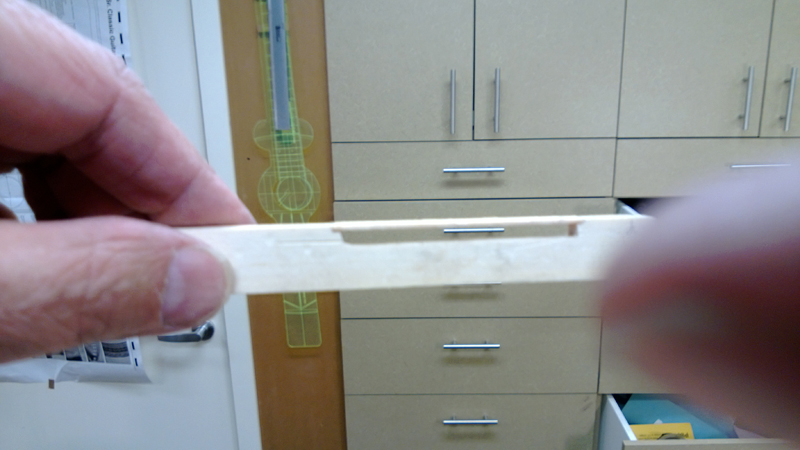
I used the same technique for the transverse brace to make small rabbets for the strap that will bridge the transverse brace opening.

Image

For each of the open transverse braces I used the transverse brace with cuts straps to properly fix the location of the strap. I clamped the brace in the proper location, setting the location for the strap and carefully taped down the strap. I was able to use the tape as a hinge to fold back the strap put glue on it and move it back in to the correct location.

Image

Image

Image

Image

Image

I used my homemade vacuum box to glue the fitted fan braces down.

Image
johnnparchem
Posts: 2354
Joined: Sat Apr 10, 2010 10:50 pm
Location: Seattle
Contact:

Re: #11 a Torres\Hauser\Jeff Elliott style Classical guitar.

Post by johnnparchem »

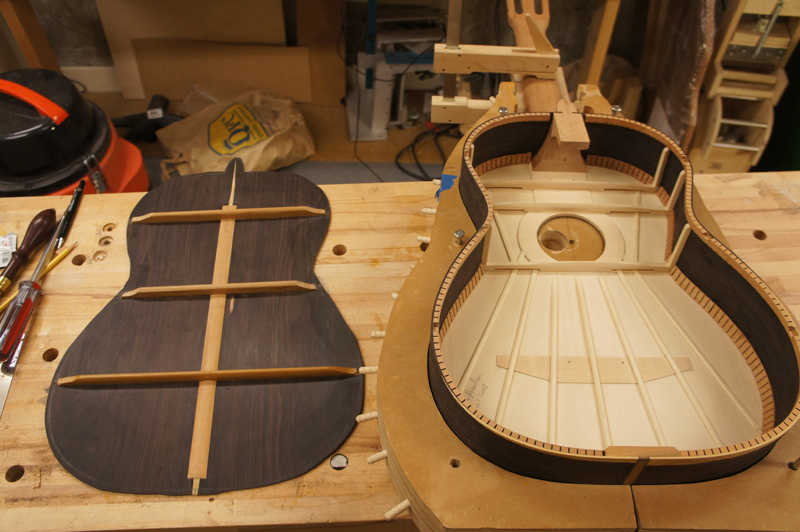
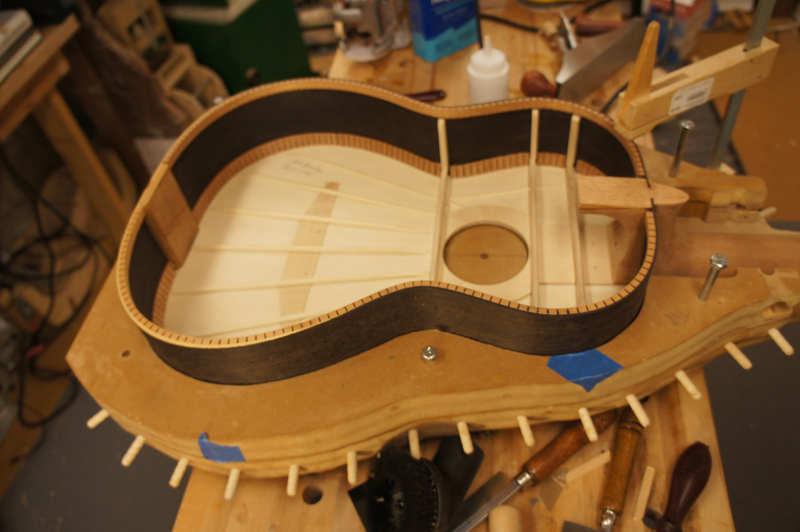
I am hoping to close this guitar this weekend. I have a few things that I need to do first, that I hope in my excitement I do not forget. Mainly I need to install the end strip or wedge. Late Sunday and bit by bit through the week I finished the bracing of the top and started on the back. Hoping to raise my game a bit now that I have my vacuum box. I pre-carved the back braces and put a few coats of shellac on them. The idea is to have sealed braces and center strip but still an unsealed back on the inside. No reasons other than I hope it looks cool. When gluing the braces down in a 15' radius dish I was not happy with the way the end of one of the braces was gluing down so I put a few bits of brace wood on the ends of the braces to hold them down with the vacuum.
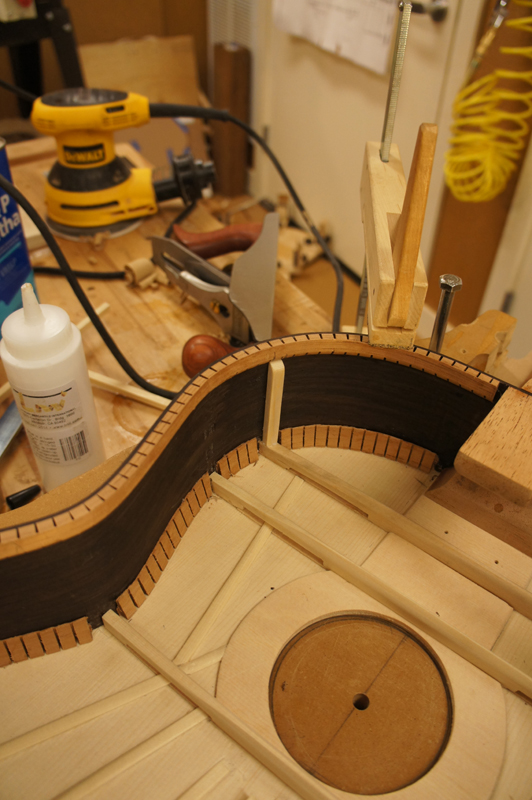
Ultimately there was no problem with how the braces glued down.
Image

Image

Image

Image

Image

Image
darren
Posts: 794
Joined: Sun Apr 19, 2009 9:26 pm
Location: Williams Bay, Wi
Contact:

Re: #11 a Torres\Hauser\Jeff Elliott style Classical guitar.

Post by darren »

beautiful workmanship John. Thanks for posting!
Darren
johnnparchem
Posts: 2354
Joined: Sat Apr 10, 2010 10:50 pm
Location: Seattle
Contact:

Re: #11 a Torres\Hauser\Jeff Elliott style Classical guitar.

Post by johnnparchem »

Thanks Darren,

Moving along, I had to hit the honey do list today, so I was only able to get the end strip in and cut a bunch of small braces to hold the transverse braces down.

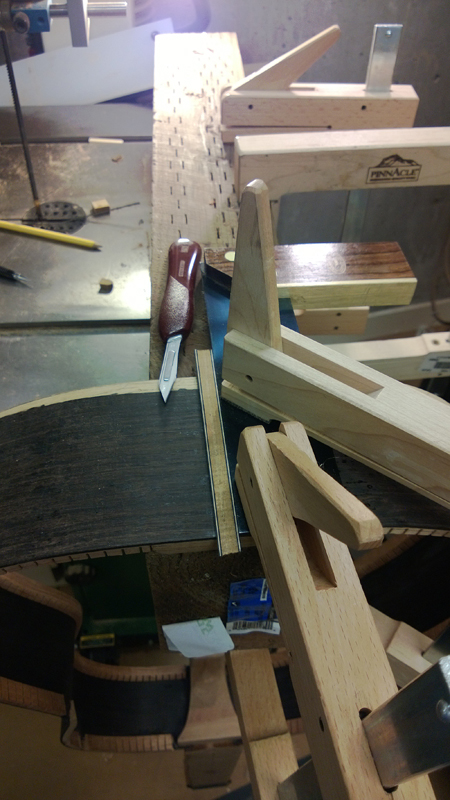
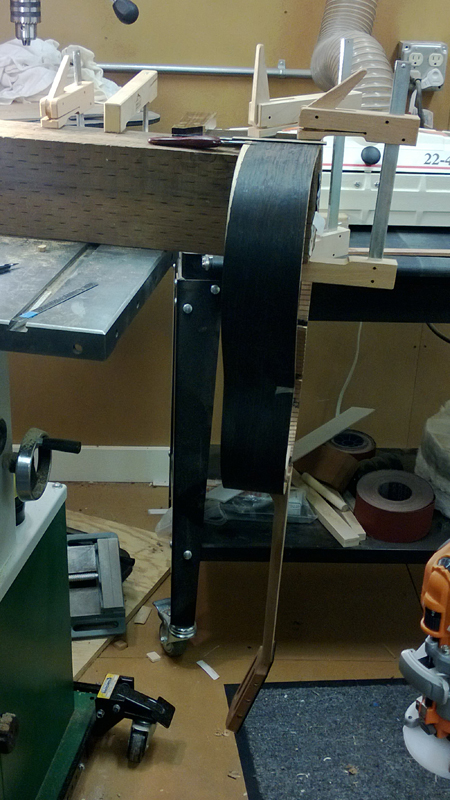
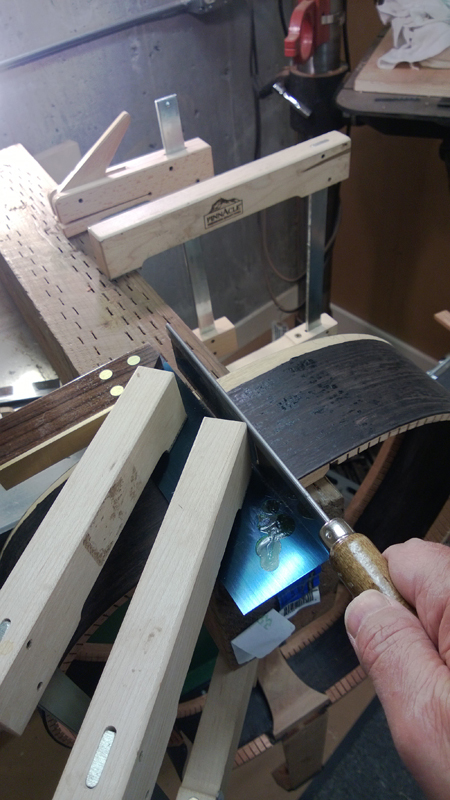
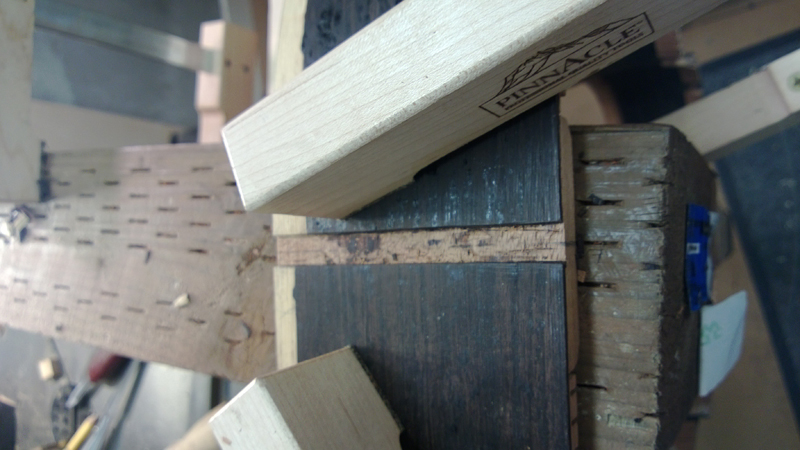
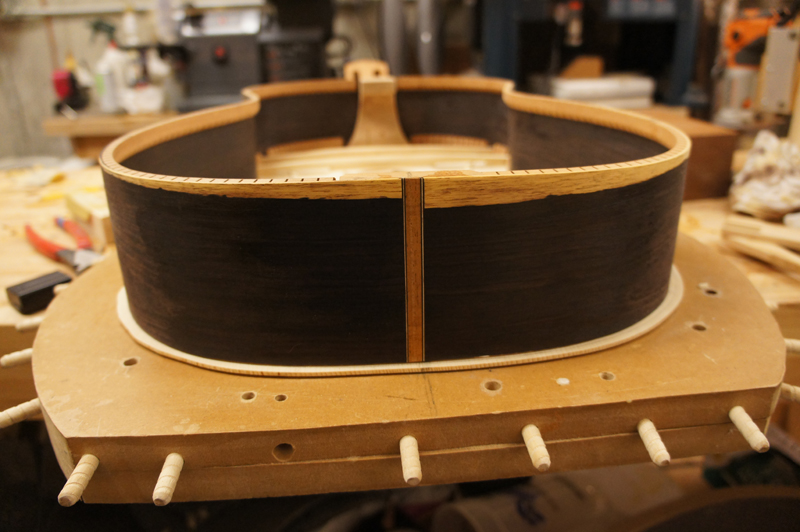
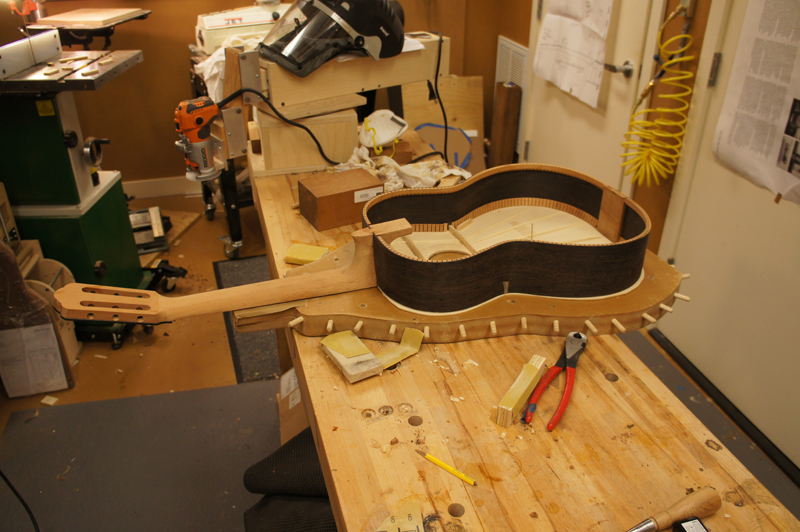
When I glue the top down it will happen as shown in the pictures. The top and sides will be in the solera. I will mostly use cam clamps but I can use rubber bands as well, that is what all of those dowels are for on my solera. It is nice working this was as I can make sure the rims are clamped right where I want it on the top. For those following (I describe it early in the blog) you will see that I still have the top indexed to the solera. Not visible but in place, the neck is also indexed to my solera with a couple of 1/8" diameter dowels. So if my indexing is correct I can not fail having the top and next properly aligned. Here are a few pictures cutting the rebate and installing the end strip. The picture also are the first view of my Australian blackwood (Acacia melanoxylon) bindings combined with my African blackwood (Dalbergia melanoxylon ) back and sides

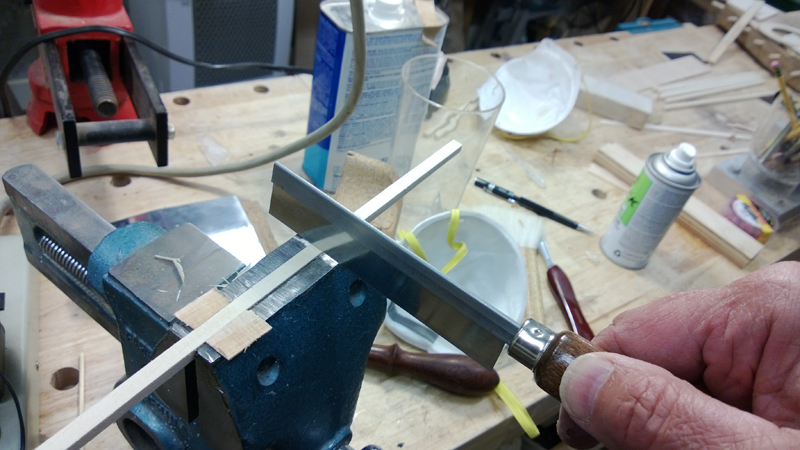
I just use a scrapper as a guide for my saw. Before I cut with a razor saw I score very deep with a new scalpel blade hoping to have a clean line at the top of the cut. Although it does not look like it in this series of pictures. The saw is always on the waste side of the cut and the scraper is on the outside.

Image

Image

Image

Image

Image

Image

Image
johnnparchem
Posts: 2354
Joined: Sat Apr 10, 2010 10:50 pm
Location: Seattle
Contact:

Re: #11 a Torres\Hauser\Jeff Elliott style Classical guitar.

Post by johnnparchem »

I did get the top glued onto the rims today with the neck straight and centered. Also I nearly finished the preparations for gluing on the back. After I glued on the top I glued some small braces to hold the harmonic braces in place. I finished up marking where I need to route for the back braces. I had to cook dinner and I had a couple of drinks so I will save the routing for tomorrow.

Image

Image

Image

Image

Image

Image

Image
johnnparchem
Posts: 2354
Joined: Sat Apr 10, 2010 10:50 pm
Location: Seattle
Contact:

Re: Closed up my Classical guitar today.

Post by johnnparchem »

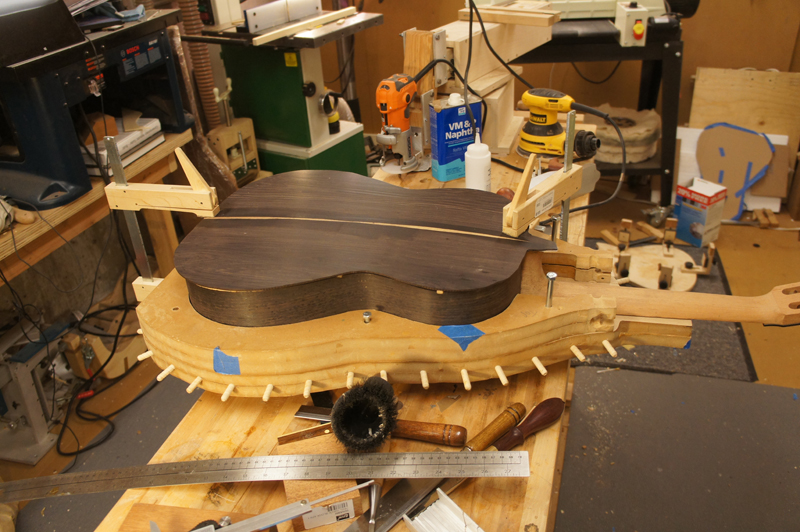
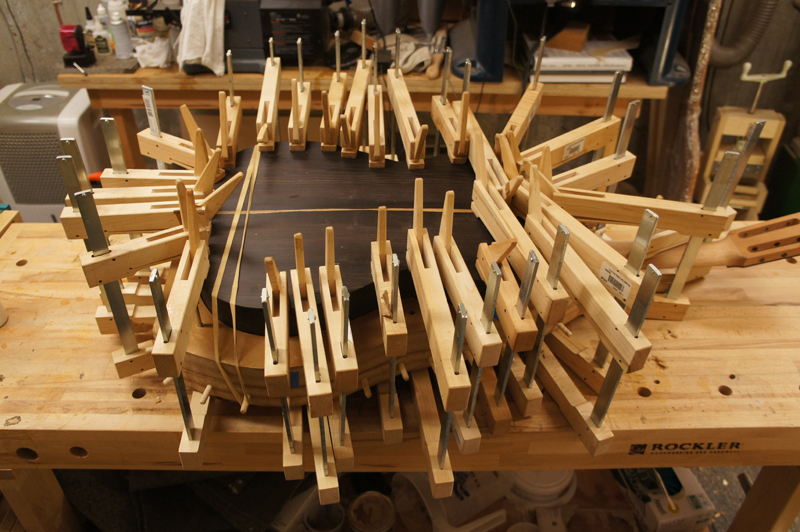
I finished closing the box on the classical guitar today. From the last post I had to route out the rebates for the back braces and sort of clean things up. Another change I made at the last minute was to rework my solera so that the neck will have a slight forward tilt. The nut location on the neck should be about 2 mm higher than the plane of the guitar. I was not going to do this and rework the fret board instead to get my geometry but most of the higher end classical guitar luthiers do it so I decided to do so as well. I am waiting for the glue up of the back to cure before I know how it will work.

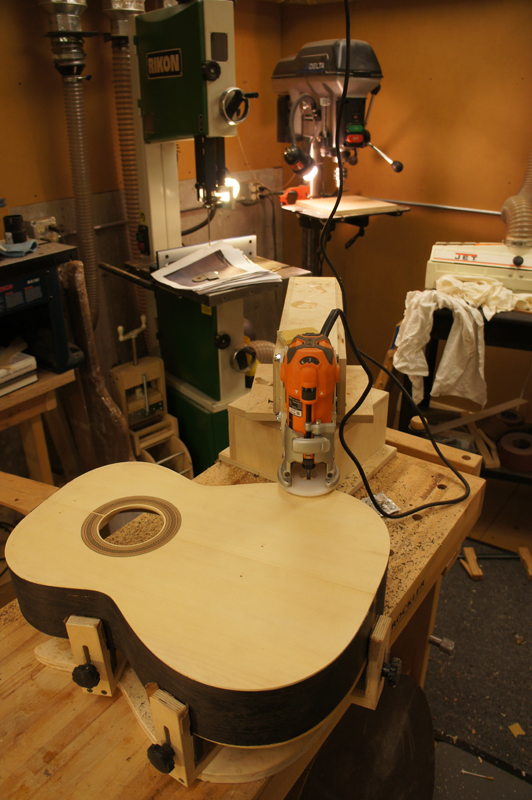
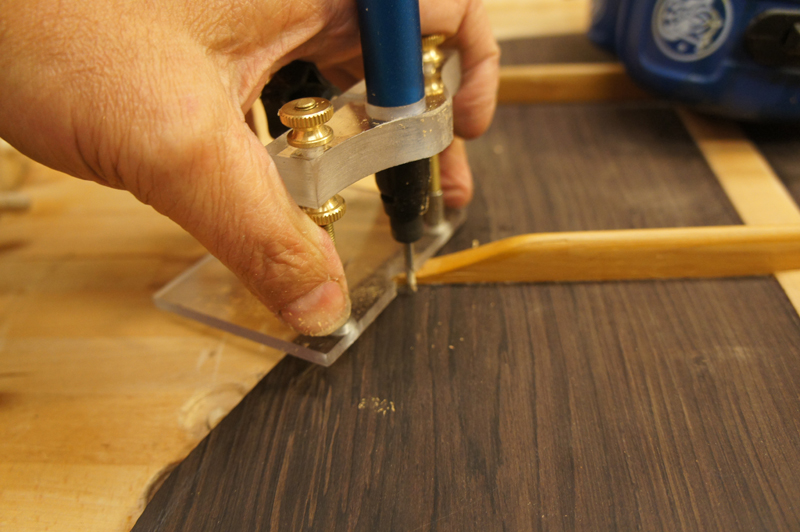
The pictures below show my setup for routing the rebates for the braces and how I set the depth. I mostly carve the ends very close to 1/8" but setting the depth of the bit on my baby die grinder right on the brace allows me to have really tight joints.

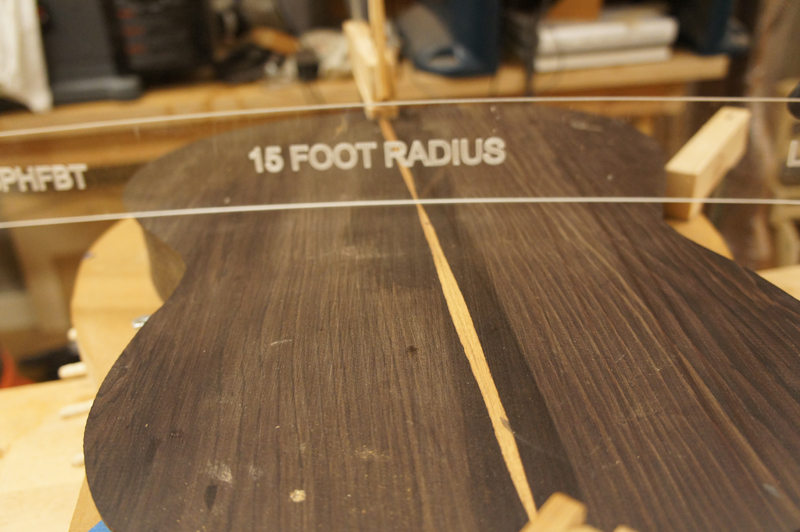
The back matched the profile really well you can see that it conforms nicely to 15' radius, clamping just the heel and the end block. Also when I went to glue the back on I got really good squeeze out after just a few clamps were on, although ultimately I did not skimp on the number of clamps.


Image

Image

Image

Image

Image
johnnparchem
Posts: 2354
Joined: Sat Apr 10, 2010 10:50 pm
Location: Seattle
Contact:

Re: Closed up my Classical guitar today.

Post by johnnparchem »

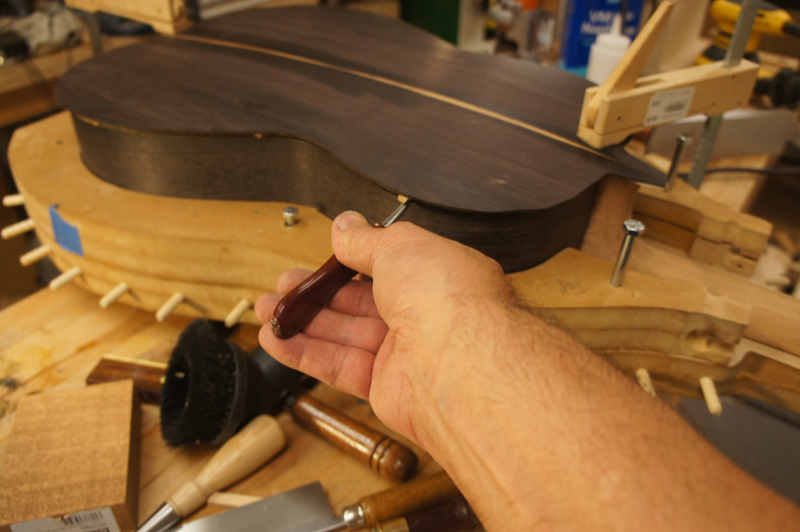
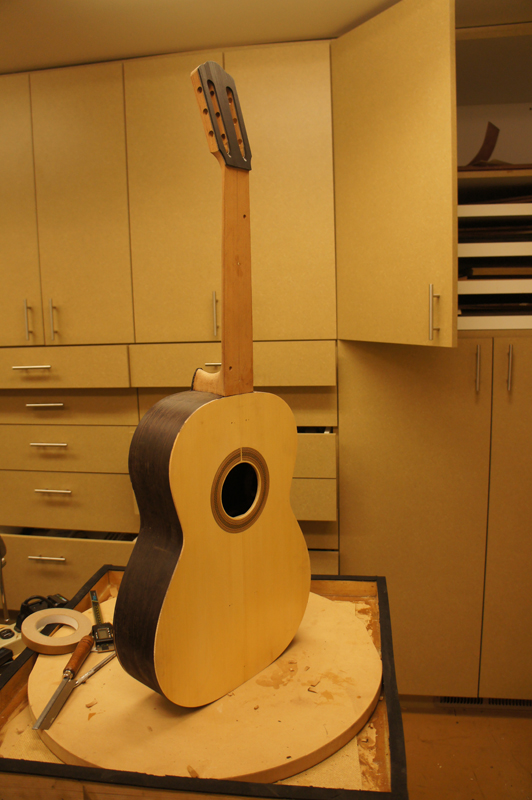
Like Christmas morning I could only sleep till 4:30! I pulled the clamps off of the guitar and trimmed the excess every where except near the neck and heel. From my initial measurements everything is where I wanted it. On to the binding and purflings. The only new thing I am going to do is to not taking the binding all the way around on the heel end of the back. Instead I am going to take the binding just past the edge of the heel so that it looks to be inset into the heel cap extension I left on the back. If I can not make it look clean I will go ahead and cut it through and bind it like I normally do. Having the neck already on makes this whole operation a lot harder. Extending the back through the heal cap assures that I have a lot of hand tool work to bind the back. I will take pictures as I go for the good or the bad.


Image

Image

Image
Darryl Young
Posts: 1668
Joined: Fri Jul 30, 2010 6:44 pm
Location: Arkansas

Re: Closed up my Classical guitar today.

Post by Darryl Young »

It looks great John!
Slacker......
Post Reply