Martin Style 00 12 fret guitar now with strings!

Take us through building your guitar step by step. Post pictures and tell us what you're doing.
Post Reply
johnnparchem
Posts: 2354
Joined: Sat Apr 10, 2010 10:50 pm
Location: Seattle
Contact:

Re: Starting Martin Style 00 12 fret guitar.

Post by johnnparchem »

Darryl Young wrote:Looking good John!

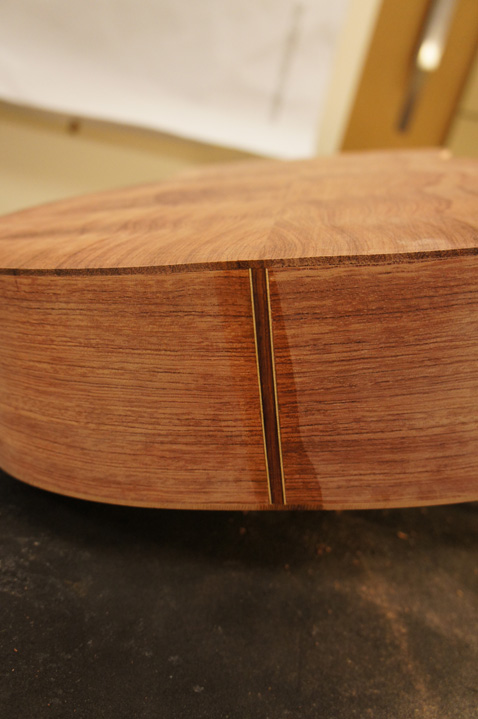
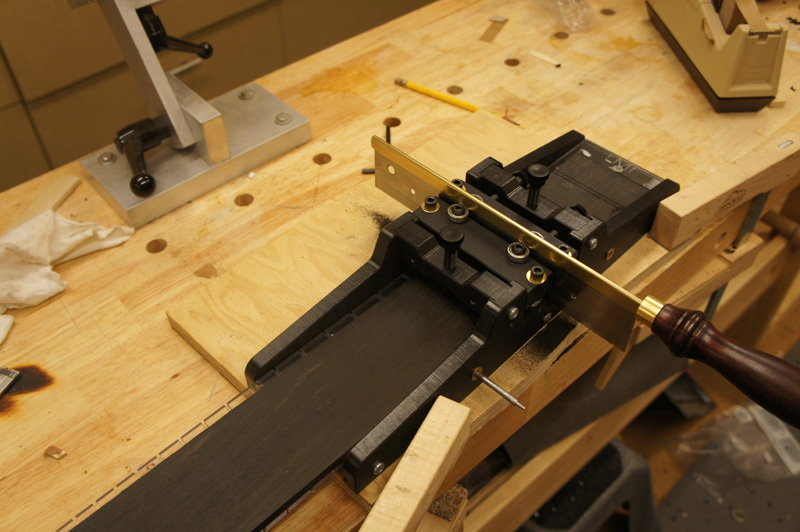
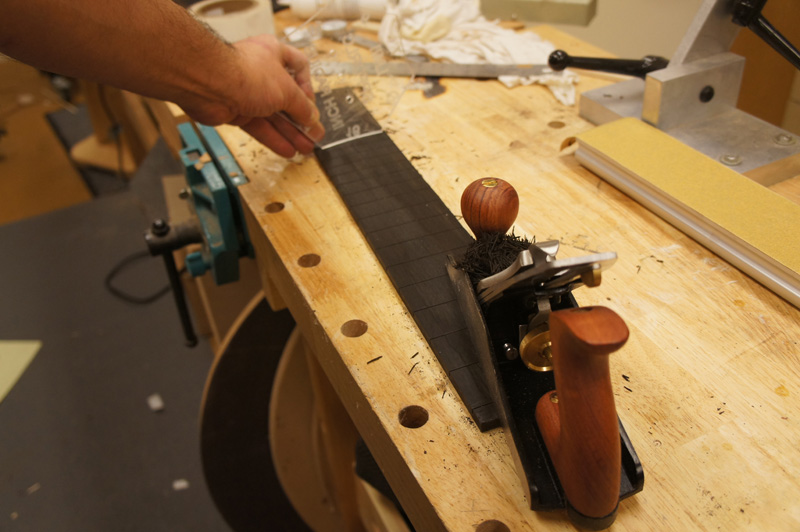
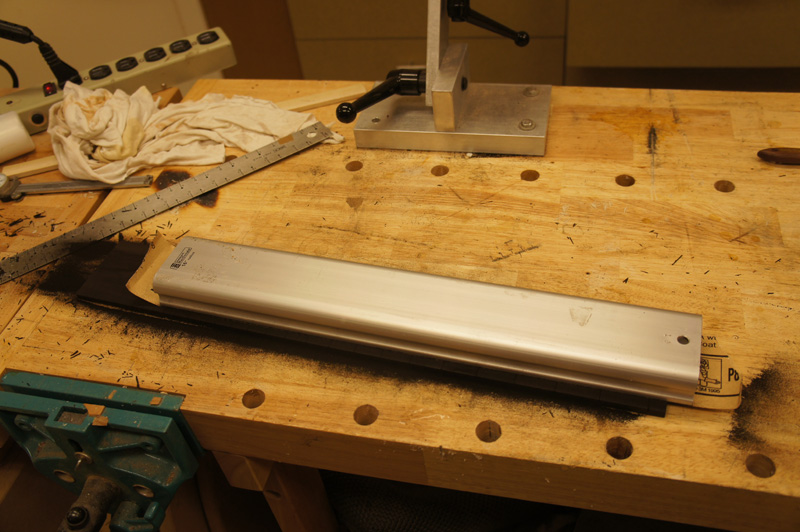
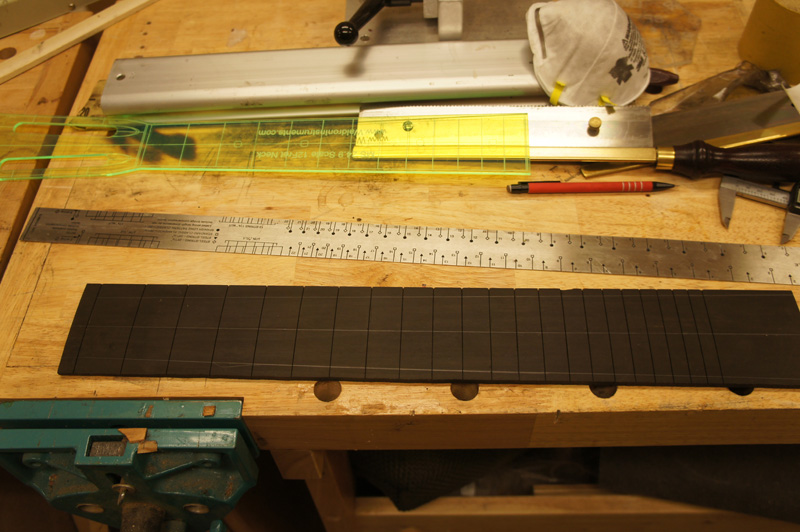
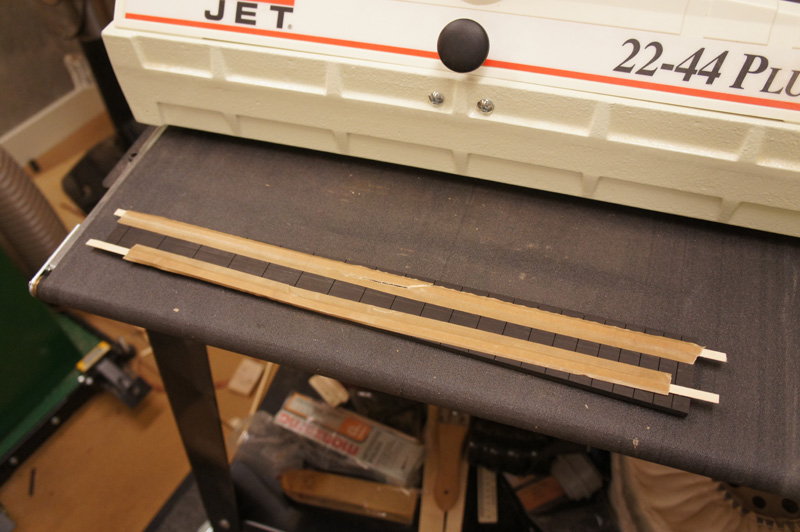
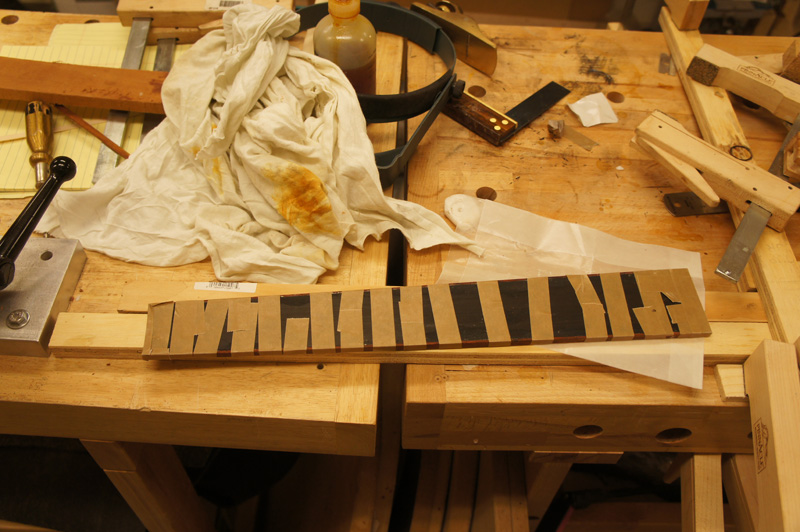
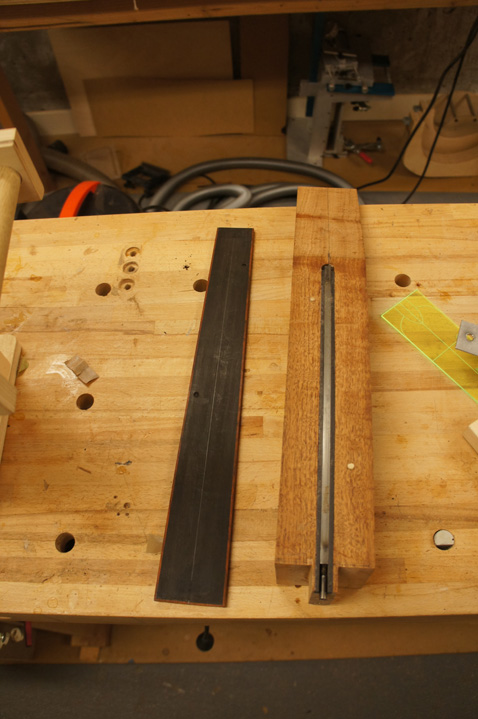
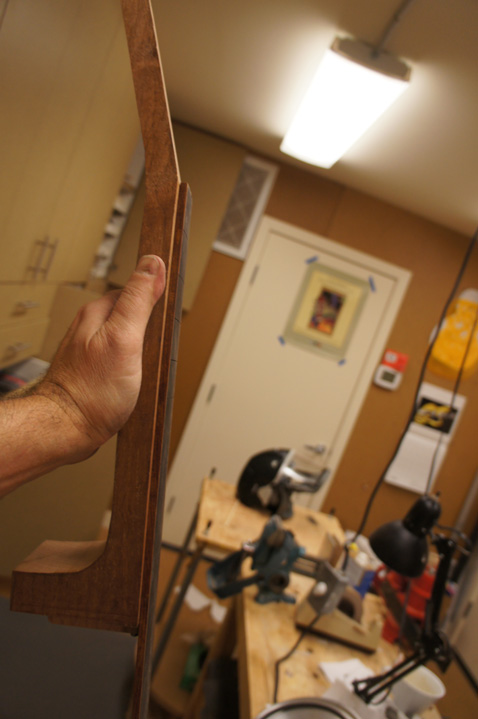
I just went to the OLF and found the thread you mentioned. After reading it, I decided to thin the AB fretboard on my 00. Took it from just shy of 0.250" down to 0.220". I'll give that a try. If I like it, I may try the 0.200" Mario mentions on the next build. I like the idea of a lighter weight neck anyhow. I also agree with the discussion over there that ebony (or at least ebony available today) is not very stable and contributes to a lot of neck movement issues. I prefer to use a rosewood for fretboards (and prefer quartersawn no matter the wood choice). Using african blackwood (AB) on this build and I have another AB blank on-hand for the next build. I would like to try Bois de Rose (sp?) as I hear it darkens to almost perfectly black over time.......but I've never found any for sale.

My experience with guitars is in the pacific northwest our relative humidity varies between about 48-65. I have not experienced any neck movement on any of my guitars. Even the cheap 100 guitars I bought for my kids.
johnnparchem
Posts: 2354
Joined: Sat Apr 10, 2010 10:50 pm
Location: Seattle
Contact:

Re: Starting Martin Style 00 12 fret guitar.

Post by johnnparchem »

A little quality time with some sand paper and this top is braced. Not that I know what I will do with the information but I am going to do some frequency analysis of the tap tones of the top. I have the software and the audio setup. I probably will not do much with the information except record it with the final height of the braces and the top thickness. Relative to my 0 sized guitar this has twice as many tone bars and face bars (or whatever the long bars on the bottom are called). When I make a new style for me I like to mostly follow the plans. These plans called out a 17mm x-brace which just felt too clunky for me so I started with a 14 mm instead. At this point the top still feels a bit stiff but it is starting to ring nicely. I plan to thin the top a bit after it is assembled and take a bit more off of the top near the rims in the lower bout. I have a magic probe so I should be able to carefully remove top wood without going to far. To put a point to my rambling I am leaving the top just a bit stiff at this point to account for the final tuning of the top thickness.

Image

Image
tippie53
Posts: 7019
Joined: Fri Mar 03, 2006 7:09 pm
Location: Hegins, Pa
Contact:

Re: Starting Martin Style 00 12 fret guitar.

Post by tippie53 »

you do have a rather large bridge plate in that. I make my plates 1 1/2 wide .100 thick
John Hall
Blues Creek Guitars Inc
Authorized CF Martin Repair Center
president of Association of Stringed Instrument Artisans
http://www.bluescreekguitars.com
johnnparchem
Posts: 2354
Joined: Sat Apr 10, 2010 10:50 pm
Location: Seattle
Contact:

Re: Starting Martin Style 00 12 fret guitar.

Post by johnnparchem »

tippie53 wrote:you do have a rather large bridge plate in that. I make my plates 1 1/2 wide .100 thick
Thanks,

I already chopped it down from the plans. I can remove trapezoidal part toward the tail and be at 1 1/2 " When I measured the bridge location I did see that it was plenty big.
johnnparchem
Posts: 2354
Joined: Sat Apr 10, 2010 10:50 pm
Location: Seattle
Contact:

Re: Starting Martin Style 00 12 fret guitar.

Post by johnnparchem »

I managed to close the box today and trimmed the plates flush to the sides. Before I closed the box up I did some final tap tuning and was able to open up the sound a bit. Through the tap tuning and before I closed the box I used a free software tool visual analyzer to take spectrum traces. After I finished tap tuning I took and recorded another sample. I am not sure what I am going to do with it but I am including it in my notes with the top thickness and the brace sizes.

Before I closed the box I added the end wedge (although I am doing it more like a classical guitar and it is more of a strip than a wedge. In the past this gave me fits as it has to be cut right or the install looks a little messy. This time I measured and marked where I thought the cuts should be. Placed my strip (I am using a back center strip) to make sure that I had marked it correctly. I used a scraper has a guide and scored the wood deep on one side with a scalpel. I very carefully razor sawed in the scalpel line to I was through the sides to the end block.

I placed the strip back on the rims against my scraper guide to double sure that I had the correct line for the strip. I scored that line with the scalpel and moved the guide against my scored line. Scored the line a bit deep with the scalpel finished the cut with the razor saw and chiseled out the waste.

The scalpel really helped by starting the initial cut clean. In the past I had worn the edge of cut on the rims so that when I installed the strip even when it was tight I would get a visible (messy) joint.


Before gluing on the top I did a final check that I got the top geometry correct. With a straight edge on the top where the fret board extension go I checked to make sure I had 1/8th inch off of the top at the bridge saddle location. I use a drill bit as my gauge.

After that check I glued on the top, did my final tuning of the braces, glued on the back and trimmed the plate edges with my new spiral cut flush bit. For the first time I used my new powered full face dust mask. I have been breathing too much wood dust, so I though I better take care of myself.


Image

Image

Image

Image

Image

Image

Image

Image

Image

Image

Image

Image
Ben-Had
Posts: 1405
Joined: Fri Sep 03, 2010 2:14 pm
Location: Creedmoor, NC

Re: Starting Martin Style 00 12 fret guitar.

Post by Ben-Had »

Hey John, you look just like Marty from "Back to the Future!" What type trim router do you have? I see you have a donut attached right to the base.
Tim Benware
johnnparchem
Posts: 2354
Joined: Sat Apr 10, 2010 10:50 pm
Location: Seattle
Contact:

Re: Starting Martin Style 00 12 fret guitar.

Post by johnnparchem »

I got the trim router and the donut from John Hall when I bought a Fleishmann binding machine from him. It is a nice trim router.
B. Howard
Posts: 709
Joined: Wed Jan 11, 2012 9:42 pm
Location: Hummelstown, PA
Contact:

Re: Starting Martin Style 00 12 fret guitar.

Post by B. Howard »

Looks like a Rigid router.
You never know what you are capable of until you actually try....

Brian Howard
www.brianhowardguitars.com
Taylor authorized service
Custom finishing services

Brian howard's guitar building & repair blog
http://www.brianhowardguitars.com
johnnparchem
Posts: 2354
Joined: Sat Apr 10, 2010 10:50 pm
Location: Seattle
Contact:

Re: Starting Martin Style 00 12 fret guitar.

Post by johnnparchem »

B. Howard wrote:Looks like a Rigid router.
Sorry, yes it is a ridged router.
johnnparchem
Posts: 2354
Joined: Sat Apr 10, 2010 10:50 pm
Location: Seattle
Contact:

Re: Starting Martin Style 00 12 fret guitar.

Post by johnnparchem »

I have been making a bit of progress. I have been very busy building the set for my wife's entry into the Seattle flower and garden show so I have not had as much time to post. I have made the fret board, have the neck mortise and tenon finished including having a good neck angle. I am just finishing binding the body. At the moment I am waiting for the glue to set on one of the bindings. For the record I will posts a few pictures from each operations.

This is the first time I slotted a fret board. I actually think it is worth the money to have someone do it for you. It took a bit to get the slots cut and I am still dealing with carpel tunnel in my wrists but here it is.

I used a veritas smoothing plane to get a square edge on the blank this edge became my reference for the rest of the operations.

Image

I have an LMI slotting jig and template to cut the slots. The system works really well, and the slots were clean and right on the money. I used wind river plane to rough set the radius to 16" and finished the radius with a stewmac radius sanding block.

Image

Image

Image

I rough cut the taper on a band saw and cleaned it up with my block plane.

Image

Image

Image

Before I glued on the bindings I used my drum sander to thickness the fret board. I should of done this earlier (like before the radius) But I was unsure how much I would take off radiusing the fret board. All and all it worked out ok.

Image

I ended up using LMI glue and taping the binding on the fret board. I use to use thin CA but I have found that thin CA and cocobolo makes a mess.


Image

Image

I use a Luthier Tools neck jig to set the neck angle and cut the tenon on the neck and the mortise on the body. I do not set the angle by mounting the body and using the jigs setting tool. Rather I fixed the angle to what I want for the neck. After cracking a tenon once, I now route the bottom of the neck block to the correct length and angle and then install the screw inserts.

Image

Image

Image

I modified a template that I bought from Waldron instruments to allow me to drill guide pin holes on both the neck face and the fret board. I find it handy to be able to mount the fret board while doing measurements, also These are the guides I use when gluing the fret board on.

Image

Image

Image

Also I am nearly finished binding the guitar. I taped the whole mess of bindings and purfling (I decided I did not like the look with the purflings) and bend the pile at once. In my bending machine.

Image

Image

Before routing the binding rebates I taped a bit of purfling to the top and the back to lift the router near the end strip. I finish this section by hand so that I can miter in the this purfling.

Image

Image

While waiting for the glue on the bindings to cure I have been trying to decide which way I want the pegboard veneer to go. There is a nice horizontal figure that would work both on the bottom or the top.

Image

Image
Post Reply